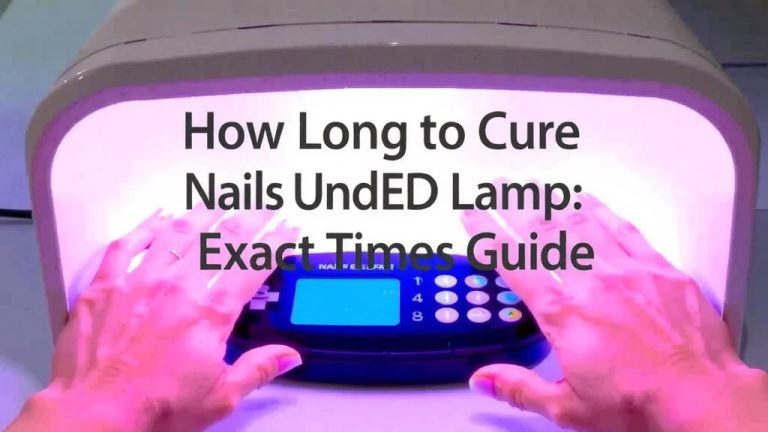
How Long to Cure Gel Polish in an LED Lamp: Timing Guide
Most gel polishes need 30 to 60 seconds per coat in an LED lamp. That means a full manicure usually takes about 3 to 5 minutes of curing time in total. Simple, right?
But here’s the catch: curing times can vary. We researched and found that things like your lamp’s wattage, the polish brand, and even the thickness of each coat all play a role. Many experts say checking your product’s label is the best way to avoid sticky, under-cured nails.
- Base coats typically cure in 30 seconds.
- Color coats usually need 30 to 60 seconds each.
- Top coats often take up to 60 seconds.
- Thin, even coats cure faster and better than thick ones.
- Under-cured gel can cause peeling, bubbling, and even skin irritation.
Want to know why timing matters so much, and how to tell if your gel is actually cured? Below, we break down everything you need to know about curing gel polish in an LED lamp, step by step.
Curing Gel Polish in an LED Lamp: What the Timer Really Means
When your lamp says 30 seconds, it means fully cured — not “kind of dry.” Gel polish hardens through a chemical reaction triggered by light. If the reaction doesn’t finish, your manicure pays for it later. We found that following the polish brand’s timing (not the lamp’s default setting) gives the best results.
Think of it like baking a cake. Pull it out early and the middle stays gooey. Gel works the same way, except the “gooey” part shows up as dents, dull spots, or that annoying sticky layer that never fully goes away.
LED vs. UV Lamps: Does Your Lamp Change the Timing?
Yes, and it matters more than most people realize. LED lamps cure gel faster because they emit light at a narrower wavelength that matches most modern gel formulas. Many gel brands actually design their polishes to work with both lamp types, but the timing differs.
| Lamp Type | Typical Time per Coat | Good to Know |
|---|---|---|
| LED lamp | 30–60 seconds | Faster, cooler, most common for home use |
| UV lamp | 2 minutes per coat | Older style, works with nearly all gels |
| LED/UV combo | 30–60 seconds | Follow your polish label for the right mode |
If you’re using an older UV lamp with a polish made for LED, don’t assume the same timing. Many experts say doubling the time is a safer bet when you’re unsure.
Curing Times by Coat Type
Each layer of your manicure has its own schedule. We found that treating them all the same is one of the most common mistakes beginners make.
Base Coat Timing
Base coats are thin, so they cure quickly. Most need just 30 seconds in an LED lamp. Some “no-wipe” bases take 60 seconds. Check your bottle. It only takes a second, and it saves you from a manicure that lifts within days.
Color Coat Timing
Color coats need 30 to 60 seconds each, depending on the brand and thickness. Sheer colors often need two or three thin coats, which means more curing rounds. Deep, dark shades can be trickier because pigments block some light from reaching the lower layers.
Why Dark Colors Need Extra Care
Dark polish is like wearing sunglasses — less light gets through. Many nail pros recommend curing dark shades at the full 60 seconds, never less. Applying thin coats helps the light penetrate all the way down.
Top Coat Timing
Top coats usually take the longest, up to 60 seconds. This is your armor layer, so give it the full time. Rushing the top coat is a classic shortcut that leads to scratches and dullness within days.
Signs Your Gel Isn’t Fully Cured
Your nails will tell you, if you know what to look for. We found these are the most reliable warning signs:
- The surface stays tacky or sticky even after cleansing.
- You see dents or smudges after the manicure is done.
- The gel peels off in sheets within a few days.
- Edges near the cuticle feel soft or flexible.
- Your nails feel warm or itchy right after curing.
That last one deserves attention. The American Academy of Dermatology notes that uncured gel can irritate the skin and trigger allergic reactions over time. If your nails heat up under the lamp, that’s a sign the gel is curing too fast — often because the coat is too thick.
Common Curing Mistakes (and Easy Fixes)
Most gel disasters come from a handful of habits. Here’s what we found trips people up the most, along with simple fixes.
Mistake #1: Applying Coats Too Thick
Thick coats look faster, but they cure poorly. Light only penetrates a few millimeters, so the bottom layer stays soft. The fix? Thin, even coats — think pancake batter, not frosting.
Mistake #2: Using the Wrong Lamp
Not every lamp works with every gel. Brands formulate their polishes for specific wavelengths. Many experts say to use the lamp recommended by the polish brand whenever possible. Mixing random lamps and gels is a gamble.
Mistake #3: Skipping the Timer Double-Check
Some lamps default to 30 seconds. If your polish needs 60, half the cure leaves you with a soft, short-lived manicure. Set a habit of checking the label before every coat.
Mistake #4: Curing on a Wobbly Surface
If your hand moves during curing, the gel shifts and cures unevenly. Rest your hand firmly on the table. Boring advice? Sure. But it works.
Your Pre-Manicure Curing Checklist
Before you start, run through this quick list. We found it prevents most gel headaches:
- Check the polish label for the exact curing time.
- Confirm your lamp matches your gel formula (LED or UV).
- Replace old bulbs or lamps with weak output.
- Apply thin coats — two thin beats one thick every time.
- Cure the top coat the full 60 seconds.
- Wipe with cleanser after curing to check for stickiness.
Is Curing Under LED Light Safe?
This question comes up a lot, and it’s a fair one. LED lamps emit small amounts of UVA light. Research reviewed by the NCBI suggests the exposure from a typical manicure is low — far less than a few minutes in natural sunlight. Still, some precautions make sense.
Simple Ways to Protect Your Skin
Many dermatologists suggest applying broad-spectrum sunscreen to your hands before curing (American Academy of Dermatology). Fingerless UV gloves work too, if you want extra peace of mind. Neither step takes more than a minute, and both let you enjoy gel nails without worrying.
Another tip: keep your lamp clean. Dust and cured gel blobs on the inside can block light and mess with your timing. A quick wipe with rubbing alcohol keeps the output consistent.
What If You Don’t Have a Timer?
Most LED lamps have built-in timers, but if yours doesn’t, use your phone. Set it for the label’s recommended time and don’t peek early. Lifting your hand out “just to check” resets your progress. Every second counts when a chemical reaction is doing its thing.
And if you’re curing without a lamp at all? Unfortunately, there’s no safe shortcut. Gel polish needs the right wavelength of light to harden. Air-drying gel doesn’t work, no matter what that one viral video claimed.
Quick Answers When Timing Goes Wrong
Maybe your gel still feels tacky after curing. First, wipe it with isopropyl alcohol. If the stickiness stays, the coat was too thick or under-cured — apply a thin layer of color or top coat and cure again fully.
If your gel cured but chipped within two days, the culprit is usually prep, not timing. Oils left on the nail plate block adhesion. Degrease each nail with alcohol before your base coat, and cap the free edge with every layer.
Small timing tweaks make a big difference. We found that people who follow their labels closely get two to three weeks of wear, while those who guess often get less than a week. Your future self will thank you for those extra 30 seconds.
Conclusion
Getting your gel cure time right comes down to three things: follow your polish label, apply thin coats, and give every layer its full time under the lamp. Base coats need about 30 seconds, color coats 30 to 60, and your top coat deserves the full 60. If your nails feel sticky, warm, or start peeling early, that’s your cue to adjust your technique — not your budget. We found that a few small habits make the difference between a manicure that lasts two days and one that lasts two weeks. So before your next gel session, pull out your polish, read the label, and set your timer accordingly. Your nails will thank you.
Frequently Asked Questions
Can I cure gel polish for too long in an LED lamp?
You can, but it’s rare and usually harmless. Over-curing can make the gel brittle or slightly discolor lighter shades over time. If you accidentally leave your nails in for an extra 30 seconds, don’t panic — the damage is minimal compared to under-curing.
Why do my nails get hot when I cure them under the LED lamp?
That heat spike happens when the gel cures quickly and thick coats trap the reaction. It’s uncomfortable but common, especially with certain formulas. Applying thinner coats and curing in shorter bursts — like 15 seconds twice — can reduce the burning feeling.
Do cheap LED lamps cure gel as well as expensive ones?
Not always. Lower-wattage lamps with weak bulbs can leave the lower layers soft, even if the surface feels dry. We found that lamps in the 36 to 48-watt range tend to give the most reliable results for home use.
How long should I cure gel builder or hard gel in an LED lamp?
Builder and hard gels are thicker, so they usually need longer — often 60 seconds or more per layer, and some require multiple rounds. Always check your specific product’s instructions, since these gels vary more than standard polish formulas.
Can I use an LED lamp for gel polish made only for UV lamps?
Sometimes, but it’s a gamble. Older UV-only formulas may need wavelengths your LED lamp doesn’t produce, leaving the gel under-cured no matter how long you wait. If your polish lists UV timing only, a UV lamp or an LED/UV combo lamp is the safer choice.