Brooder Lamp Height: How High is Just Right
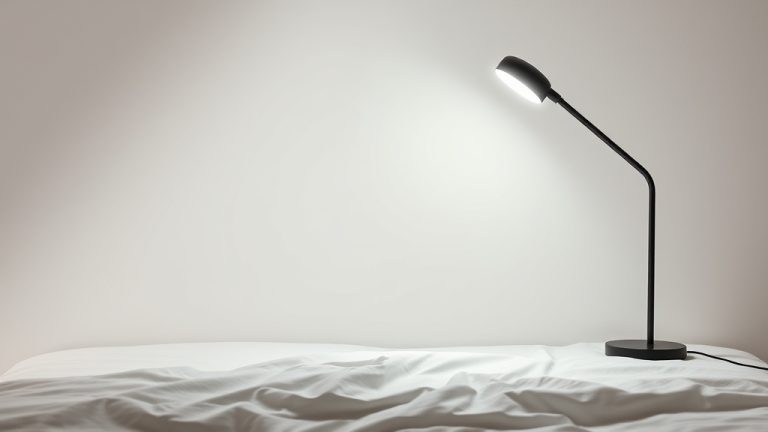
The ideal brooder lamp height is typically between Our guide to the best brooder lamp can help you choose the right one.12 to 18 inches above your chicks. This range helps create a warm zone where they can comfortably regulate their body temperature. Getting this height just right is key for preventing overheating or chilling.
Why is this height so important? It’s all about mimicking the warmth of a mother hen. Too close, and your chicks can easily get too hot, leading to dehydration. Too far, and they’ll be constantly shivering, which can weaken them. Finding that sweet spot ensures they have a safe and cozy environment to grow.
- Brooder Lamp Height: Aim for 12-18 inches above chicks.
- Why It Matters: Prevents overheating and chilling for healthy growth.
- Signs of Trouble: Chicks huddled far away mean it’s too cold; chicks panting or crowding away from the heat mean it’s too hot.
- Temperature Check: Feel the temperature at chick level – it should be comfortably warm.
Below, we’ll guide you through exactly how to adjust your brooder lamp to keep your new flock happy and healthy.
Finding the Right Brooder Lamp Height for Your Chicks
The height of your brooder lamp is super important for your new chicks. It’s not just about having a light on; it’s about creating a safe, warm environment. Let’s make sure your little ones are comfortable and growing strong. We want to avoid any “too hot” or “too cold” situations right from the start.
Think of it like a mom hen. She provides just the right amount of warmth, and her chicks can snuggle close or move away as needed. Your brooder lamp is doing the same job. Getting the height correct ensures they have control over their temperature. This is key for their first few weeks of life.
Understanding Brooding Temperatures
Chicks can’t regulate their own body temperature when they’re first born. They rely entirely on an external heat source. This is why the brooder lamp is so vital. The goal is to create a temperature gradient. This means there’s a warm spot directly under the lamp and cooler areas they can move to.
Research shows that newly hatched chicks need temperatures around 95°F (35°C) in the immediate brooding area. As they grow, they can tolerate cooler temperatures. This is a critical piece of information. It guides how you’ll adjust the lamp over time. You’re essentially stepping down the heat as they get their own downy feathers and grow.
Day-by-Day Temperature Adjustments
You’ll need to adjust the lamp’s height as your chicks grow. This is a simple process, but it requires observation. The general rule is to lower the lamp about 2 inches each week. This gradually decreases the heat they receive.
For example, in the first week, you’ll keep the lamp at that initial 12-18 inch height. By the second week, you might lower it to 10-16 inches. The third week could see it at 8-14 inches. Always check your chicks’ behavior to confirm the temperature is right.
The Importance of the Thermometer
While observing your chicks is a great indicator, a thermometer is your best friend. Place a reliable thermometer near the heat source, at chick level. You can use a simple meat thermometer or a digital probe thermometer. Aim for that 95°F (35°C) for the first week.
Many sources recommend checking the temperature in different spots within the brooder. This helps you understand the gradient you’ve created. You want it warm enough directly under the lamp, but not scorching. Also, ensure there are cooler zones they can retreat to if they feel too warm. This is good practice for ensuring their comfort (National Poultry Institute).
How to Measure and Adjust Your Brooder Lamp
Measuring the lamp height is straightforward. You can use a ruler or a tape measure. Measure from the bottom of the bulb or heating element down to the litter or floor of the brooder. This is the most accurate way to know your setting.
When you need to adjust, simply raise or lower the lamp fixture. Most brooder lamps come with adjustable chains or stands. If yours doesn’t, you might need to get creative. Using blocks or adjusting the height of the brooder box itself can work. Just ensure it’s stable and secure.
What Your Chicks Tell You About the Height
Your chicks are surprisingly good at communicating their needs. Learning to read their behavior is key. It’s like having little feathered thermometers!
Too Cold? Listen to the Huddles.
If your chicks are huddled tightly together directly under the lamp, they’re likely too cold. They are seeking every bit of warmth they can find. This is a clear sign the lamp is too high. They might also be chirping loudly and constantly. This is their way of calling for more heat.
Too Hot? Watch for Panting.
On the flip side, if your chicks are spread out as far as possible from the lamp, panting, or seem lethargic, it’s too hot. They are trying desperately to escape the heat. Some might even try to climb the walls of the brooder. This means the lamp is too low. You want them to be able to move freely and comfortably.
Just Right? The Happy Medium.
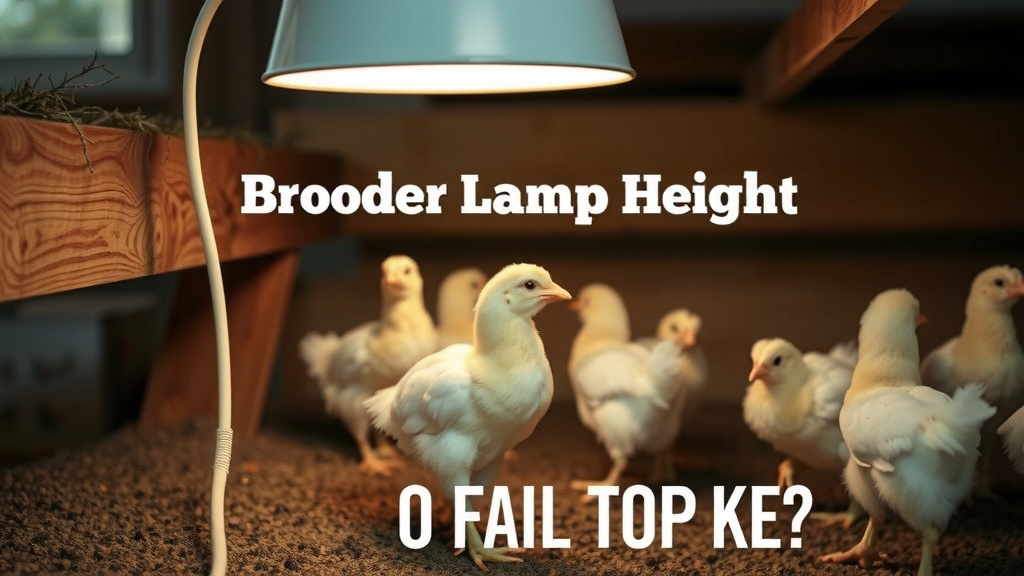
When the temperature is perfect, your chicks will be spread out comfortably under and around the heat source. They’ll be active, peeping normally, and not overly crowded or scattered. They should be able to move freely between warmer and cooler spots. This is the sweet spot you’re aiming for.
Using a Lamp Guard for Safety
A lamp guard is another essential piece of equipment. It prevents the chicks from coming into direct contact with the hot bulb. This is especially important if you’re using an incandescent bulb. While less common now, they can get extremely hot. Wire guards are very effective for this safety measure.
Ensure the guard is securely attached to your lamp fixture. It should cover the bulb completely. This protects your chicks from burns and prevents them from potentially breaking the bulb. Safety first is always the best approach!
Troubleshooting Common Brooder Lamp Issues
Even with careful setup, you might encounter a few hiccups. Don’t worry, most are easy to fix. The goal is to maintain that stable, comfortable temperature.
Uneven Heating
Sometimes, the heat might not be evenly distributed. This can happen if the lamp is too close to one side of the brooder. Or, if the brooder itself is too small. Ensure the lamp hangs in the center. If it’s an issue, try using a larger brooder box or adjusting the lamp’s position.
Bulb Type and Wattage
The type of bulb matters. Red bulbs are often used because they provide heat without stimulating the chicks too much, allowing them to sleep better. However, white heat lamps work too. Just be mindful of the wattage. Higher wattage bulbs produce more heat and will need to be hung higher. Lower wattage bulbs will need to be hung lower.
Many poultry experts recommend starting with a 250-watt heat bulb. You can adjust its height. If you find you’re maxing out the height and it’s still too hot, you might need a lower wattage bulb. Conversely, if you have it at its lowest setting and it’s not hot enough, a higher wattage bulb might be necessary. Always consult your bulb manufacturer’s recommendations.
A Quick Checklist for Brooder Lamp Setup
Here’s a handy checklist to make sure you’ve got everything just right:
- Confirm lamp is securely mounted and stable.
- Measure height from bulb to litter: start at 12-18 inches.
- Place a thermometer at chick level near the heat source.
- Observe chick behavior for signs of being too hot or cold.
- Ensure a lamp guard is in place to prevent burns.
- Be ready to adjust height daily or every few days as needed.
Getting the brooder lamp height right is a key step in raising healthy chicks. By observing your chicks and using simple tools, you can create the perfect warm haven for them. You’re doing a great job!
Conclusion
You’ve got this! Getting the brooder lamp height just right is a vital step in raising healthy, happy chicks. Remember, it’s about creating a cozy, safe zone that mimics a mother hen’s warmth. You’ll want to keep that lamp around 12 to 18 inches high initially, adjusting down by about 2 inches each week as they grow. Always keep an eye on your chicks’ behavior and use a thermometer to confirm the perfect temperature. These simple steps will ensure your little flock thrives. Your next step is to set up your brooder, hang your lamp, and prepare for your new arrivals!
Frequently Asked Questions
How often should I check the brooder lamp height?
You should check and potentially adjust the brooder lamp height at least once a day, especially during the first few weeks. Chicks grow quickly and their heat needs change daily. Observing their behavior will help you know if an adjustment is needed sooner.
Can I use a regular household lamp as a brooder lamp?
While a regular lamp might provide some heat, it’s generally not recommended for long-term brooding. Dedicated brooder lamps are designed for consistent, safe heat and are often designed to accommodate heat-emitting bulbs specifically. Regular lamps can be a fire hazard if not used with extreme caution.
What if I don’t have a way to adjust the lamp height easily?
If your lamp fixture isn’t easily adjustable, you can improvise. You can use sturdy books, wooden blocks, or even a small platform to raise or lower the brooder box itself under a fixed lamp. Just ensure whatever method you use is stable and won’t tip over.
How do I know if my chicks are comfortable with the lamp height, even if the temperature seems right?
Chicks are your best indicators! If they are spread out evenly, active, and peeping normally, the height is likely perfect. If they are huddled tightly, it’s too cold. If they are panting or trying to get as far away as possible, it’s too hot. Their behavior tells the whole story.
Is it okay for chicks to be able to touch the lamp if it has a guard?
Even with a lamp guard, you should aim for a height where chicks aren’t tempted to roost directly on top of the fixture. The guard is primarily to prevent burns and broken bulbs, not to encourage contact. Maintaining the recommended 12-18 inch distance is always best for proper heat distribution.