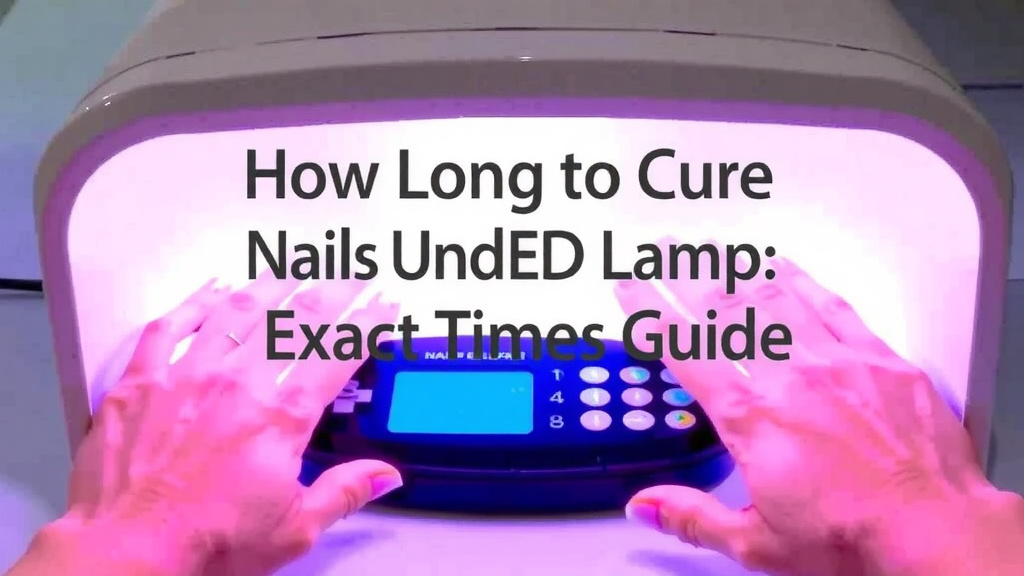
How Long to Cure Nails Under LED Lamp: Exact Times Guide
Most gel nails need 30 to 60 seconds under an LED lamp per coat. That includes your base coat, color coats, and top coat. Cure times vary by brand, so always check your polish label first.
Why the range? Not all lamps are equal. Higher-wattage lamps often cure faster, and thicker coats need more time. We found that many brands list exact curing times right on the bottle, which saves you a lot of guesswork. And yes, under-curing is a real thing—it leads to peeling, chipping, and sticky nails.
- Gel polish: usually 30 to 60 seconds per coat under LED
- Base and top coats: often cure in 30 seconds
- Thin coats cure better than thick ones
- Check your polish bottle for the exact time
- Sticky or tacky nails usually mean they need more time
Below, we break down everything you need to know about curing times, including common mistakes to avoid and how to tell when your nails are fully set. Let’s get your manicure right the first time.
Curing Gel Nails With an LED Lamp
For most gel polish, an LED lamp does the job in 30 to 60 seconds per coat. Some base and top coats only need 10 to 30 seconds. Your bottle label is the best guide—brands test their own formulas, so trust their numbers first.
Think of it like baking cookies. The recipe says 10 minutes, but your oven runs hot. Same idea here. Your lamp, your coat thickness, and your polish brand all play a part.
LED vs. UV Lamps: What’s the Difference?
Both lamps do the same job, but they use different bulbs. LED lamps use narrower light wavelengths that cure polish faster, while older UV lamps take two to three times longer.
- LED lamp: 30 to 60 seconds per coat
- UV lamp: 2 minutes or more per coat
- LED bulbs also last much longer—no bulb swapping
- Both work with most gel polish, but check the label
Many nail brands design their polish for one type of lamp. We found that using the lamp the brand recommends gives the most reliable results. Our guide to matching gel lamps and polish explains why the right combo matters.
Quick Cure Time Chart by Coat
| Coat Type | LED Lamp Time | UV Lamp Time |
|---|---|---|
| Base coat | 10–30 seconds | 60–120 seconds |
| Color coat | 30–60 seconds | 120 seconds |
| Second color coat | 30–60 seconds | 120 seconds |
| Top coat | 30–60 seconds | 120 seconds |
These times are typical, not guaranteed. Darker colors and thicker formulas often need the full 60 seconds. Some brands, like many gel systems sold in the US, print exact times on the bottle—check there first.
Why Curing Time Matters for Your Manicure
Curing isn’t just drying. It’s a chemical reaction where light hardens the gel from liquid to solid. Skip or shorten that step, and your manicure pays for it.
Under-cured gel stays soft underneath. That soft layer can’t grip your nail, so the polish peels or chips within days. It can also leave a sticky film that never fully goes away.
What Happens If You Under-Cure
- Nails stay sticky or tacky after curing
- Polish lifts at the edges within a few days
- Chips and dents appear early
- Moisture gets trapped, which can affect nail health
The Cleveland Clinic notes that gel manicures are generally safe when applied and removed properly. Problems usually come from technique, not the polish itself.
Can You Cure Too Long?
Yes, but it’s less common. Over-curing can make the gel brittle and yellowish. It can also increase heat spikes, which we’ll cover next. Stick to the recommended time and you’ll be fine.
Signs Your Nails Are Fully Cured
How do you know when you’re done? Your fingers will tell you. Fully cured nails feel smooth and hard, with no tackiness. Here’s a quick checklist to run through after each coat:
- Run a finger over the nail—no sticky or slimy feel
- The surface looks glossy, not dull or cloudy
- Tapping the nail gives a solid, hard sound
- No denting when you press gently with a thumb
- The polish color looks even and fully set
- Your cuticle skin isn’t stuck to a tacky layer
Some gel systems leave a slight inhibition layer—a thin tacky film on top. That’s normal and gets wiped away with cleanser after the top coat. Don’t confuse it with under-cured polish.
Common Mistakes That Ruin Cure Times
Even experienced DIYers slip up here. We found the same few mistakes pop up again and again, and they’re all easy to fix.
Applying Coats Too Thick
This is the big one. A thick coat cures on the outside but stays soft inside. It’s like microwaving frozen lasagna—hot edges, cold middle. Use thin, even coats instead. You can always add a third thin coat if the color needs it.
Using the Wrong Lamp Wattage
Not all LED lamps are equal. A 48-watt lamp cures faster than a 6-watt one. If your lamp is weak, add extra time in 30-second bursts. We found that matching your lamp to your polish brand removes most of the guesswork.
Skipping Cures Between Coats
Every coat needs its own time under the lamp. Piling on color without curing each layer traps soft gel underneath. Cure base, then each color coat, then top coat. No shortcuts.
Placing Your Nail Incorrectly
Your nail should sit flat under the light, not tilted or halfway in the lamp. Poor placement leaves parts of the nail under-cured. Center your finger and keep your hand still.
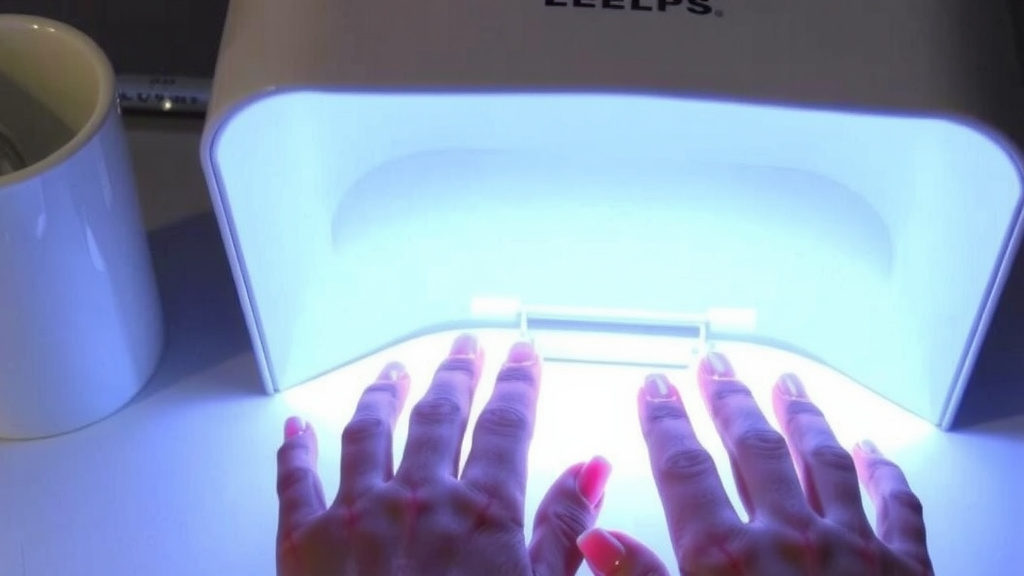
That Hot, Tingling Feeling During Curing
Ever felt a burning sensation when your nails go under the lamp? You’re not imagining it. Gel polish releases heat as it hardens, and some people feel it strongly.
Many experts recommend a simple trick: pull your hand out for a few seconds when the heat starts, then put it back in. Repeat until the coat is done. It’s called pulse curing, and it works.
If the heat bothers you a lot, try thinning your coats or using a lower-wattage setting. The Cleveland Clinic also suggests protecting the skin around your nails, since UV and LED light can reach it.
Tips to Get the Best Cure Every Time
Want salon-level results at home? A few small habits make a big difference:
- Clean first: Wipe nails with alcohol before the base coat
- Thin coats win: Better to do three thin layers than one thick one
- Cure the edges: Cap the free tip of each nail with polish
- Replace old bulbs: Weak LED bulbs lead to soft nails
- Follow the brand: Their lamp and polish combo is tested together
We found that timing each coat with your phone timer beats eyeballing it. Nails are cheap to redo, but patience is the real secret. Give each layer its full time, and your manicure can last two to three weeks without a chip.
What About At-Home LED Lamps and Safety?
Lots of readers ask whether LED lamps are risky. Research published through the National Institutes of Health suggests the UV exposure from gel lamps is quite low for typical use. LED lamps emit even less UV than older UV lamps because they use a narrower light range. For the full picture, our guide to how nail lamps work covers UV exposure and safety.
Still, some simple protection doesn’t hurt. Many experts say applying broad-spectrum sunscreen to your hands before curing works well. Fingerless UV gloves are another easy option and cost just a few dollars.
Bottom line: used normally, your LED lamp is a low-risk tool. Follow the times, keep coats thin, and protect your skin if you cure often. That’s all it takes.
Conclusion
Getting your cure time right comes down to three things: thin coats, the right lamp, and following the time on your polish bottle. Most coats need 30 to 60 seconds under an LED lamp, and every single layer deserves its full time in there. We found that the biggest manicure killers aren’t fancy problems—they’re thick coats, skipped cures, and fingers placed halfway under the light. If your nails feel tacky or start lifting early, the fix is usually just more time under the lamp, not more polish. So before your next manicure, grab your bottle, read the label, and set a timer for each coat. Your nails will thank you for two to three weeks.
Frequently Asked Questions
Can I cure gel nails without an LED lamp?
Only if your polish is a true “no-light” formula, which air-dries like regular nail polish. Standard gel polish needs UV or LED light to harden—it simply won’t set on its own. Air-drying tricks like cold water or fan blowing won’t work on gel.
How long should I cure each nail under an LED lamp?
Most lamps cure multiple nails at once, so you time the whole hand, not each nail. If your lamp only fits four fingers, cure the hand in two rounds and add the thumbs separately. Each round gets the full recommended time from your polish label.
Why are my nails still sticky after curing?
It could be a normal inhibition layer, which wipes off with cleanser after the top coat. But if the tackiness doesn’t wipe away, your gel is under-cured. Try longer cure times, thinner coats, or a stronger lamp next round.
Do older LED lamps take longer to cure nails?
They can. LED bulbs slowly lose intensity over years of use, and weak bulbs mean soft, under-cured nails. If your cure times used to work but don’t anymore, your lamp may be aging. Replacing it or adding extra seconds often solves the problem.
Should I cure longer than the bottle says to be safe?
We found that sticking to the label works best. Adding an extra 10 to 15 seconds rarely hurts, but big extensions can make gel brittle and yellowish. If you’re unsure, do one test nail at the recommended time and check how it feels before doing the whole hand.