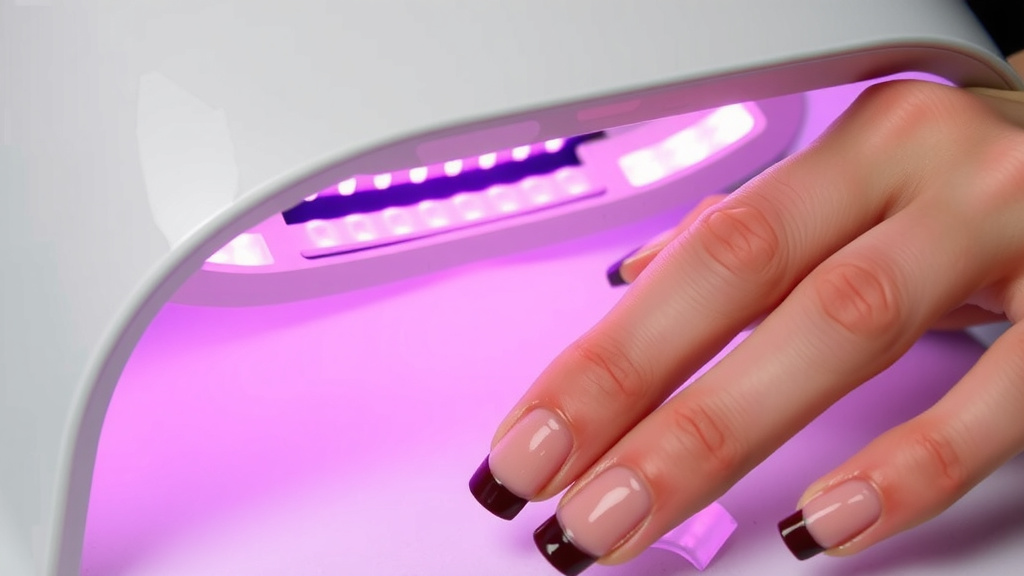
How UV LED Nail Lamps Work: A Simple Explanation
UV LED nail lamps work by emitting specific wavelengths of ultraviolet and blue light. This light causes the photoinitiators in gel nail polish to cure, or harden. Essentially, the lamp triggers a chemical reaction, turning your wet polish into a durable, chip-resistant finish. You’re not just drying the polish; you’re actually curing it into a solid state with UV LED technology.
When you place your hand inside, the LED bulbs emit a concentrated beam of light energy. This energy is absorbed by the special ingredients in gel polish. Research shows that different lamps emit different wavelengths, but most popular ones fall within the 365nm and 405nm range. This precise light output is key to achieving a salon-quality manicure at home.
TL;DR:
- UV LED nail lamps use special light to harden gel polish.
- They emit UV and blue light wavelengths.
- This light makes photoinitiators in the polish react.
- The reaction causes the gel to cure and become solid.
- It’s not just drying, it’s a chemical curing process.
Ready to understand the magic behind your perfect gel manicure? Let’s dive into exactly how these lamps make your nails shine.
Understanding How UV LED Nail Lamps Harden Gel Polish
So, you’re curious about the magic happening under that lamp, right? It’s not just a fancy hairdryer for your nails. UV LED nail lamps work by using specific types of light to trigger a chemical reaction within your gel polish. This reaction is what transforms that wet, goopy polish into the smooth, hard finish you love. It’s all about precise light energy and special ingredients in the polish.
The Science of Curing: Light Meets Chemistry
Think of gel polish like a tiny construction project. It needs a special kind of “cement” to set. This cement is made of monomers and oligomers, which are small molecules in the polish. When the lamp’s light hits them, they start linking up. This process is called polymerization, and it’s what creates a solid, durable coating on your nails. It’s a chemical transformation, not just evaporation like regular polish.
Photoinitiators: The Key Activators
What makes this polymerization happen? It’s a special ingredient called a photoinitiator. These are light-sensitive molecules mixed into the gel polish. When the correct wavelength of light from the UV LED lamp hits the photoinitiator, it gets excited. This excitement causes the photoinitiator to break down and create free radicals. These free radicals are the spark that starts the chain reaction, linking those monomers and oligomers together. Without them, the polish would just sit there, wet and sad.
Wavelengths Matter: The Light Spectrum
Not all light is created equal when it comes to curing gel polish. UV LED lamps emit light in specific wavelengths, usually measured in nanometers (nm). The most common wavelengths used for gel polish curing are around 365nm (UV-A) and 405nm (visible blue light). Different gel polishes are formulated to react best with these particular wavelengths. Using a lamp with the wrong wavelength might mean your polish doesn’t cure properly, leading to sticky or smudged nails. We found that most reputable gel polish brands specify the recommended curing time and lamp type.
How the Lamp Delivers the Light
Inside your UV LED nail lamp are tiny LED bulbs. These aren’t your average household bulbs; they are specifically designed to emit the precise wavelengths needed for curing. When you turn the lamp on, these LEDs fire up and direct their light energy toward your nails. The intensity and distribution of this light are also important factors for an even cure. Many lamps feature a reflective interior to maximize light exposure to all nails.
LED vs. Traditional UV Lamps
You might have heard of older UV lamps. While they also cure gel polish, they typically use fluorescent bulbs that emit a broader spectrum of UV light. LED lamps are a newer technology. They are generally more energy-efficient, have a longer lifespan, and cure polish much faster. Plus, LED bulbs are often more targeted in their wavelength output, which can lead to a more complete and reliable cure. Many salons have transitioned to LED lamps for these reasons.
The Curing Process Step-by-Step
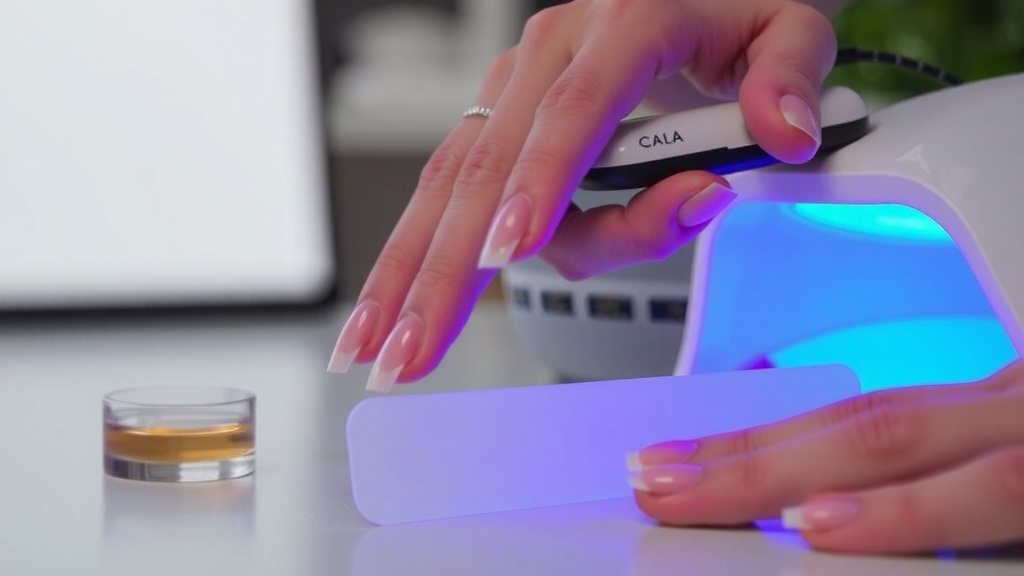
Let’s break down what happens when you put your hand inside the lamp. First, you apply your gel polish as usual, following the brand’s instructions. Then, you place your hand or foot under the lamp. You’ll select the appropriate cure time, often indicated on the gel polish bottle. When you press the power button, the LED bulbs illuminate. The light energy travels through the gel polish layers. It strikes the photoinitiators, kicking off the polymerization process. Within the set time, the liquid polish becomes a solid, shiny coating. It’s a swift chemical dance, making your manicure last.
Why Curing Time is Crucial
The recommended cure time isn’t just a suggestion; it’s essential for a proper manicure. If you don’t cure the polish long enough, the photoinitiators won’t have enough time to fully activate. This can leave your polish sticky, prone to smudging, and less durable. On the other hand, curing for too long can sometimes make the polish brittle or cause it to lift prematurely. We found that following the manufacturer’s guidelines for both the polish and the lamp is the best way to ensure longevity and a beautiful finish.
Factors Affecting Your Cure
Several things can influence how well your gel polish cures. Think of it like baking a cake – you need the right temperature, ingredients, and time. For nails, the type of gel polish is key. Different formulas have different curing needs. The strength and wavelength of your lamp also play a big role. A powerful lamp with the correct wavelengths will cure faster and more effectively than a weaker one. Lastly, the number of coats you apply matters. Thicker coats might need longer curing times than thinner ones to ensure the light penetrates all the way through.
| Factor | Impact on Curing | What to Do |
|---|---|---|
| Gel Polish Formula | Different brands and types cure differently. | Always follow the polish manufacturer’s instructions. |
| Lamp Wattage & Wavelength | Higher wattage and correct wavelengths cure faster. | Ensure your lamp matches your polish’s needs. |
| Coat Thickness | Thicker coats need more time to cure thoroughly. | Apply thin, even coats for best results. |
| Lamp Age | LED bulbs can dim over time. | Replace older lamps if curing seems slow. |
Troubleshooting Common Curing Issues
Encountering problems with your gel manicure? Sticky or uncured polish is often due to insufficient curing time or an incompatible lamp. A wrinkled or cracked finish might mean the coats were too thick or cured for too long. Peeling or lifting can happen if the nails weren’t properly prepped, or if the polish wasn’t fully cured at the free edge. We found that a good base coat and careful application of thin layers can prevent many of these common issues.
Ensuring a Perfect At-Home Manicure
Getting that salon-quality finish at home is totally achievable. You just need the right tools and a little know-how. When selecting a UV LED nail lamp, look for one that specifies its wavelength output. Pairing it with a quality gel polish brand designed for LED curing is smart. Don’t forget proper nail prep: cleaning, shaping, and using a good base and top coat. With a little practice, you’ll be creating beautiful, long-lasting gel manicures yourself.
Here’s a quick checklist to keep in mind for your next gel manicure:- Choose a lamp with specified wavelengths (365nm & 405nm).
- Use gel polish formulated for LED lamps.
- Apply gel polish in thin, even layers.
- Follow recommended cure times for each coat.
- Ensure proper nail preparation before polish application.
- Don’t skip the base and top coats!
Conclusion
You’ve learned how UV LED nail lamps use specific light wavelengths to kickstart a chemical reaction, hardening your gel polish into a durable manicure. It’s all about the science: light energy activating photoinitiators, which then link monomers and oligomers to create a solid, shiny finish. Understanding the roles of wavelengths, curing time, and proper application ensures you achieve that salon-quality look at home. Now that you’re equipped with this knowledge, you can confidently select the right lamp and polish for your best gel manicures yet. Your next flawless mani is just a lamp-light away!
Frequently Asked Questions
Do all gel polishes work with UV LED lamps?
Generally, yes, but it’s best to check. Most gel polishes are formulated to cure under specific wavelengths, typically 365nm and 405nm, which are standard for UV LED lamps. We found that using a polish specifically labeled as “LED gel” or “UV/LED” is the safest bet for optimal curing.
Can I use a regular UV lamp instead of a UV LED lamp?
Traditional UV lamps use fluorescent bulbs and emit a broader spectrum of UV light. While they can cure some gel polishes, UV LED lamps are generally faster, more energy-efficient, and have a more targeted wavelength output. If your gel polish specifies “LED curing,” a traditional UV lamp might not cure it effectively.
How do I know if my gel polish is fully cured?
A properly cured gel polish will feel hard and smooth, with no sticky or tacky residue. If it still feels soft or leaves a mark when you gently touch it, it likely needs more curing time. We found that avoiding thick coats helps ensure even curing throughout.
Is it safe to use UV LED nail lamps regularly?
Yes, when used as directed, UV LED nail lamps are considered safe for home use. The light emitted is typically low-wattage and concentrated for short periods. However, it’s wise to wear UV-protective gloves or apply sunscreen to your hands before a manicure, as prolonged, unprotected exposure to UV light isn’t recommended.
Why is my gel polish wrinkling or cracking under the lamp?
Wrinkling or cracking usually indicates that the gel polish was applied too thickly or cured for too long. Applying gel polish in thin, even layers and adhering to the recommended cure times for each coat is essential. We’ve found this prevents the polish from overheating and distorting during the curing process.
![10 Best At Home Uv Led Nail Lamp [2026]](https://bestdesklamp.com/wp-content/uploads/2026/08/10-best-at-home-uv-led-nail-lamp-2026-featured-768x432.jpg)