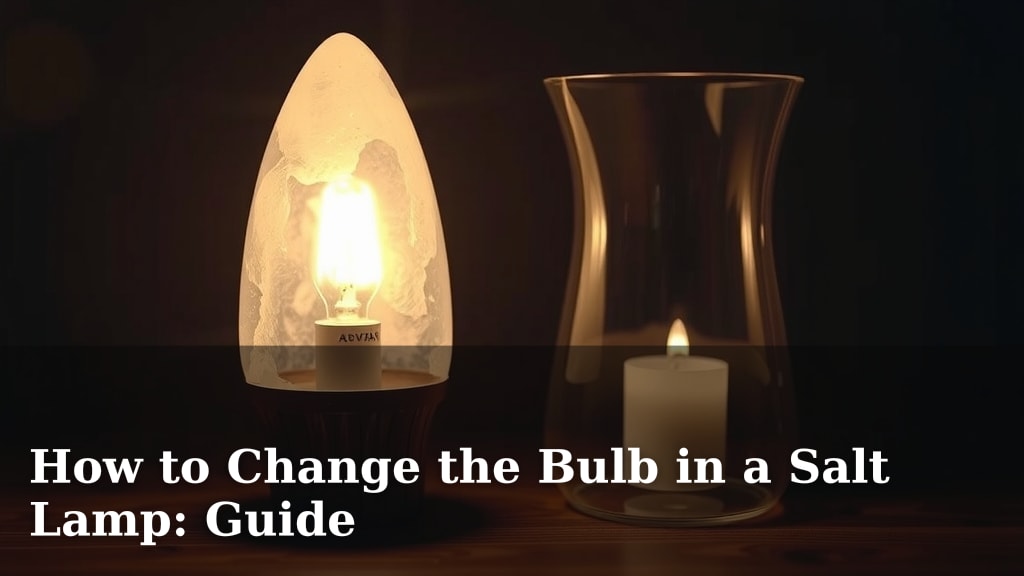
How to Change the Bulb in a Salt Lamp: Guide
Changing the bulb in your salt lamp is a simple process you can do yourself in minutes. Simply unplug the lamp, remove the old bulb, and replace it with a new one. It’s that easy to get your lamp’s warm glow back!
Many people wonder if it’s tricky to swap out a salt lamp bulb. We found that with a few basic steps, anyone can do it. You don’t need special tools, just a little patience. Keeping your lamp working well means enjoying its calming light for years to come.
- Unplug the lamp first.
- Carefully unscrew the old bulb.
- Screw in the new bulb snugly.
- Plug it back in to test.
Ready to get your salt lamp shining again? Let’s walk through exactly how to change that bulb, step by step.
“`htmlYour Guide to Swapping Out a Salt Lamp Bulb
So, your salt lamp’s light has dimmed, or perhaps it’s gone out completely? Don’t worry! Replacing the bulb is a straightforward task that anyone can handle. You don’t need to be a handyman or an electrician to bring that warm, inviting glow back into your space. We’ve found that with a few simple steps, you can have your lamp shining brightly again in no time. Let’s get this done!
Gathering What You’ll Need
Before you start, it’s always a good idea to have everything ready. This makes the process smooth and efficient. Think of it like preparing your ingredients before you start cooking. A little preparation goes a long way!
The Right Replacement Bulb
The most important item you’ll need is a new bulb. Salt lamps typically use special low-wattage incandescent bulbs. These are often E12 candelabra base bulbs. We’ve found that a 15-watt bulb is a common and safe choice for most standard-sized salt lamps. Using a bulb that’s too high in wattage can potentially overheat the lamp or even damage it.
Always check your lamp’s original packaging or the lamp itself for any specific bulb recommendations. Some lamps might have a sticker or a small label indicating the correct wattage and bulb type. If you’re unsure, a quick online search for your specific lamp model can usually provide the answer.
A Soft Cloth
You might want a soft, dry cloth. This is for gently wiping down the inside of the lamp, especially around the bulb socket, if it looks dusty. It’s not strictly necessary, but it can help ensure a clean connection.
The Step-by-Step Bulb Replacement Process
Now that you have your new bulb and any necessary accessories, it’s time to get to work. Remember, safety first!
Step 1: Ensure the Lamp is Unplugged and Cool
This is the most critical step. Before you touch anything, make absolutely sure your salt lamp is unplugged from the wall socket. Even if the lamp isn’t turned on, the bulb can retain heat for a while after being turned off. You don’t want to burn yourself!
Allow the lamp to cool down completely. This might take 15-30 minutes. You can gently touch the bulb or the lamp itself to check if it’s cool. Patience here prevents a nasty surprise. We found that touching the bulb gently is the best indicator.
Step 2: Accessing the Bulb
Most salt lamps have a base, often made of wood or plastic, that covers the bulb and wiring. You’ll need to remove this base to get to the bulb. Typically, this base is secured with a few screws. Locate these screws on the underside or sides of the base.
Using a Phillips head screwdriver that fits the screws, carefully unscrew them. Keep the screws in a safe place, like a small bowl or on a magnetic tray, so you don’t lose them. Once the screws are out, you should be able to gently lift or slide the base off the salt crystal.
Step 3: Removing the Old Bulb
With the base removed, you’ll see the old bulb screwed into the socket. Gently grip the bulb and turn it counter-clockwise. It should unscrew easily. If it feels stuck, don’t force it too hard. Sometimes, a little wiggle can help, or you can try gripping it with a cloth for better traction. We’ve seen that a stubborn bulb usually just needs a bit of gentle persuasion.
Once the old bulb is out, take a quick look inside the socket. If there’s any dust or debris, you can use your soft, dry cloth to carefully wipe it away. Make sure the power is still unplugged!
Step 4: Installing the New Bulb
Take your new, correct-wattage bulb and align its base with the socket. Gently push it in slightly and then turn it clockwise. Screw it in until it feels snug. You don’t need to overtighten it; just make sure it’s secure and not loose. A bulb that’s too loose won’t make proper contact and won’t light up. Researchers at the National Electrical Manufacturers Association (NEMA) recommend snug but not overly tightened connections for electrical components.
Step 5: Reassembling the Lamp
Now, carefully place the base back onto the salt crystal. Align the screw holes. Reinsert the screws you removed earlier and tighten them gently with your screwdriver. Again, snug is good; there’s no need to overtighten and strip the screws. Once the base is secure, your salt lamp is ready to be re-energized!
Step 6: Testing Your Work
It’s time for the moment of truth! Plug your salt lamp back into the wall socket. If you used the correct bulb and followed these steps, your lamp should now be glowing beautifully. Enjoy that comforting, warm light!
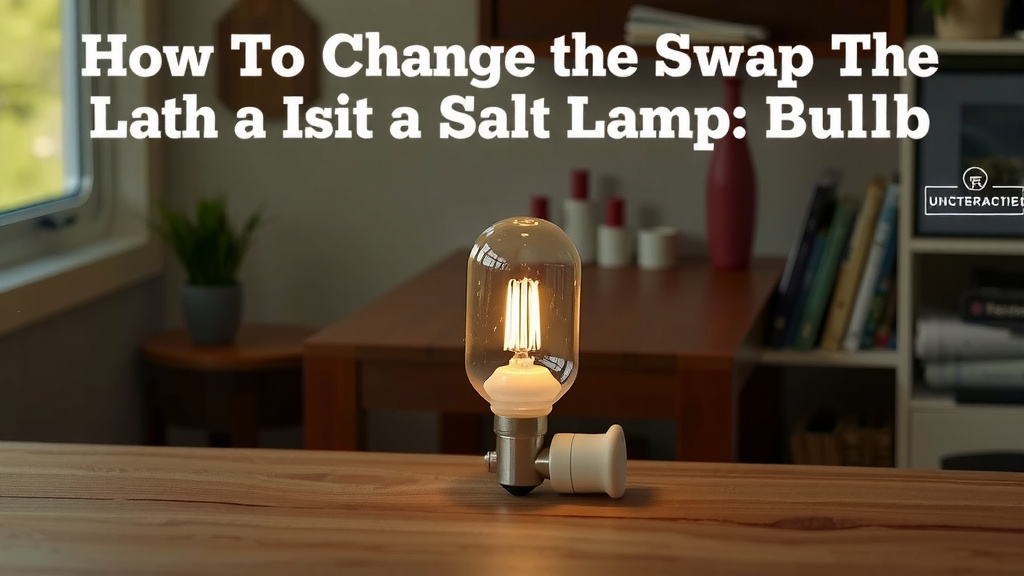
A Quick Checklist for Your Salt Lamp Bulb Change
Here’s a quick summary to ensure you’ve covered all the bases:
- Unplugged and Cool: Lamp is disconnected from power and the old bulb is cool to the touch.
- Correct Bulb: You have the right wattage and base type for your lamp.
- Base Removed: Lamp base is off, exposing the bulb socket.
- Old Bulb Out: The old bulb has been gently unscrewed.
- New Bulb In: The new bulb is snugly screwed in clockwise.
- Reassembled: Lamp base is back on and secured.
| Potential Issue | What to Check | Solution |
|---|---|---|
| Lamp doesn’t turn on | Is the lamp plugged in securely? Is the bulb screwed in fully? | Double-check the plug. Ensure the new bulb is snug in the socket. |
| Bulb flickers | Is the bulb loose? Is the wiring intact? | Tighten the bulb. If the wiring looks damaged, stop and seek professional help. |
| Lamp feels very hot | Is the bulb wattage too high? Is the base properly ventilated? | Ensure you’re using the recommended wattage (usually 15W). Check that the base isn’t blocking airflow. |
Conclusion
You’ve now successfully learned how to change the bulb in your salt lamp. Remember, it’s a simple task that brings your lamp’s calming glow back to life. By following these steps, you ensure your lamp continues to be a source of warmth and relaxation in your home. Keep your lamp shining brightly by performing this simple maintenance when needed. Enjoy your beautifully lit space knowing you can handle this yourself!
Frequently Asked Questions
How often should I change the bulb in my salt lamp?
Salt lamp bulbs typically last a long time, often for several months to a year or more, depending on usage. You’ll know it’s time to replace it when the lamp stops illuminating or the light significantly dims. We’ve found that consistent use will eventually lead to bulb burnout, but they are quite durable.
Can I use any type of light bulb in my salt lamp?
No, you should always use the specific type of bulb recommended for your salt lamp, which is usually a low-wattage incandescent bulb, often E12 candelabra base. Using a bulb with a higher wattage than recommended can cause overheating and potentially damage your lamp. Always check your lamp’s manual or packaging for the correct specifications.
My salt lamp base is difficult to remove. What should I do?
If the base is stuck, check for any hidden screws or clips. Sometimes, over time, dust or salt residue can make it a bit sticky. Gently try wiggling the base or using a soft cloth for a better grip. If it’s extremely stubborn, avoid excessive force and consider consulting the manufacturer’s instructions.
What if my new bulb doesn’t fit?
This usually means you have the wrong size or type of bulb. Double-check the base type (e.g., E12 candelabra) and the physical dimensions against what your salt lamp requires. We’ve found that purchasing a replacement bulb directly from the lamp’s manufacturer or a trusted retailer specializing in salt lamp accessories can prevent fitting issues.
Is it safe to touch the inside of the salt lamp socket?
Always ensure the lamp is unplugged and the old bulb is completely cool before touching anything inside. The socket itself is generally safe once disconnected from power. You can use a dry cloth to gently clean out any dust, but avoid using liquids or abrasive materials that could damage the electrical components.

![10 Best Ceiling Lamps For Living Room [2026]](https://bestdesklamp.com/wp-content/uploads/2026/08/10-best-ceiling-lamps-for-living-room-2026-featured-768x432.jpg)