CND Shellac Cure Time with LED Lamp: Exact Seconds Guide
CND Shellac takes 60 seconds per coat under an LED lamp. That includes your base coat, each color layer, and the top coat. So a full manicure usually needs about 4 to 5 minutes of total curing time. Easy math, right?
Here’s the thing though: timing can shift depending on your lamp’s wattage and the Shellac shade you’re using. Some darker or shimmer colors need a little extra time under the light. We researched this topic and found that most experts agree on the standard timings, but a few situations call for a longer cure. Skimp on the time, and you’ll end up with a dull, peeling finish that chips way too soon.
Quick TL;DR before we dive in:
- Base coat: cure for 10 seconds under an LED lamp
- Color coat: cure for 60 seconds per layer
- Top coat: cure for 60 seconds
- Dark or glitter shades may need up to 120 seconds
- Older or lower-wattage lamps often need extra cure time
Below, we break down every step so you know exactly how long to cure each layer of your Shellac manicure. Grab your lamp, and let’s walk through it together.
Curing CND Shellac the Right Way
If you’re curing CND Shellac, the golden rule is simple: follow the timer for each layer, and don’t eyeball it. Base coat goes for 10 seconds, color coats for 60 seconds each, and top coat for 60 seconds. That’s the standard under a proper LED lamp.
Think of it like baking cookies. Pull them out early, and you get a gooey mess. Leave them too long, and they’re dry as chalk. Shellac works the same way, just with light instead of heat.
Why Cure Time Matters So Much
Shellac doesn’t dry like regular polish. It cures, which means the gel formula hardens through a chemical reaction triggered by UV light. If the reaction doesn’t finish, the polish stays soft underneath.
That soft layer is where all your problems start. We found that under-cured Shellac is the number one reason manicures peel, chip, or feel tacky days later. You might not see it at first, but the polish is quietly failing underneath that shiny top coat.
Many experts also point out that uncured gel can irritate your skin, since wet product sitting on the nail bed isn’t meant to stay there (American Academy of Dermatology). So proper timing protects both your manicure and your fingers. Win-win.
What Happens When You Under-Cure
Here’s what you’ll notice if you cut corners on time:
- Dulling within a day or two
- Chips and peeling at the free edge
- A slightly sticky or tacky feel
- Lifting near the cuticle area
None of these are fun. And the frustrating part? They usually show up after you’ve already gone about your week, so you can’t even fix them easily.
Can You Over-Cure Shellac?
Good news here: yes, extra time is safe. Unlike under-curing, leaving your nails under the lamp a bit longer won’t hurt the finish. The cure reaction just completes and stops.
Some people worry about heat spikes, though. When gel cures, it can generate a warm sensation on the nail. If you feel that burn, pull your hand out for a few seconds, then finish the timer. Research on UV nail lamps shows the exposure is generally low risk when used as directed (FDA), but comfort matters too.
Step-by-Step Cure Times for Each Layer
Let’s walk through the full manicure, layer by layer. This is the roadmap we wish every beginner had taped to their bathroom mirror.
Base Coat Timing
Apply a thin layer of Shellac base coat, then cure it for 10 seconds. That’s it. The base coat is thin, so it cures fast.
One tip: apply it thin. A gloopy base coat takes longer to cure and can cause lifting later. Thin layers are your best friend through this whole process.
Color Coat Timing
Each color coat needs 60 seconds. Most manicures use two color coats for full, even coverage.
Again, thin coats win. A thick slab of color might look fully cured on top while staying soft underneath. Two thin layers always beat one thick one.
When Dark and Glitter Shades Need More Time
Dark reds, deep blues, and heavy glitter shades block light from passing through. We found that many nail pros add 30 to 60 extra seconds for these colors. If your dark shade looks dull even after 60 seconds, give it another round.
Top Coat Timing
The top coat cures for 60 seconds as well. This is the layer that gives you that glassy, salon shine, so don’t rush it.
After curing, wipe the top coat with a little isopropyl alcohol on a lint-free pad. That removes the sticky residue layer and reveals the real shine.
Cure Time Chart for CND Shellac
Here’s a quick reference table you can screenshot or pin somewhere handy.
| Layer | LED Time | Notes |
|---|---|---|
| Base coat | 10 seconds | Apply thin |
| Color coat 1 | 60 seconds | Thin layer |
| Color coat 2 | 60 seconds | Add 30–60s for dark shades |
| Top coat | 60 seconds | Wipe with alcohol after |
| Total | About 4–5 minutes | Plus prep time |
Does Your Lamp Wattage Change the Timing?
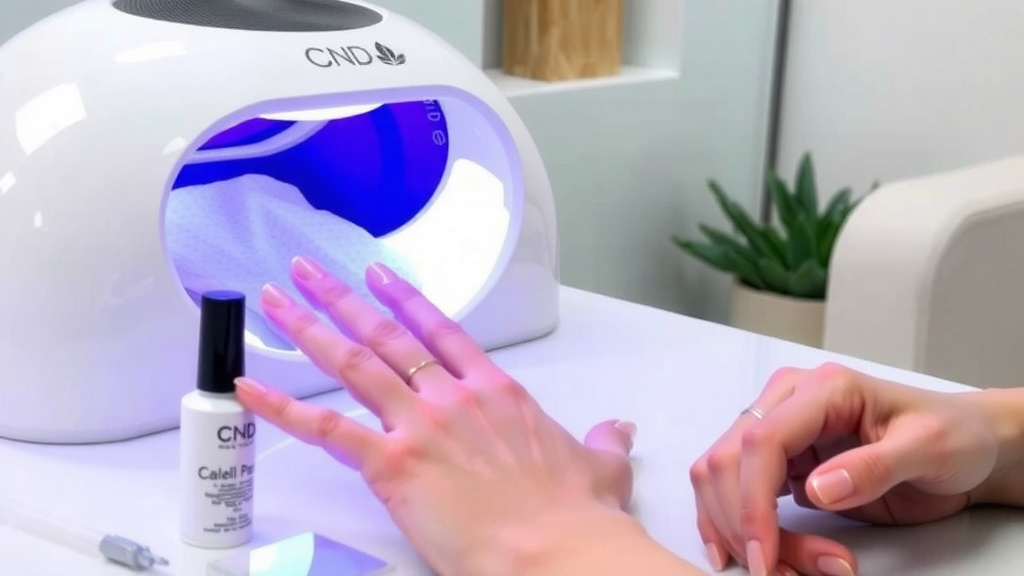
It can, and this trips a lot of people up. Most modern LED lamps cure Shellac in the standard times because they’re powerful enough. But older lamps, lower-wattage models, or random off-brand lamps may need extra seconds per layer.
We found that many professionals recommend sticking with a lamp made for Shellac or one with at least 18 to 48 watts of LED power. If your lamp is weak, add time in 10 to 15 second chunks until the polish feels fully hard. If your current lamp is underpowered, our roundup of the best at-home LED nail lamp picks covers tested models that cure Shellac reliably.
How to Tell If Your Lamp Is Working Properly
Not sure if your lamp is pulling its weight? Watch for these signs:
- The timer runs but your polish stays tacky every time
- Some bulbs have burned out or flicker
- Cure times that used to work suddenly don’t
- The lamp feels unusually cool with no light output at all
If any of these sound familiar, it’s probably time for a new lamp or replacement bulbs. No amount of extra seconds will fix a lamp with dead LEDs.
Common Curing Mistakes to Avoid
Everyone makes mistakes at first. Here’s a quick checklist to run through before your next manicure so you don’t repeat the classics.
- Apply thin layers, never thick ones
- Cure each layer fully before applying the next
- Clean the lamp bulbs and reflector with alcohol regularly
- Keep your hand flat so nails sit evenly under the LEDs
- Replace bulbs that flicker or burn out
- Add extra time for dark, deep, or glitter-heavy shades
That last one gets people all the time. You do a gorgeous deep plum, cure it for 60 seconds like usual, and wonder why it dents by Tuesday. The shade was the culprit, not your technique.
LED vs. UV Lamps for Shellac
Here’s a question we get a lot: can you use a UV lamp instead? Yes, but the timing changes. UV lamps cure Shellac in about 2 minutes per layer, while LED lamps do it in 60 seconds. Same result, different speed.
LED lamps are also more energy efficient and the bulbs last much longer. So if you’re buying new, LED is usually the smart pick. If you already own a UV lamp, just double your cure times and you’re set. Want to know why the two lamp types cure at different speeds? Our guide to the science behind curing gel polish breaks it down.
Getting a Long-Lasting Shellac Manicure at Home
Curing is only half the battle. Prep and aftercare decide whether your manicure lasts a full two weeks or gives up by the weekend.
Prep Tips Before You Paint
Push back your cuticles, lightly buff the nail surface, and wipe each nail with alcohol to remove oils. Nails that are clean and dry hold Shellac much better. Skip lotion before your manicure, since oils sneak under the polish and cause lifting.
Caring for Your Manicure Afterward
Wear gloves for dishes and cleaning, and keep your hands moisturized with cuticle oil. Many dermatologists note that regular moisturizing keeps the skin around the nail healthy and helps polish wear better (Mayo Clinic). Small habits, big payoff.
Conclusion
Getting Shellac right really comes down to two things: thin layers and trusting the timer. Cure your base for 10 seconds, each color coat for 60, and the top coat for 60. That’s roughly 4 to 5 minutes of lamp time for a full manicure. If you’re working with a dark or glittery shade, add another 30 to 60 seconds so it hardens all the way through. We found that most curing problems trace back to rushing or piling the polish on too thick, so patience pays off here. Now grab your lamp, set your timer, and give your next manicure the full cure it deserves. Your two-week wear time starts with those 60 seconds.
Frequently Asked Questions
Can I cure CND Shellac with any LED lamp I already own?
You can try, but results vary a lot. Shellac is formulated to pair with CND lamps, and off-brand or low-wattage LED lamps may leave the polish soft underneath. If your polish feels tacky after curing, your lamp likely isn’t a good match. Adding extra seconds can help, but a compatible lamp is the safer bet.
Why is my Shellac still tacky after 60 seconds under the lamp?
It usually means one of three things: the layer was too thick, your lamp is too weak, or the shade is dark or glitter-heavy and blocked the light. Try a second 60-second round first. If it stays tacky every time, your lamp may need replacement bulbs or an upgrade.
Do I really need to wipe the top coat with alcohol after curing?
Yes, if you’re using a traditional Shellac top coat. It leaves a sticky inhibition layer after curing, and wiping with isopropyl alcohol on a lint-free pad removes it. Skip this step and your manicure can look dull or collect lint and dust. Some gel-style top coats are no-wipe, so check your bottle.
How long should Shellac cure in a UV lamp instead of LED?
UV lamps take about 2 minutes per layer, roughly double the LED time. The end result is the same, just slower. If you switch between lamp types, keep a note of the different timings so you don’t accidentally under-cure with the slower lamp.
Can I cure all five nails at once, or does that change the timing?
A standard lamp cures a whole hand at once, so the timing stays the same. The main thing to watch is placement. Keep your hand flat and centered so each nail sits directly under the LEDs. If a lamp only fits four fingers comfortably, cure the thumb separately for the full time.