
How Salt Lamps Are Made: A Simple Explanation
Salt lamps are made by hollowing out large chunks of Himalayan pink salt. Miners extract these salt deposits from the Khewra Salt Mine in Pakistan. The salt is then carefully shaped and a light bulb is installed inside. It’s a surprisingly straightforward process! Learn more about how pink Himalayan salt lamps work and the science behind their glow.
These lamps are often marketed for their supposed health benefits, like air purification. While research on these claims is ongoing, their unique, warm glow is undeniable. Many people find their ambient light soothing. It’s a beautiful way to add a touch of natural decor to your home.
- Salt lamps start as large blocks of Himalayan rock salt.
- Miners carefully hollow out the center of these blocks.
- A light bulb fixture is then installed inside the hollowed-out space.
- The finished product is a natural salt crystal with a light source.
Let’s walk through exactly how these beautiful lamps are brought to life, from mine to your tabletop.
How Are Himalayan Salt Lamps Made?
These beautiful lamps start their journey deep within the earth. They are carved from natural salt deposits. Specifically, they come from the Khewra Salt Mine in Pakistan. This mine is one of the oldest and largest salt mines in the world. The salt is a special kind of rock salt. It’s known for its distinctive pinkish hue. This color comes from trace minerals within the salt. Think of it like a beautiful, giant natural gemstone. Discover how rock salt lamps work, from their salt source to their ambient effect.
Mining the Salt: The First Step
The process begins with skilled miners. They work in challenging conditions underground. Their job is to extract large blocks of salt. These blocks can be quite substantial. They need to be carefully chosen. Miners look for salt that is pure and has a good color. It’s a very manual and labor-intensive process. Safety is a top priority down there. The miners use specialized tools and techniques. They carefully break away pieces of salt from the mine walls. These raw salt chunks are the starting material for your lamp.
Selecting the Right Salt Blocks
Not every piece of salt is suitable for a lamp. Experts often examine the extracted blocks. They look for salt with a consistent color. They also check for any large cracks or impurities. The most prized salt blocks have that classic pink or reddish-orange color. This color is a sign of beneficial minerals. Some blocks might be carved into different shapes. Others are left more rough and natural-looking. This choice impacts the final aesthetic of the lamp.
Shaping the Lamp: From Block to Glow
Once the salt blocks are brought to the surface, the shaping begins. This is where the raw salt starts to look like a lamp. Artisans use various tools to carve the salt. They often use saws and chisels. The goal is to create a hollow space inside the block. This hollow will house the light bulb. Many lamps are carved to have a rough, natural exterior. Others are smoothed and polished. The shape can vary widely. Some are round, others more irregular. It really depends on the artisan’s skill and vision.
Hollowing Out the Interior
This is a delicate stage. A drill is often used to start the hollow. Then, smaller tools are used to carefully remove salt. The goal is to create a cavity. This cavity needs to be the right size for a light bulb fixture. It must be deep enough but not too deep. If the salt is too thin, it could break. Artisans must be very precise. They work slowly and deliberately. They are essentially sculpting the salt from the inside out. This ensures the lamp is sturdy and safe.
Finishing Touches for the Exterior
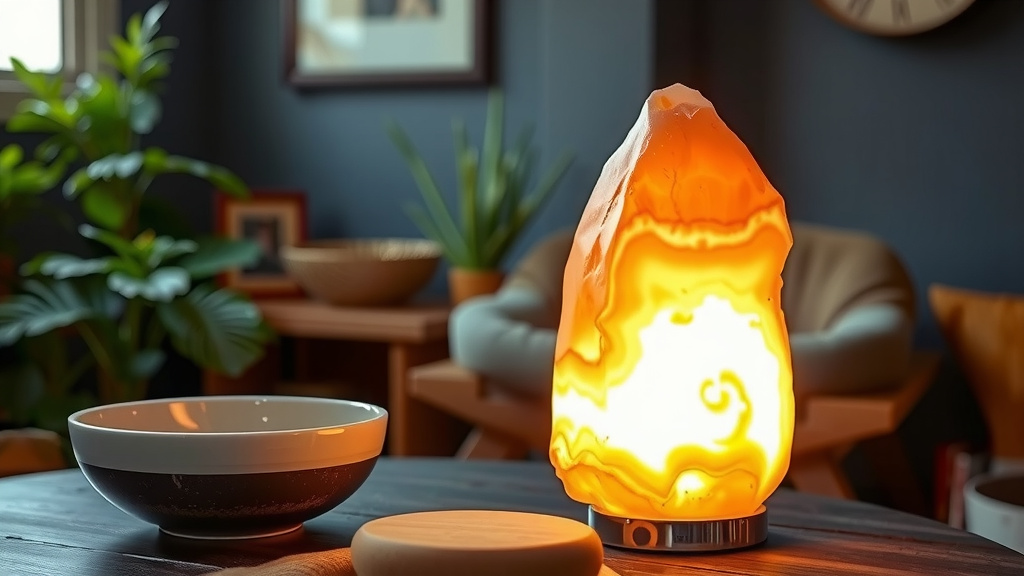
After the inside is hollowed, the outside gets attention. Some lamps are left with a natural, rough finish. This highlights the raw beauty of the salt crystal. Others are smoothed down. This might involve using sandpaper or other abrasive tools. A polished surface can make the lamp look more refined. Sometimes, a base is added. This is usually made of wood. It provides stability for the lamp. It also protects your furniture from any moisture that might form.
Adding the Light Source
The final step is installing the electrical components. This involves adding a light bulb socket and cord. The socket is placed inside the hollowed-out salt. It’s secured in place. A cord with a plug is attached to the socket. A switch is often included on the cord. This allows you to easily turn the lamp on and off. The type of light bulb used is important. Usually, low-wattage incandescent bulbs are recommended. These bulbs produce heat. The heat helps to warm the salt crystal. This warming is thought to be part of the lamp’s appeal.
Choosing the Right Bulb
The heat from the bulb is key. It’s not just about the light it emits. Many believe the warmth helps the salt release negative ions. This is a topic with ongoing scientific discussion. However, using a bulb that gets warm is generally advised. LED bulbs don’t produce enough heat. They might not offer the same effect. Always check the manufacturer’s recommendations. They will suggest the best wattage and bulb type.
Quality Control and Packaging
Before a salt lamp reaches your home, it goes through checks. Each lamp is inspected. Artisans and quality control teams ensure everything is safe. They check the wiring. They look for any flaws in the salt carving. The lamp is then carefully packaged. This protects it during shipping. It ensures it arrives in perfect condition. Often, they are wrapped securely. They might be placed in boxes with protective padding. This careful handling is vital.
A Checklist for Salt Lamp Creation
Here’s a quick rundown of the journey:
- Salt Extraction: Miners carefully mine large salt blocks.
- Selection: High-quality, richly colored salt is chosen.
- Carving: Artisans shape the blocks and hollow them out.
- Finishing: The exterior is smoothed or left natural. A base is often added.
- Electrics: A light socket, cord, and plug are installed.
- Inspection: Each lamp is checked for safety and quality.
Conclusion
You’ve learned how those beautiful Himalayan salt lamps make their way from deep mines to your home. It’s a fascinating journey of skilled mining and careful craftsmanship. From raw salt blocks to a glowing, ambient light source, each step adds to its unique charm. You now understand the manual labor and precision involved. Knowing this can help you appreciate your salt lamp even more.
Ready to add this natural beauty to your space? Consider choosing a lamp that reflects the craftsmanship you’ve just read about. Your next step could be finding the perfect spot in your home for its warm, inviting glow.
Frequently Asked Questions
Are salt lamps actually carved by hand?
Yes, the process relies heavily on artisans. They use tools like saws and chisels. This allows them to carefully shape the salt blocks. Hollowing out the interior is done with precision by hand.
Why do salt lamps sometimes have a wooden base?
The wooden base serves a couple of important purposes. It provides stability, keeping your lamp upright and secure. It also helps protect your furniture. Salt can sometimes absorb moisture from the air, and the base prevents this from causing damage.
What kind of light bulb is best for a salt lamp?
Low-wattage incandescent bulbs are generally recommended. These produce a gentle heat. This warmth is believed by many to enhance the lamp’s natural properties. LEDs typically don’t get warm enough to achieve this effect.
Where do the pink salt crystals come from?
The distinctive pink color comes from the Khewra Salt Mine. This mine is located in Pakistan. The salt’s hue is due to trace minerals, like iron oxide, naturally present within the salt deposits.
How are the electrical parts secured inside the lamp?
After the salt block is hollowed out, a light bulb socket is carefully placed inside. It’s then secured within the cavity. A cord with a plug is attached to the socket, allowing you to connect it to power.

![10 Best Clamp Desk Lamp [2026]](https://bestdesklamp.com/wp-content/uploads/2026/08/10-best-clamp-desk-lamp-2026-featured-768x432.jpg)