How Long to Cure Nails With LED Lamp: Timing Guide
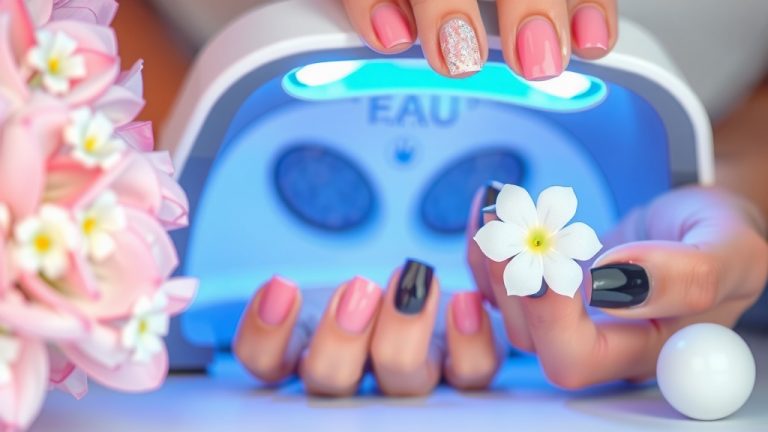
Most gel nails need 30 to 60 seconds under an LED lamp per coat. That means a full manicure usually takes about 2 to 4 minutes of total curing time. If you’re using a UV lamp instead, expect it to take roughly twice as long.
Here’s the thing: curing time isn’t one-size-fits-all. It depends on your lamp’s wattage, the gel brand you use, and even how thick you apply each layer. We researched what nail techs and gel manufacturers recommend, and the biggest mistake people make is rushing the base coat. Under-cured gel can lead to peeling, bubbles, and even allergies down the road.
- LED lamps cure gel in 30–60 seconds per layer; UV lamps take 2 minutes or more.
- Base coat: usually 30 seconds. Color coats: 30–60 seconds each.
- Top coat: 60 seconds for a hard, shiny finish.
- Thin layers cure better than thick ones. Less is more!
- Always check the instructions on your specific gel polish bottle.
Wondering why your polish keeps lifting or staying tacky? The cure time is often the culprit. Below, we break down everything you need to know about curing nails with an LED lamp, step by step, so you can get salon-quality results at home.
Curing Gel Nails With an LED Lamp: Timing by Step
Ready for the breakdown? Each layer of your manicure has its own sweet spot. We researched the guidelines from popular gel brands, and most of them agree on the numbers below.
| Layer | LED Lamp Time | UV Lamp Time |
|---|---|---|
| Base coat | 30 seconds | 1 minute |
| Color coat (first) | 30–60 seconds | 2 minutes |
| Color coat (second) | 30–60 seconds | 2 minutes |
| Top coat | 60 seconds | 2 minutes |
Think of it like baking cookies. You wouldn’t pull them out of the oven just because the timer “feels” done. Same deal here — the clock matters, but so does your specific product.
Base Coat Timing
Start with 30 seconds under your LED lamp. The base coat is thin, so it cures fast. Many experts say this is the layer people rush the most, and it’s the one your whole manicure depends on.
Skimp here, and your color can lift within days. Give it the full half minute. Your future self will thank you.
Color Coat Timing
Most color coats need 30 to 60 seconds per layer. Darker shades often need the full 60, while lighter ones can be fine at 30. When in doubt, go longer.
Here’s a tip we found repeated across manufacturer guides: apply two thin coats instead of one thick one. Thick layers can cure on top but stay soft underneath — like a pancake that’s brown on the outside and raw in the middle.
Top Coat Timing
Give your top coat a full 60 seconds. This layer creates the hard, glossy shield that protects everything underneath. Rushing it often leaves a tacky or dull finish.
Want extra shine? Some people wipe the cured top coat with a little isopropyl alcohol on a lint-free pad to remove any sticky residue left behind.
Why Cure Time Varies Between Lamps and Gels
Ever wonder why your friend’s gel cures in 30 seconds but yours takes longer? It usually comes down to two things: your lamp’s wattage and the gel formula you’re using.
Most home LED lamps run between 24 and 48 watts. Higher wattage lamps cure faster because they deliver more light energy. But here’s the catch — gel polish is formulated to react to specific light wavelengths, not just raw power.
Lamp Wattage and Bulb Placement
Wattage helps, but coverage matters more. A 24-watt lamp with bulbs placed well around your hand can outperform a stronger lamp with poor placement. If your lamp has dark spots, your pinky and thumb nails may cure slower than the rest. If uneven coverage is your issue, our picks for the best at-home LED nail lamp highlight models with well-placed bulbs.
Many nail techs recommend curing your thumb separately for a few extra seconds. It sits at an angle inside the lamp and often gets less light. Small fix, big difference.
Gel Brand and Formula Differences
Each brand mixes its own photoinitiators — the ingredients that react to light. That’s why brand instructions win over any general rule. If your bottle says 60 seconds, cure for 60 seconds, even if your friend’s brand says 30.
We found that mixing brands (one brand’s gel with another brand’s lamp) is where most curing problems start. It’s not dangerous, but it’s unpredictable. Stick with one system when you can.
Signs Your Gel Nails Are Fully Cured
How do you know when it’s done? A properly cured nail feels hard and smooth, with no tackiness. Here’s a quick checklist to run through before you move to the next layer:
- The surface feels solid, not squishy or gummy.
- No sticky film remains after a quick alcohol wipe.
- The color looks even and glossy, not cloudy.
- Nails don’t smudge when you tap them lightly.
- The edge near your cuticle is just as hard as the center.
- Your nail doesn’t dent when you press with a fingernail.
If your nails stay tacky no matter how long you cure them, the gel may be old or incompatible with your lamp. Some tackiness on a base coat is normal, by the way. The sticky layer is called the inhibition layer, and your color coat bonds to it.
What Happens if You Under-Cure or Over-Cure
Under-curing is the bigger problem. Gel that stays soft can peel, bubble, or lift within days. Worse, research published through the NCBI suggests repeatedly touching under-cured gel may raise the risk of developing an allergy to acrylates over time. That allergy can be permanent and even affect dental work later in life.
So if a brand says 60 seconds, don’t stop at 30 because you’re impatient. We get it — standing there with your hand in a glowing box isn’t glamorous. But it’s the difference between a two-week manicure and a two-day one.
Over-curing is less common but real. Leaving gel under the lamp far too long can cause yellowing, brittleness, or discoloration, especially with clear or white shades. Stick to the recommended time plus a small buffer, not triple the time.
Heat Spikes During Curing
Ever felt a burning sensation when your hand hits the lamp? That’s called a heat spike. It happens when the gel cures quickly and releases energy as heat. Thin coats reduce it. So does curing in shorter bursts — 15 seconds, a break, then the rest.
If it burns, pull your hand out for a moment. Forcing through the pain isn’t a badge of honor.
LED vs. UV Lamps: Does Your Lamp Type Change Timing?
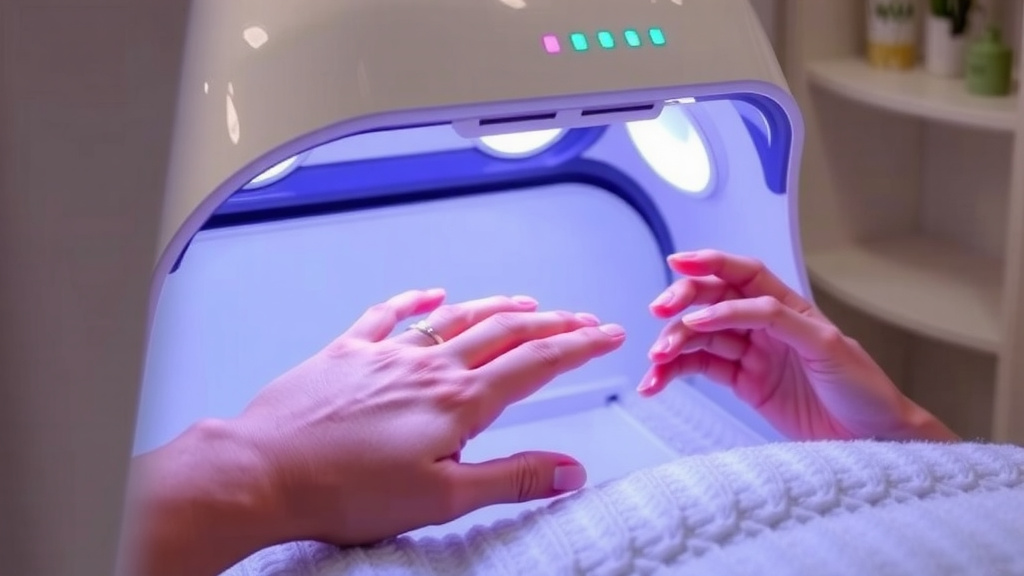
Short answer: yes. LED lamps cure faster — usually 30 to 60 seconds per layer. Traditional UV lamps use a different light spectrum and typically need about two minutes per layer.
Both lamp types can cure gel safely when used correctly. Studies reviewed by health agencies note that the UV exposure from a nail lamp is low compared with natural sunlight. Still, many dermatologists suggest applying broad-spectrum sunscreen to your hands before curing, or wearing fingerless UV gloves (Cleveland Clinic).
One more thing we found: LED lamps last longer and don’t need bulb replacements, which is why most home users prefer them. UV lamps with traditional bulbs fade over time, making your cure times longer without you realizing it.
Common Curing Mistakes to Avoid
Even experienced DIYers slip up here. These are the mistakes we saw mentioned most often by nail pros:
- Applying layers too thick. Thin layers cure all the way through.
- Skipping cure times on the base coat. It’s the foundation. Respect it.
- Using an expired or old gel. Old gel doesn’t cure properly no matter what.
- Keeping long nails in the lamp wrong. Longer nails need the hand tilted so the free edge gets light.
- Curing right after applying lotion or cuticle oil. Oils block the gel from gripping the nail.
Quick Prep Checklist Before You Cure
- Push back cuticles and gently buff the nail surface.
- Wipe nails with cleanser or alcohol to remove oils.
- Confirm your gel and lamp are a compatible brand or wavelength.
- Set a timer or use your lamp’s built-in one — don’t eyeball it.
- Cure your thumb and pinky a few extra seconds.
- Cap the free edge of each nail to prevent tip lifting.
Follow these, and you’ll sidestep most of the frustrating stuff. Gel manicures have a learning curve, but once your timing clicks, the results genuinely look salon-worthy. You’ve got this.
Conclusion
Getting your gel timing right really comes down to a few simple habits: thin layers, full cure times, and trusting your brand’s instructions over any general rule. We found that most curing problems — lifting, bubbling, tackiness — trace back to rushed base coats or layers applied too thick. Give each layer its recommended 30 to 60 seconds, add a few extra seconds for your thumbs and pinkies, and wipe with alcohol to check your finish. Once you nail your setup, a two-week manicure at home is absolutely within reach. Your next step: grab your current gel bottle, read its cure times, and set your lamp timer to match before your next manicure.
Frequently Asked Questions
Can I cure my nails for too long under an LED lamp?
Yes, but it takes a lot longer than you’d think. Sticking to the recommended time plus a small buffer is fine. Leave gel curing for many extra minutes, though, and you may see yellowing or brittleness, especially with clear and white shades.
Why are my gel nails still tacky after curing?
A slight sticky layer on the base coat is normal — that’s the inhibition layer your color bonds to. If your top coat stays tacky, you likely under-cured it, applied it too thick, or your gel is old and incompatible with your lamp. Try a full 60 seconds and a thin layer first.
Do I need to cure my thumb separately?
Many nail techs recommend it, and we found it genuinely helps. Your thumb sits at an angle inside most lamps and gets less direct light than your other nails. Cure your thumbs last, one at a time, for a few extra seconds.
How long should I cure gel with a 24-watt LED lamp versus a 48-watt one?
A 48-watt lamp usually cures at the lower end of the range — around 30 seconds per layer. With a 24-watt lamp, lean toward 60 seconds per layer to be safe. Always defer to your gel brand’s instructions, since wattage alone doesn’t determine cure time.
Can I use any LED lamp with any gel polish brand?
You can, but results get unpredictable. Gel formulas are built to react to specific light wavelengths, so a mismatched lamp may leave gel soft underneath. We found that sticking with one brand’s system — or at least checking that your lamp matches the gel’s wavelength requirements — prevents most curing headaches.