How Long to Cure Gel Polish with LED Lamp: Timing Guide
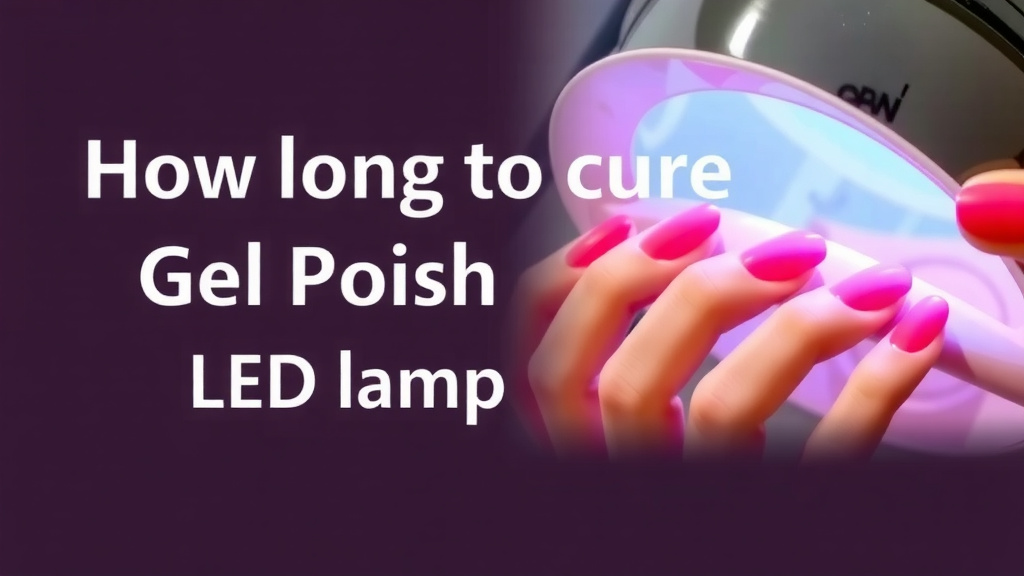
Most gel polish needs 30 to 60 seconds under an LED lamp to cure fully. The exact time depends on your polish brand and lamp wattage, so always check the bottle first. When in doubt, a few extra seconds won’t hurt anything.
Here’s the thing: under-curing is the real villain here. If your gel stays tacky or peels off in a few days, chances are it wasn’t under the light long enough. We found that many at-home manicure mishaps come down to rushed curing or an old, weak lamp that needs replacing.
- Base coat: usually 30 seconds under an LED lamp
- Color coats: typically 30 to 60 seconds per coat
- Top coat: about 60 seconds for a strong, glossy finish
- Thin layers cure better than thick ones, every single time
- If your gel feels sticky after curing, your lamp may be too weak or too old
Below, we break down everything you need to know about curing gel polish the right way, from timing by coat type to signs your gel is fully set. Let’s get your manicure lasting weeks, not days.
LED Curing Times for Gel Polish by Coat
The quickest answer: each layer has its own timer. Base coats cure faster because they’re thin and clear. Color coats need a bit more time, and top coats take the longest to get that hard, glassy finish.
We put together a simple table so you can stop squinting at tiny bottle labels mid-manicure.
| Layer | LED Lamp Time | UV Lamp Time |
|---|---|---|
| Base coat | 30 seconds | 60 seconds |
| Color coat (thin) | 30 seconds | 60 seconds |
| Color coat (deeper shade) | 45–60 seconds | 2 minutes |
| Top coat | 60 seconds | 2 minutes |
Dark colors like navy, black, and deep red block light from passing through. That means the bottom of the layer stays soft longer. If you love moody winter shades, tack on an extra 15 seconds per coat.
LED vs. UV Lamps: Why Wattage and Timer Matter
Not all lamps are created equal, and this is where a lot of manicures go sideways. LED lamps use narrow-spectrum light that cures gel faster. UV lamps use a broader wavelength, so they take about twice as long. Wondering why the two technologies behave so differently? Our guide to how nail lamps cure gel polish explains the science.
How Lamp Wattage Changes Cure Time
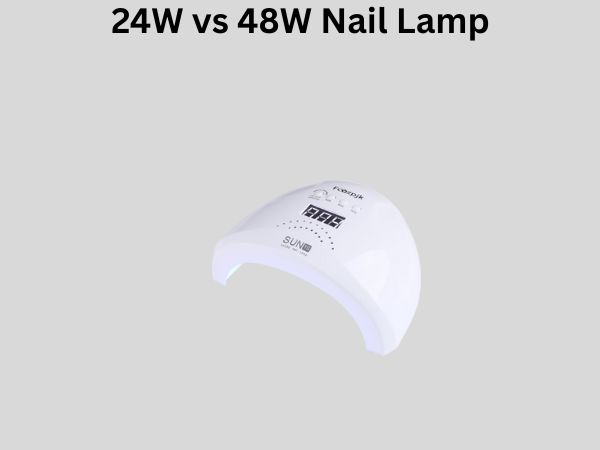
Wattage is like the difference between a quick shower and a slow drizzle. A 48-watt lamp will set your polish faster and more evenly than a weak 6-watt bulb plugged in from 2015.
Many brands list a wattage minimum right on the bottle. We found that ignoring it is one of the most common reasons home manicures peel early. If your lamp is under 24 watts, plan on adding time to every single coat.
Signs Your Lamp Is Too Weak
Your gel will tell on itself. Watch for these clues:
- Polish stays tacky even after two full cycles
- Edges and near the cuticle never fully harden
- Your manicure lifts or peels within a few days
- The lamp’s bulbs flicker or one side feels cooler
If you’re nodding along to any of those, it might be lamp replacement time, not a technique problem. Bulbs also dim with age, so an older lamp can slow down even if it still turns on.
Why Thin Layers Beat Thick Ones Every Time
Here’s a mistake we all make at least once: slathering on a thick coat to save time. It feels efficient. It isn’t.
Gel polish cures from the outside in. Light only penetrates so far, so a thick glob can cure on top while the layer underneath stays soft and gooey. That trapped wet gel causes bubbles, peeling, and that weird warm-burn feeling on your nail bed.
Think of it like toasting bread. A thin slice crisps all the way through. A double-decker bagel? The outside burns while the middle stays cold. Thin coats are your friend, even if it means three color layers instead of two.
Many nail pros recommend applying polish so thin you can almost see the nail underneath. It sounds scary, but two or three sheer layers build up to a gorgeous, fully cured finish.
How to Tell if Your Gel Polish Is Fully Cured
You don’t need a chemistry degree to check. You just need a clean fingertip and a little patience.
The Sticky Layer Explained
After curing, many gels leave a slightly tacky film called the inhibition layer. It’s not under-cured polish. It’s the top surface that touched oxygen and stayed sticky on purpose, so the next layer can grip it.
So how do you know the difference? Press a fingertip firmly into the nail for a few seconds. If it leaves a full fingerprint dent or the gel squishes, it’s under-cured. If it just feels a little tacky but the surface stays firm, you’re fine. Wipe that residue away with a lint-free pad and cleanser after the top coat.
Quick Cure Checklist Before You Move On
Run through this before applying your next coat:
- Check the bottle — did you match the brand’s recommended time?
- Feel the surface — firm, not squishy or dented
- Look at the edges — no soft spots near the cuticle or tip
- Test the thickness — coat went on sheer, not gloppy
- Check your lamp — timer matched, hand centered under the bulbs
- Watch for heat — a brief warm tingle is normal, sharp pain means thin your coat
Common Curing Mistakes That Ruin a Good Manicure
We found that most at-home gel disasters trace back to a handful of habits. The good news? They’re all fixable.
- Rushing the base coat — it’s the foundation. Under-cure it and everything above lifts.
- Curing two nails spaced far apart — keep your whole hand centered so every nail gets light.
- Using gel polishes from different brands — systems are formulated to work together. Mixing can cause flexing and cracks.
- Skipping cleanser between coats — leftover sticky layer can weaken your bond.
- Pulling your hand out mid-cycle — set the timer, then keep still. No texting with the other hand!
One more sneaky culprit: applying gel too close to the skin. If polish touches your cuticle, it can’t cure properly and may irritate the skin around the nail (American Academy of Dermatology recommends careful, skin-free application).
Is LED Lamp Exposure Safe for Your Skin and Nails?
Short answer: for most people, yes. The exposure is brief and the lamps emit low levels of UVA light. Studies reviewed by researchers have found the risk from occasional gel manicures to be quite small (NIH).
That said, your hands do sit under UVA light, so a little common sense goes a long way. Many dermatologists suggest SPF on your hands before a manicure, or fingerless UV gloves if you cure often (American Academy of Dermatology).
You might also notice a warm or tingling feeling while curing. That’s normal for some gels. If it turns into a sharp burn, pull your hand out for a few seconds, then finish the cycle. Persistent burning isn’t something to push through.
Tips to Make Your Gel Manicure Last Longer
Curing time is only half the story. What you do before and after the lamp matters just as much.
Prep Like a Pro
Clean nails grip gel better. Push back cuticles, lightly buff the nail surface, and wipe each nail with cleanser or alcohol to remove oils. Skipping prep is like painting a wall without priming it. It might look fine at first, but it won’t hold.
Cap the Free Edge
Run your brush along the very tip of each nail with every coat. This seals the edge and stops water from sneaking under the polish, which is the top cause of tip lifting.
Aftercare Habits That Pay Off
- Wear gloves for dishes and cleaning products
- Apply cuticle oil daily to keep nails flexible
- Avoid using your nails as tools (we know, easier said than done)
- Keep hands moisturized so the skin around the gel stays healthy
We found that people who oil daily often get a full two to three weeks of wear, while dry nails chip much sooner. Small habit, big payoff.
Conclusion
Getting gel polish to last comes down to a few simple habits: matching your cure time to your coat type, keeping layers thin, and making sure your lamp actually has the power to do the job. Base coats need about 30 seconds, color coats 30 to 60, and your top coat a full minute. Dark shades and older lamps deserve extra time. If your gel feels squishy or peels within days, the fix usually isn’t more polish — it’s better curing. We found that a quick check of your bottle’s recommended time before each manicure prevents most problems. So grab your lamp, glance at that bottle, and give each layer the full timer it deserves. Your nails will thank you for weeks.
Frequently Asked Questions
Can I leave my gel polish under the LED lamp too long?
A little extra time won’t ruin your manicure, but there’s no need to double the timer. We found that over-curing can make top coats slightly brittle over repeated manicures. Stick to the brand’s recommended time and add just 10 to 15 seconds if you’re unsure.
Why is my gel polish still sticky after curing?
It might be the normal tacky layer, called the inhibition layer, which wipes away with cleanser. But if the gel dents or squishes under your fingertip, it’s genuinely under-cured. Try a longer cycle, a thinner coat, or a stronger lamp.
Do I need to cure each nail separately with an LED lamp?
No, most lamps fit your whole hand at once. Just keep your hand centered under the bulbs so every nail gets even light. Curing one nail at a time wastes time and usually leads to inconsistent results.
Can I use an LED lamp for any brand of gel polish?
Most modern gel polishes work with LED lamps, but always check the bottle. Some brands list a minimum wattage or only guarantee results with their own lamp. We found that matching your polish and lamp brands gives the most reliable cure. Our guide to matching your lamp and polish explains why compatibility makes such a difference in curing results.
How long should I wait between coats of gel polish?
You don’t need to wait at all beyond the cure time itself. Once a layer finishes its cycle, you can apply the next coat immediately. Just wipe away the sticky layer with cleanser if your system calls for it between coats.