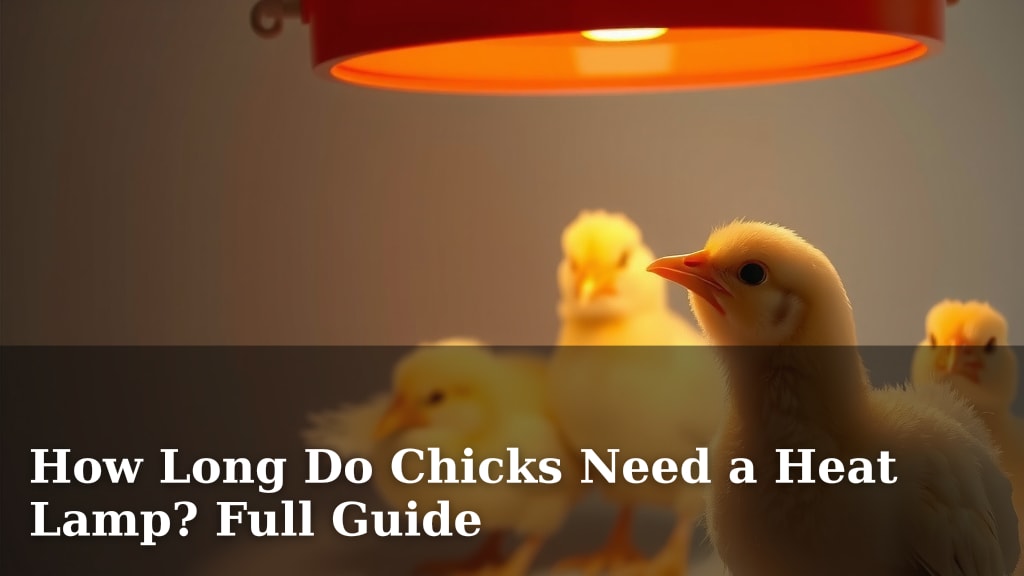
How Long Do Chicks Need a Heat Lamp? Full Guide
Chicks typically need a heat lamp for about 3 to 5 weeks. The exact duration depends on several factors, including the breed of chick and the ambient temperature. You’ll need to gradually reduce the heat as they grow. This ensures they stay warm but don’t overheat.
Keeping your baby chicks at the correct temperature is essential for their survival. It helps them digest food and grow strong. Many backyard chicken keepers wonder about the best way to provide this warmth. We’ve researched the common guidelines for heat lamp use.
- Chicks need heat for 3-5 weeks.
- Reduce temperature gradually each week.
- Watch chick behavior for temperature cues.
- Brooder temperature should start around 95°F.
- Lower it by 5°F each week.
Let’s walk through exactly how to provide the right warmth for your new flock. We’ll cover how to tell if they are comfortable and when to say goodbye to the heat lamp.
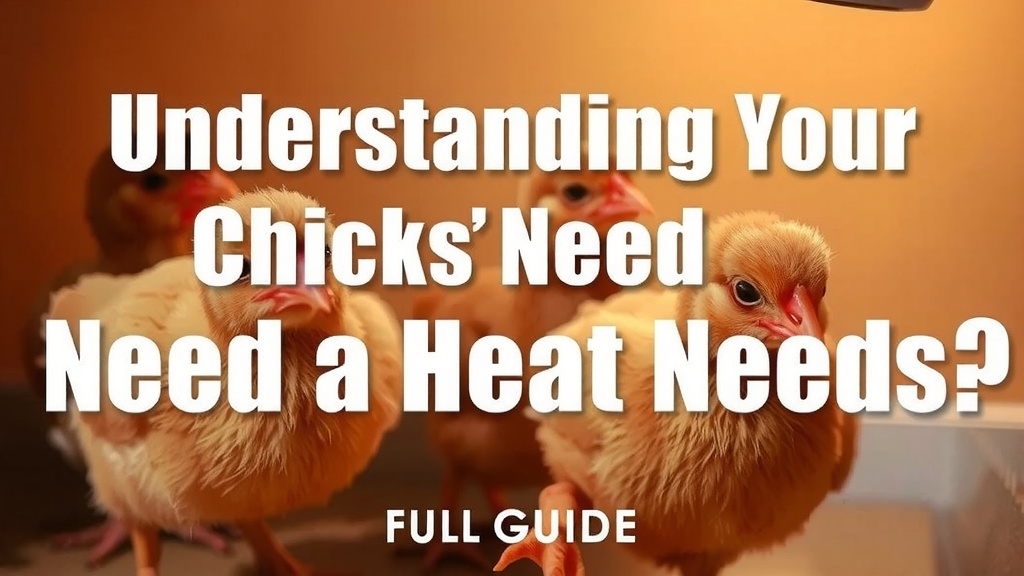
Understanding Your Chicks’ Heat Needs
Providing the right warmth for your baby chicks is absolutely critical for their survival and healthy development. They are born with limited ability to regulate their own body temperature. That’s why a heat source is so important in those first few weeks. Think of it like giving them a cozy, permanent mom hen. We’ve gathered some key information to help you nail this.
The Importance of Proper Brooding Temperatures
Chicks don’t have feathers like adult birds. Their fluffy down isn’t enough to keep them warm in cooler temperatures. If they get too cold, they can become weak, unable to eat or drink, and can quickly succumb to hypothermia. Research shows that maintaining a consistent temperature is vital for their immune system development and overall growth (University of California, Division of Agriculture and Natural Resources).
On the flip side, overheating is also dangerous. Chicks that are too hot will pant, stay away from the heat source, and can become dehydrated. Finding that sweet spot is your main goal. It ensures they are comfortable, active, and growing like little weeds.
How to Set Up Your Brooder
Your brooder is their safe haven. It can be a large plastic tub, a wooden box, or even a kiddie pool. It needs to be deep enough to prevent escapees. Good ventilation is also key. You don’t want stale air building up. We recommend lining the bottom with absorbent bedding like pine shavings or straw. Avoid using newspaper; it’s too slippery for their little legs and can lead to leg problems.
Choosing the Right Heat Source
Most people turn to a heat lamp for chicks. This is a common and effective method. There are a few types available, but a red-ceramic heat bulb is often recommended. These provide consistent warmth without emitting light, which can disturb the chicks’ sleep cycle. Some keepers also use under-tank heaters, similar to those for reptiles, but a lamp is generally easier to manage for a group of chicks.
Make sure your heat lamp is securely mounted. You don’t want it falling into the brooder. This is a major fire hazard and could harm your chicks. Using a thermostat with your heat source can give you a more precise temperature reading and control, which is a great investment for chick health.
The Gradual Temperature Reduction Plan
This is where many new chicken keepers get a little anxious. When do they no longer need the heat lamp? The good news is, it’s a step-by-step process. You don’t just turn it off one day. We found that a gradual decrease is the key to success.
Week 1: The Warmest Welcome
In their first week of life, chicks need the most heat. The goal is to keep the brooder temperature around 95°F (35°C) at chick level. This is measured at the edge of the heat source, where the chicks will be spending most of their time. You’ll want to check this temperature with a reliable thermometer. Don’t guess!
At this stage, your chicks should be active and chirping contentedly. They’ll huddle together loosely near the heat source but will venture out to eat and drink. If they are all huddled tightly directly under the lamp, it’s likely too cold. If they are panting and spread far away, it’s too hot. Many experts suggest starting the temperature at 95°F and adjusting slightly based on chick behavior (The Happy Chicken Coop).
Week 2: A Slight Cool Down
Once your chicks reach their second week, you can start to decrease the heat slightly. We recommend lowering the temperature by about 5°F each week. So, for week two, aim for around 90°F (32°C). Continue to observe their behavior closely. They should still be clustered relatively close to the heat source, but not in a tight ball.
Week 3: Getting Braver
By the third week, your chicks are growing more feathers and are a bit more robust. You can lower the temperature again by 5°F. This brings you to approximately 85°F (29.5°C). They will likely be spreading out more within the brooder. Some might even be exploring the edges of the bedding area, a good sign they are comfortable.
Week 4 and Beyond: Testing the Waters
For week four, we aim for around 80°F (27°C). By this point, many breeds will be well on their way to fully feathering. You’ll see them moving around the brooder much more freely. If you have a mixed age group, keep the younger ones on a slightly warmer setting until they are closer to the age of the older chicks.
Many keepers find that by week 5, the heat lamp can often be turned off completely, especially if your ambient room temperature is around 70°F (21°C). However, this is a critical point to watch your chicks. If they are panting or seem weak, they may need a little more warmth for another week. It’s better to err on the side of caution.
Breed and Ambient Temperature Considerations
It’s important to remember that not all chicks are created equal! Some breeds develop feathers faster and tolerate cooler temperatures earlier. For example, breeds known for being hardier, like Plymouth Rocks or Wyandottes, might be ready to ditch the lamp a little sooner than more delicate breeds. We found that checking breed-specific information can be very helpful.
The temperature of the room your brooder is in also plays a huge role. If your brooder is in a drafty garage in the winter, your chicks will need heat for longer. If it’s in a warm basement during summer, they might be ready for less heat sooner. Always monitor your chicks, not just the calendar.
Reading Your Chicks’ Body Language
Your chicks are the best indicators of whether they are comfortable. Their behavior is a direct reflection of the temperature. Learning to read these cues will help you adjust the heat lamp as needed.
Signs They Are Too Cold
- Chicks huddle tightly together, piled on top of each other.
- They are reluctant to move away from the heat source.
- You might hear constant, loud chirping.
- They appear lethargic or weak.
Signs They Are Too Hot
- Chicks are spread far apart, often to the edges of the brooder.
- They pant with their mouths open.
- Their wings may be held away from their bodies.
- They might appear listless or inactive.
Signs They Are Just Right
- Chicks are spread out loosely around the heat source.
- They move freely to eat, drink, and explore.
- Chirping is normal and content.
- They appear active and alert.
If you see any of the “too cold” or “too hot” signs, it’s time to make an adjustment. You can raise or lower the heat lamp, or if you have a dimmer switch, adjust the intensity. Remember, consistency is key to helping them grow strong.
When to Finally Say Goodbye to the Heat Lamp
The general consensus is that chicks typically need supplemental heat for 3 to 5 weeks. Some might need it a week longer, especially if the ambient temperature is cool. You’ll know they are ready when they are fully feathered, active, and showing no signs of being cold, even when the heat lamp is off for a short period.
A good way to test this is to turn off the lamp for a few hours during the warmest part of the day. See how they react. If they are all snuggled together and chirping distressfully, you may need to keep it on a bit longer. It’s a gradual transition to independence.
A Quick Brooder Temperature Checklist:
- Week 1: 95°F
- Week 2: 90°F
- Week 3: 85°F
- Week 4: 80°F
- Week 5+: Off, or as needed based on chick behavior and ambient temperature.
This checklist is a guideline. Always prioritize your chicks’ behavior over a strict schedule. They will tell you what they need!
Conclusion
You’ve learned that providing the right warmth for your chicks is essential for their first few weeks. The key is a gradual temperature reduction over about 3 to 5 weeks. Always watch your chicks’ behavior closely for signs they are too cold or too hot. This will guide you in adjusting the heat lamp. Once they are fully feathered and active, they’re likely ready to thrive without it. Keep up the great work keeping your new flock healthy and happy!
Frequently Asked Questions
What happens if I turn off the heat lamp too early?
If you remove the heat lamp too soon, your chicks can become chilled. This makes them more vulnerable to illness and can slow their growth. You might see them huddling tightly and chirping distressedly. It’s better to keep the heat on a little longer if you’re unsure.
Can chicks get too much heat from a heat lamp?
Yes, chicks can definitely overheat. Signs include panting with their mouths open, spreading far apart, or holding their wings away from their bodies. Overheating can lead to dehydration and weakness. Always monitor their behavior to find the perfect temperature balance.
Should I use a red heat bulb or a clear one for chicks?
A red heat bulb is generally recommended for chicks. It provides the necessary warmth without emitting light. This allows the chicks to maintain a normal sleep cycle, which is important for their development. Clear bulbs can disrupt their rest periods.
How do I know if my heat lamp is the right height?
The height of your heat lamp depends on the temperature you’re trying to achieve. You should be able to measure the target temperature (starting at 95°F) at chick level, near the edge of the heat source. Adjust the lamp’s height up or down until you reach the correct temperature reading.
What if my chicks have different feathering levels?
If you have chicks of different ages or breeds with varying feather development, it’s best to manage them with the warmth needs of the youngest or least feathered. You might notice the older chicks are comfortable with less heat, but ensure the younger ones remain warm enough. You can adjust the lamp height or use a larger brooder space to create a temperature gradient.
![10 Best Chest Lamp For Running [2026]](https://bestdesklamp.com/wp-content/uploads/2026/08/10-best-chest-lamp-for-running-2026-featured-768x432.jpg)

![10 Best Cheap Led Nail Lamp [2026]](https://bestdesklamp.com/wp-content/uploads/2026/08/10-best-cheap-led-nail-lamp-2026-featured-768x432.jpg)
![10 Best Ambient Floor Lamp [2026]](https://bestdesklamp.com/wp-content/uploads/2026/09/10-best-ambient-floor-lamp-2026-featured-768x432.jpg)