How Long to Use a UV Nail Lamp for Perfect Gel Nails
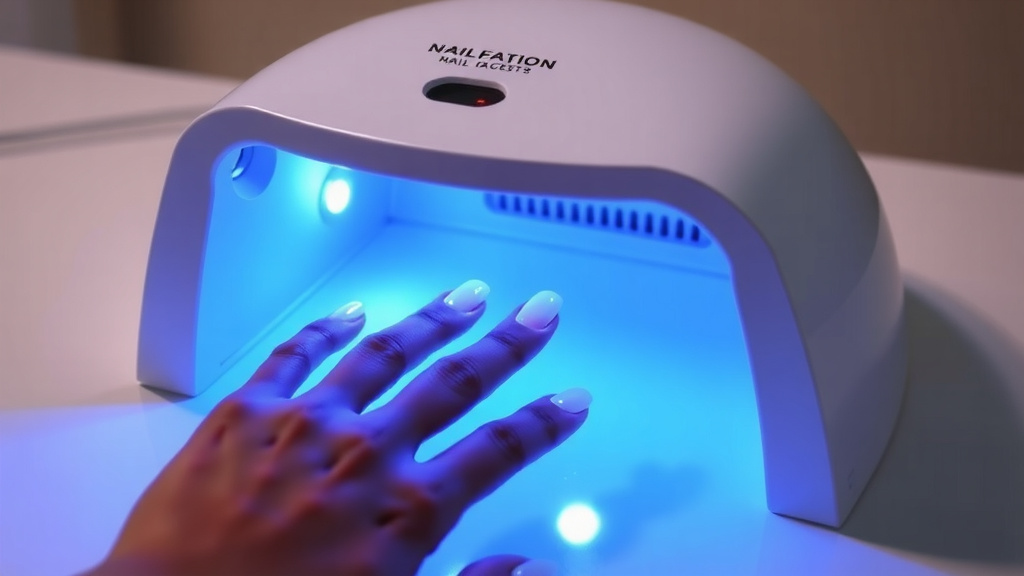
Most UV nail lamps need 30 to 60 seconds to cure a layer of gel polish. Regular nail polish, on the other hand, doesn’t need a lamp at all. So if you’re staring at your hand under that blue light wondering if it’s done, the timing depends on your polish type and lamp wattage.
Here’s the thing: curing times vary more than you might think. We researched how different gel polishes, lamp strengths, and nail layers affect timing, and the answers surprised us. Under-cure your gel and it peels in days. Over-cure it and you risk heat spikes and skin damage from extra UV exposure. Neither sounds fun, right?
- Most gel polishes cure in 30 to 60 seconds per layer.
- Base coats usually need less time than color or top coats.
- Higher-wattage lamps (48W+) often cure faster than lower-wattage ones.
- Always follow the time listed on your specific polish bottle.
- Keep sessions short to limit UV exposure to your skin.
Below, we break down everything you need to know about UV lamp timing, step by step. By the end, you’ll know exactly how long to keep your hand under that light — no more guessing.
UV Lamp Curing Times by Polish Type
Not all polishes are created equal, and neither are their curing times. We found that the biggest factor in your timing is what’s in the bottle. Get this wrong, and even a perfect lamp can’t save your manicure.
Here’s a quick breakdown of what research and manufacturer guidelines show:
| Polish Type | Lamp Needed? | Typical Time Per Layer |
|---|---|---|
| Regular nail polish | No | Air dry, 15–60 minutes |
| Gel base coat | Yes | 30 seconds |
| Gel color coat | Yes | 30–60 seconds |
| Gel top coat | Yes | 30–60 seconds |
| Builder/hard gel | Yes | 60–120 seconds |
Notice how base coats usually need less time? That’s because they’re thin and clear, so light passes through easily. Thicker or darker color coats need more time for light to reach all the way down.
Why Dark Colors Take Longer
Ever wonder why your black polish stays tacky when your pink cures fine? Dark pigments act like sunglasses for the light. They block UV from reaching the lower layers.
Many nail pros add 10 to 30 extra seconds for deep reds, blacks, and navy shades. Think of it like baking a thick loaf versus a thin cookie — same oven, more time needed.
Thin Layers Win Every Time
Here’s a tip we wish someone had told us sooner: two thin coats beat one thick coat. Thick layers cure on top but stay squishy underneath, which leads to peeling and bubbles.
Paint each layer thin enough that light can pass through it. If you can see your nail shape through the polish, that’s about right.
How Lamp Wattage Changes Your Timing
Your lamp’s wattage matters, but maybe less than you think. We found that a higher-wattage lamp can shave a few seconds off cure time, but it won’t fix a bad formula.
Most home lamps fall between 24W and 80W. Manufacturer instructions are written for a specific wattage, so check what yours is before you set a timer.
LED vs. UV Lamps
Both lamps cure gel, but they use different light. LED lamps use narrower light wavelengths that cure most gels faster — often in 30 seconds. Traditional UV lamps may need a full 60 to 120 seconds.
One catch: some older gel formulas only work under traditional UV light. Always match your lamp to your polish, not the other way around.
Do Cheap Low-Wattage Lamps Work?
They can, but slowly. A 9W lamp might take two to four minutes per layer, and some gels may never fully cure under it. If your nails stay sticky after curing, your lamp might be too weak for that polish.
If your budget allows, a 48W lamp gives you more flexibility across brands. Many experts say mid-range wattage hits the sweet spot for home users.
Signs Your Gel Is Fully Cured (or Not)
So how do you know when it’s actually done? Your nails will tell you — you just need to know what to look (and feel) for.
- Fully cured: Hard surface, no denting when you tap it.
- Fully cured: Smooth, glossy finish with no tacky film (top coats aside).
- Under-cured: Sticky, soft, or dents when pressed.
- Under-cured: Peels or lifts within a few days.
- Over-cured: Yellowing, brittleness, or a burning sensation during curing.
A little tackiness right after curing is normal for some base and color coats. That’s called the inhibition layer, and your top coat is designed to stick to it. But if your nail flexes like rubber, give it more time.
Keeping UV Exposure Safe for Your Skin
Let’s talk about the part nobody loves: the UV itself. The good news? Research suggests the risk from occasional at-home use is low (NCBI). A full gel manicure exposes your skin to about the same UV dose as a few minutes outdoors.
Still, we like playing it smart. Skin around your nails is thin and exposed, so a little protection goes a long way.
Easy Ways to Protect Your Hands
- Apply broad-spectrum SPF 30+ sunscreen to your hands 20 minutes before curing.
- Wear fingerless UV gloves if you do gel often.
- Keep each curing session to the minimum time your polish needs.
- Take breaks between layers instead of marathon sessions.
- Skip gel entirely if you have a history of skin cancer on your hands — talk to a dermatologist first (Mayo Clinic).
Think of it like sun safety at the beach. A few minutes here and there isn’t scary, but smart habits keep your skin happy for years.
What About That Burning Feeling?
If you feel heat or a sting under the lamp, that’s a heat spike. It happens when curing speeds up too fast, usually with thick layers or over-curing. Pull your hand out for a few seconds, then finish the cure. No hero points for suffering through it.
Your Pre-Cure Checklist
Before you slide your hand under the light, run through this quick list:
- Check the cure time printed on your polish bottle.
- Confirm your lamp matches the polish (LED vs. UV).
- Apply thin layers, not thick ones.
- Wipe off old gel residue from the lamp bed.
- Apply sunscreen or wear UV gloves.
- Set a timer — don’t guess by feel.
Common Timing Mistakes to Avoid
We found a few patterns that trip up almost everyone at first. The good news? They’re all easy fixes.
Rushing the base coat. It seems unimportant, but a badly cured base is the number one cause of lifting. Give it its full time.
Curing between fingers too fast. When you do thumbs last, they often get less light because the lamp was designed for four fingers at once. Cure thumbs separately for the full time.
Ignoring the bottle. Every brand has its own formula. A time that works for one polish might under-cure another. When in doubt, the label wins.
Stacking coats too soon. Wait until each layer is fully cured before adding the next. Skipping this traps wet polish underneath, and no amount of extra light fixes it later.
Get these right, and your manicure can last two to three weeks without a single chip. Now that’s a payoff worth 60 seconds of blue light.
Conclusion
Getting your UV lamp timing right comes down to three things: your polish type, your lamp strength, and thin layers. Most gels need 30 to 60 seconds per coat, darker shades need a little extra, and builder gels need the most patience of all. We found that the bottle label beats any general rule, and under-curing causes more manicure disasters than over-curing ever will. Protect your hands with sunscreen or UV gloves, and pull out early if you feel heat. Your nails — and your skin — will thank you. Now, grab your polish, check that bottle, and set your timer with confidence.
Frequently Asked Questions
Can I leave my nails under the UV lamp longer than needed?
It’s not recommended. Extra time won’t make your manicure stronger, but it does add unnecessary UV exposure to your skin. Longer sessions can also trigger heat spikes and yellowing. Stick to the time on your polish bottle.
How long should I cure my nails if I lost the polish instructions?
Start with 60 seconds per layer under an LED lamp, or 120 seconds under a traditional UV lamp. Test one nail first and check for firmness. If it dents or feels sticky, add more time in small increments.
Do I need to cure between every coat of gel polish?
Yes, every single layer needs its own curing time. Base coat, each color coat, and top coat all go under the lamp separately. Skipping a cure traps wet polish underneath and ruins the whole manicure.
Is it safe to use a UV nail lamp every week?
For most people, weekly use is considered low risk based on current research. We still suggest wearing fingerless UV gloves or applying SPF to your hands before each session. If you notice skin changes on your hands, check in with a dermatologist.
Why are my gel nails still sticky after curing?
Some tackiness is normal — it’s called the inhibition layer, and your top coat bonds to it. But if the nail feels soft or rubbery, it’s under-cured. Try thinner layers, a longer cure time, or a stronger lamp.