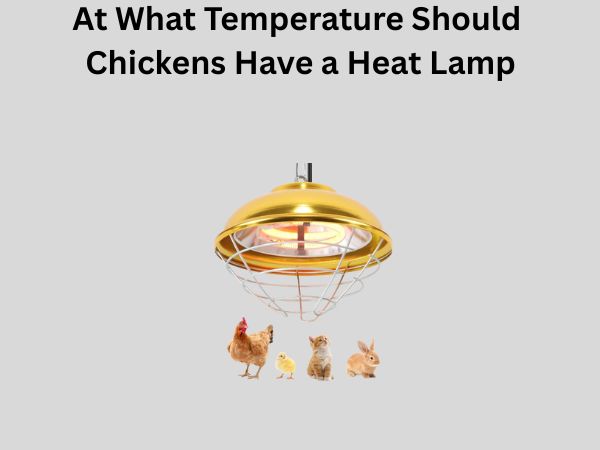
At What Temperature Should Chickens Have a Heat Lamp? A Complete Guide
If you’re raising chickens, whether you’re a seasoned farmer or just starting out with a backyard flock, understanding when and how to use a heat lamp is absolutely crucial. I’ve seen too many new chicken keepers either leave their birds in the cold too long or keep them under unnecessary heat, and both situations can cause real problems. So let’s talk about what you actually need to know about heat lamps and temperature management for your feathered friends
Why Do Baby Chickens Need Heat Lamps?
Here’s the thing about baby chickens—they’re tiny, fluffy bundles that can’t regulate their own body temperature the way adult birds can. Think of it like this: if you’ve ever held a newborn human baby, you know they get cold really easily. Chicks are similar, except they need even more heat because they’re even smaller and their feathers are still developing.
When chicks hatch, they lose moisture and fluff out their feathers, but these feathers aren’t waterproof or properly insulating yet. Without a heat source, baby chicks can become chilled within minutes, and hypothermia sets in quickly. This isn’t just uncomfortable for them—it can literally be fatal. I’ve talked to folks who lost entire batches of chicks because they underestimated how much heat these little guys need.
The Role of Mother Hen vs. Artificial Heat
If you’re hatching chicks naturally under a broody hen, you don’t need an artificial heat lamp—mama’s got this covered. But most of us are raising chicks in a brooder box with a heat lamp, and we need to be intentional about getting the temperature just right.
Understanding Temperature Ranges for Different Chick Ages
This is where it gets specific, and I want you to pay close attention because getting this wrong is probably the most common mistake I see.
Week One: The Critical Starting Point
During the first week of life, your chicks need to be kept at approximately 95 to 100 degrees Fahrenheit. Yes, that’s hot. I know it seems extreme, but that’s what their tiny bodies require. Some sources will tell you 95 degrees is enough, while others recommend staying closer to 100. Here’s my practical advice: aim for 95 to 98 degrees, and you’ll be in the sweet spot that keeps them comfortable without overdoing it.
Week Two Through Week Four
As your chicks grow, you can gradually reduce the temperature. This is important—you’re not switching it off suddenly; you’re slowly acclimating them to cooler conditions.
- Week Two: Reduce to 90 to 95 degrees Fahrenheit
- Week Three: Lower to 85 to 90 degrees Fahrenheit
- Week Four: Continue reducing to 80 to 85 degrees Fahrenheit
Week Five Onward: Approaching Independence
By week five, you’re moving toward getting them off the heat lamp entirely. Gradually reduce the temperature to around 75 to 80 degrees Fahrenheit. If your brooder room is naturally warm enough, you might be able to start turning the lamp off during warmer parts of the day.
Most chicks can completely do without a heat lamp by the time they’re six to eight weeks old, assuming they’re feathered out and the ambient temperature around them stays above 70 degrees or so.
How to Properly Measure Temperature in Your Brooder
You can’t manage what you don’t measure, right? So you absolutely need a reliable thermometer in your brooder setup.
Where to Place Your Thermometer
Don’t just stick a thermometer anywhere in the brooder. Place it at the level where your chicks will actually be spending time—that’s about three to four inches off the bedding floor. This gives you the temperature that your chicks are actually experiencing.
Types of Thermometers to Consider
- Analog dial thermometers: Inexpensive and reliable, though less precise
- Digital thermometers: More accurate, often with remote sensors so you can check temperature without entering the brooder
- Infrared thermometers: Great for checking specific areas, though they measure surface temperature rather than air temperature
I personally recommend having at least two thermometers—a digital one for consistent monitoring and an infrared one for spot-checking different areas of the brooder.
Recognizing When Your Chicks Are Too Cold
Your chicks will tell you if they’re unhappy. You just need to know what to look for.
Signs of Chicks That Are Cold
- They huddle together in a tight ball directly under the heat lamp
- They’re constantly chirping loudly and seem distressed
- They’re not eating or drinking normally
- Their movement is sluggish or lethargic
- You notice weak chicks or smaller chicks being pushed away from food sources
- There’s increased piling behavior, which can lead to suffocation
If you’re seeing these signs, your temperature is too low. Increase it gradually and see if the behavior improves within an hour or two.
Recognizing When Your Chicks Are Too Hot
Believe it or not, overheating is just as dangerous as being too cold, maybe even more dangerous in some cases.
Signs of Chicks That Are Too Warm
- They spread out away from the heat lamp as far as possible
- They have their beaks open and seem to be panting
- They’re not active—they’re just lying around looking exhausted
- They’re drinking excessively
- Their feathers look ruffled or unkempt
If you notice these behaviors, lower your heat lamp slightly or reduce the wattage of your bulb. Even a two-degree difference can make a big difference in how your chicks feel.
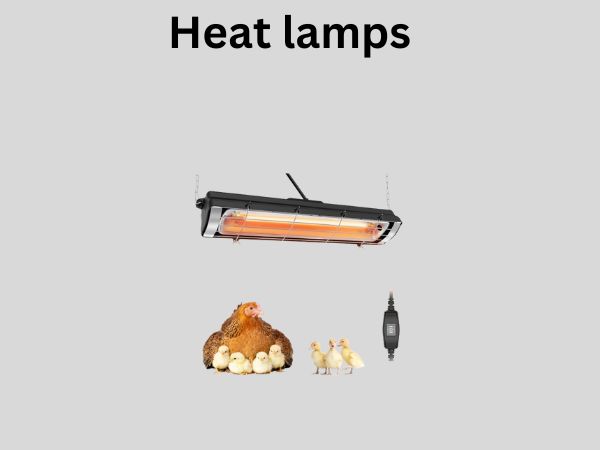
Setting Up Your Heat Lamp System Properly
Now let’s talk about the actual hardware. Not all heat lamp setups are created equal.
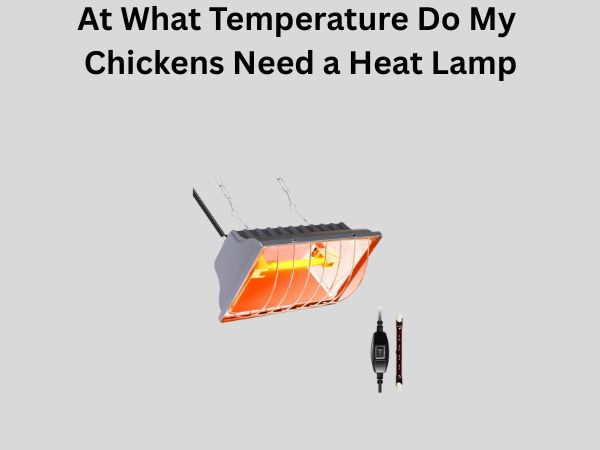
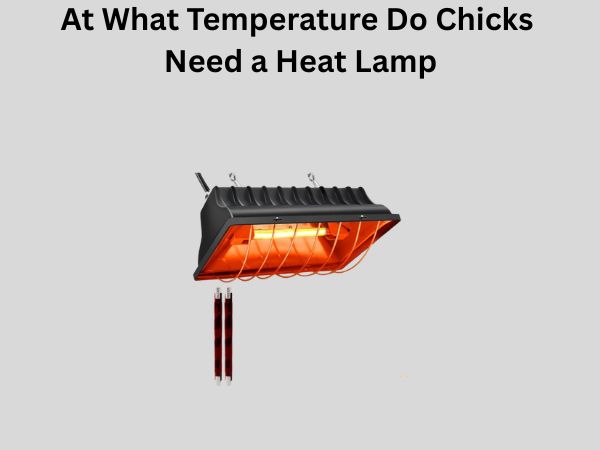
Choosing the Right Heat Lamp Fixture
You’ll need a reflector-style heat lamp fixture, which is designed to focus warmth downward. These typically have a clamp that allows you to hang the lamp at different heights. I like the ones with ceramic sockets because they can handle the heat better than plastic.
Selecting the Appropriate Bulb Wattage
Heat lamps usually come in 125-watt, 250-watt, or 375-watt options. The size of your brooder determines what wattage you need. A smaller brooder for just a few chicks might only need 125 watts, while a larger setup could require 250 watts. You’ll adjust the height of the lamp to fine-tune the temperature rather than constantly changing the bulb.
Height and Distance Matter
This is crucial: the height of your lamp directly affects the temperature. Start with the lamp about 18 to 24 inches above the bedding and adjust from there based on your thermometer readings. As your chicks grow, you can gradually raise the lamp higher, which naturally reduces the heat they receive.
The Gradual Weaning Process: Getting Chicks Off Heat
One of the biggest questions I get is how to transition chicks off the heat lamp without stressing them out. Here’s the approach that works best.
The Week-by-Week Transition Strategy
Rather than just turning off the lamp one day, gradually reduce the hours it’s on and the temperature it provides. For example, in week six, you might turn the lamp off for a few hours during the warmest part of the day. If your chicks seem comfortable, gradually increase those off-hours over the next week or two.
Environmental Temperature Matters
If you’re raising chicks during winter, you’ll need to keep the heat lamp on much longer than if you’re raising them in spring or summer. Outdoor temperature and your brooder location both affect how quickly you can reduce artificial heat. A brooder in an insulated garage can be transitioned faster than one in an unheated barn.
Watch for Backsliding
If you’ve turned off the heat lamp but notice your chicks are huddling again or seem stressed, turn it back on. There’s no shame in keeping it on a bit longer. Every batch of chicks is slightly different, and environmental factors change.
Common Heat Lamp Mistakes to Avoid
Let me share some mistakes I’ve seen repeatedly so you don’t have to learn these lessons the hard way.
Mistake One: Using the Wrong Type of Light Bulb
Don’t use regular incandescent bulbs or LED bulbs in a heat lamp fixture. They won’t provide the necessary heat, and some can actually be a fire hazard in a lamp designed for heat production. Always use proper heat lamp bulbs.
Mistake Two: Not Having a Temperature Control System
If your heat lamp is on or off with no in-between, you’re going to struggle to maintain consistent temperatures. A simple thermostat control that automatically adjusts when temperatures fluctuate is worth its weight in gold. It’ll keep your chicks in the perfect zone without you having to babysit constantly.
Mistake Three: Overcrowding the Brooder
Too many chicks in too small a space creates their own heat, which throws off your temperature management. Plus, overcrowded chicks stress each other out. Follow guidelines for brooder space—generally about half a square foot per chick for the first two weeks, then one square foot per chick after that.
Mistake Four: Ignoring Ventilation
A brooder needs good air circulation, but not drafts. If you seal it up tight to trap heat, you’ll create an unhealthy environment with poor air quality. Make sure there’s gentle air movement but no cold wind blowing directly on your chicks.
Seasonal Considerations for Your Flock
The time of year you hatch your chicks significantly impacts your heat lamp strategy.
Spring Hatching
Spring is probably the easiest time to hatch chicks. The ambient temperature is warming up, and you can transition them off heat relatively quickly. By the time they’re four to six weeks old, you might be able to move them to an outdoor brooder or coop depending on your climate.
Winter Hatching
Winter hatching is more challenging. You’ll need to keep your heat lamp running longer because the brooder room will be naturally colder. You might keep chicks on heat for eight to ten weeks instead of six to eight weeks. You’ll also need to be extra careful about cold stress when eventually transitioning them outside.
Summer Hatching
Summer can actually present the opposite problem—too much heat. Your brooder might naturally warm up to dangerous levels. In summer, you might only need the heat lamp during nighttime, turning it off completely during the day if your brooder is in a warm location.
Alternative Heating Methods Worth Considering
While heat lamps are the most common approach, they’re not your only option.
Heated Brooders
Some modern heated brooders use radiant heat panels instead of traditional heat lamps. These provide warmth without bright light, which some people prefer because it reduces stress and pecking behaviors in the chicks. They’re often more expensive upfront but can be worth it if you’re raising multiple batches.
Brooder Heaters
These are smaller, localized heating devices that create a warm spot without heating the entire brooder. They work well for slightly older chicks that don’t need brooder-wide heat but could use a warm retreat.
Heat Tape
Some people use adhesive heat tape attached to the brooder walls, controlled by a thermostat. This is less common for chicks but can work in a pinch.
Safety Considerations With Heat Lamps
Heat lamps do pose some risks if not used properly, so safety is important.
Fire Safety
Keep your heat lamp away from any flammable materials. Bedding should be at least 18 inches away from the bulb. Never use a damaged lamp fixture or bulb. Make sure your brooder won’t overheat and cause a fire if the lamp stays on for extended periods.
Electrical Safety
Keep the cord out of water and away from areas where chicks might peck at it. Use a GFCI outlet if possible, especially in a damp environment. Regularly inspect cords for damage.
Transitioning to Outdoor Living
Eventually, your heat lamp days will be over. Here’s how to make that transition smooth.
The Move Outside
Once your chicks are fully feathered and the outdoor temperature is consistently above 50 degrees Fahrenheit at night, they can move to an outdoor brooder or small coop. Choose a sheltered location protected from wind and predators. For the first week or two, provide a heat lamp in the outdoor coop if nighttime temperatures drop below 50 degrees.
Coop Design for Young Chickens
Your outdoor brooder should have good insulation, ventilation, and protection from predators. Many people use modified dog crates, wooden boxes, or specialized portable brooders. The design matters less than functionality—your chicks need shelter, heat if it’s cool, water, food, and safety.
Conclusion
So here’s the bottom line on heat lamps for chickens: start your chicks at 95 to 100 degrees Fahrenheit during their first week, then reduce the temperature by about five degrees each week until they’re around six to eight weeks old. Use a reliable thermometer to monitor conditions, watch your chicks’ behavior for signs of too much or too little heat, and gradually transition them off the lamp as they grow and feather out. Don’t overthink it—your chicks will let you know if something’s wrong. Pay attention to them, adjust as needed, and you’ll do fine. Raising chickens is as much art as science, and after your first batch, you’ll develop an intuition for what your birds need. Happy raising!