CND Shellac Cure Times: UV Lamp Minutes for Perfect Nails
CND Shellac needs 2 minutes of curing under a UV lamp for each coat. That includes the base coat, two color coats, and top coat. So your total curing time lands at about 8 minutes for a full manicure. If you use an LED lamp instead, each coat cures in just 30 to 60 seconds.
Why does the timing matter so much? Because under-cured Shellac can peel, chip, or even irritate your skin. Many experts say a properly cured manicure is what separates a two-week wear from a two-day disappointment. And yes, we’ve all had that one manicure that mysteriously ruined itself overnight. Timing (and the right lamp) is usually the reason.
- UV lamp: cure each coat for 2 minutes.
- LED lamp: cure each coat for 30 to 60 seconds.
- Total time: about 8 minutes in a UV lamp, 2 to 4 minutes in LED.
- Cure the base, two color coats, and top coat separately.
- Thin coats cure better than thick, gloppy ones.
Below, we walk you through exact curing times for every coat, the difference between UV and LED lamps, and a few simple tricks to make sure your Shellac actually lasts. Let’s get into it.
CND Shellac UV Lamp Cure Times by Coat
The answer is simple: every single coat needs a full 2 minutes under a UV lamp. No peeking early. No “it looks dry enough.” Each layer of Shellac only hardens properly when it gets its complete cure time, and rushing it is the number one reason manicures fail (per CND’s own application guidance).
Here’s a quick breakdown so you can plan your session. We found that keeping a timer handy makes this way easier than eyeballing it.
| Coat | UV Lamp | LED Lamp |
|---|---|---|
| Base coat | 2 minutes | 30–60 seconds |
| First color coat | 2 minutes | 30–60 seconds |
| Second color coat | 2 minutes | 30–60 seconds |
| Top coat | 2 minutes | 30–60 seconds |
Four coats, two minutes each. That’s your 8-minute total in UV. Feels long? Put on a song and let it play. By the second chorus, you’re done.
Why Each Coat Needs Its Own Full Cure
Shellac isn’t like regular polish that air-dries. It hardens through a chemical reaction triggered by UV light. Skimp on the time and the layer underneath stays soft and tacky, even if the surface feels dry.
That soft layer is where trouble starts. It leads to bubbling, denting, and peeling days later. Many nail techs compare it to baking bread: pull it out early and the inside is still dough, no matter how golden the crust looks.
What Happens If You Under-Cure
Under-cured Shellac chips fast and can lift at the edges. Worse, uncured product sitting against your skin may cause irritation or allergic reactions over time. Dermatology researchers have linked repeated skin contact with uncured gel ingredients to contact dermatitis (NIH, NCBI).
So if you’re tempted to shave 30 seconds off, don’t. Those 30 seconds are doing real work inside the layer.
What About Over-Curing?
Good news here: a little extra time won’t ruin anything. Leaving a coat under the lamp for an extra 20 or 30 seconds is generally harmless. Going way overboard can make the layer slightly more brittle, but for home users, under-curing is the far bigger risk.
When in doubt, add time. Never subtract it.
UV vs. LED: Does the Lamp Really Matter?
Yes, it matters a lot. Both lamp types cure Shellac, but they work at different speeds. UV lamps emit a broader wavelength that takes 2 minutes per coat. LED lamps concentrate their light more efficiently, cutting that down to 30–60 seconds for compatible products.
One catch we should mention: always check that your lamp matches your product. Older Shellac formulas were built around UV lamps. CND now offers LED-compatible versions, so read the label before you buy.
Which Lamp Should You Use at Home?
If speed is your priority, an LED lamp saves you roughly 6 minutes per manicure. If you already own a UV lamp, keep using it. It works perfectly well; it just asks for more patience.
We found that most home users are happiest with LED simply because shorter waits mean fewer chances to smudge a coat while reaching for the next polish.
Thin Coats Cure Better Than Thick Ones
Here’s a trick that changes everything: apply thin coats. A thick, gloopy layer might look fully cured on top while staying soft underneath. Light only penetrates so far.
Think of it like tanning. A thin layer of sunscreen lets light through; a slab of it blocks everything. Two thin color coats beat one thick one every time, and they cure evenly all the way through.
Your Pre-Cure Checklist
Before you slide your hand into the lamp, run through this quick list. It takes 30 seconds and saves you from redoing a whole nail later.
- Cap the free edge. Swipe polish across the nail tip to seal it.
- Wipe excess polish off the skin and sidewalls before curing.
- Set a real timer. Don’t trust the lamp’s built-in one blindly.
- Keep your hand flat and centered in the lamp, fingers spread slightly.
- Cure one hand fully before switching to the other.
- Replace old bulbs if your UV lamp’s output seems weak.
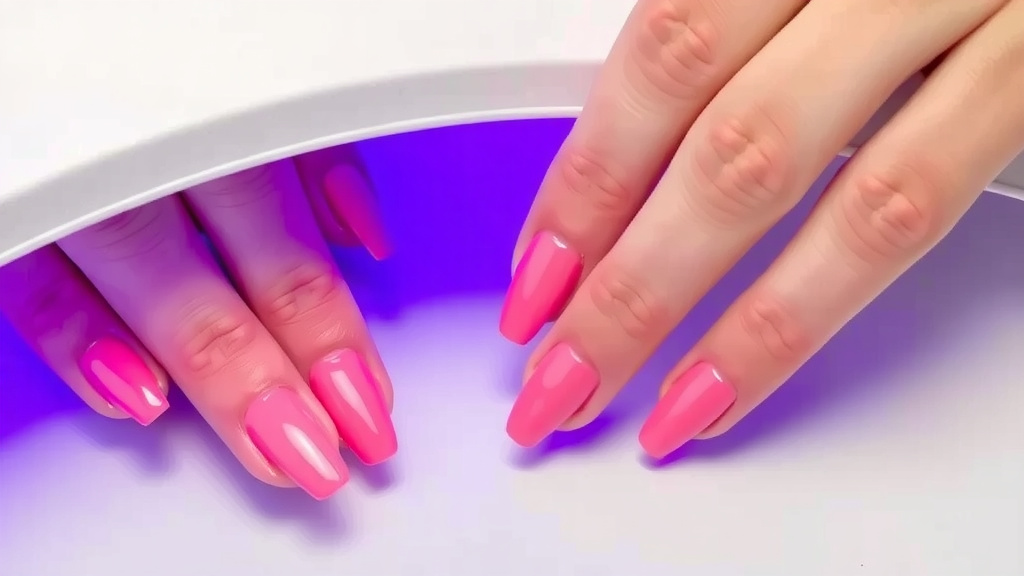
Common Curing Mistakes (and Easy Fixes)
Even careful people slip up. These are the mistakes we see most often, plus the fix for each one.
Mistake 1: Pulling Your Hand Out Too Early
Maybe the phone rings, maybe your arm gets tired. Whatever the reason, breaking the cure time breaks the bond. Set your phone to do not disturb and settle in.
Mistake 2: Using a Weak or Old Lamp
UV bulbs lose strength over time, sometimes without any visible change. CND recommends replacing bulbs periodically to keep output consistent. If your manicures suddenly wear worse than usual, your lamp is the usual suspect.
Mistake 3: Curing Over product on the Skin
Polish touching your skin won’t cure properly and can cause irritation. Clean the edges with a detail brush or orange stick before the lamp goes on, not after.
How to Know Your Shellac Is Fully Cured
Fully cured Shellac feels smooth, hard, and dry to the touch. It shouldn’t leave a dent when you press gently with a fingernail. A slightly sticky inhibition layer on top is normal; the top coat removes it during the final wipe with cleanser.
If a nail still feels tacky or squishy after wiping, pop it back under the lamp for another 60 seconds. Better safe than sorry.
Protecting Your Skin During Curing
UV exposure adds up over years of manicures. Health experts, including dermatologists at the Cleveland Clinic, suggest a few easy precautions. Applying a broad-spectrum SPF to your hands before curing, or wearing fingerless UV-protective gloves, cuts exposure without affecting your results.
It’s a small habit with a big payoff. Your future hands will thank you.
Quick Answers to Timing Questions You’re Probably Asking
Can you cure two hands at once? Only if your lamp is big enough and both hands get full light exposure. Otherwise, one hand at a time keeps things even.
Should you pause between coats? No. Shellac layers bond best when applied back to back. Cure, apply the next coat immediately, cure again. The whole 8-minute process is meant to flow without long gaps.
Does humidity affect curing? Not much, unlike regular polish. The lamp does the work, so a humid bathroom won’t ruin your timing. Just keep the lamp on a flat, stable surface.
What if you’re using a hybrid lamp with both UV and LED settings? Match the setting to your product’s instructions. When unsure, choose the UV setting and the full 2-minute cure. It’s slower, but it never fails you.
Conclusion
You’ve got this down now: 2 minutes per coat in a UV lamp, four coats total, about 8 minutes of curing time. If speed matters to you, an LED lamp gets the same results in 30 to 60 seconds per coat. The rules that matter most? Thin coats, full cure times, and a lamp that’s actually working properly. We found that people who respect the timer get manicures that last the full two weeks, while the impatient ones end up redoing everything by Friday. So grab a timer, apply those thin layers, and give each coat its complete cure. Your next step: check your lamp’s bulbs and set up that timer before your next manicure. Small prep, big payoff.
Frequently Asked Questions
Can I cure CND Shellac under any UV lamp, or does it have to be a CND lamp?
You can use other brands, but results vary. CND lamps are calibrated for Shellac’s exact formula, so third-party lamps may cure slower or unevenly. If you use a different lamp, we recommend adding extra time and checking that each coat feels fully hard afterward.
Do I need to cure Shellac between the two color coats, or can I apply both first?
Cure after each color coat, every time. Shellac bonds layer to layer through curing, so stacking wet polish on wet polish prevents a proper bond. Apply the first color coat, cure for 2 minutes, then apply the second coat and cure again.
How do I know if my UV lamp bulbs need replacing?
Watch for warning signs: manicures that chip early, coats that stay tacky after a full cure, or bulbs that look dark or cloudy at the ends. Most UV bulbs weaken with use even when they still light up. If your wear time suddenly drops, swap the bulbs first.
Can I use a regular tanning bed or sunlight to cure Shellac?
No, please don’t. Sunlight and tanning beds don’t deliver the consistent, correct wavelength Shellac needs, and the heat or uneven exposure can cause problems. Stick with a lamp designed for gel and Shellac products. It’s the only reliable way to get a proper cure.
Is it safe to cure Shellac while pregnant?
Many people do, but it’s smart to take extra precautions. Wear UV-protective fingerless gloves or apply SPF to your hands, and make sure the room is well ventilated. If you have any concerns, check with your doctor before your appointment. Your comfort and peace of mind come first.