How Long Chicks Need a Heat Lamp: The Essential Guide
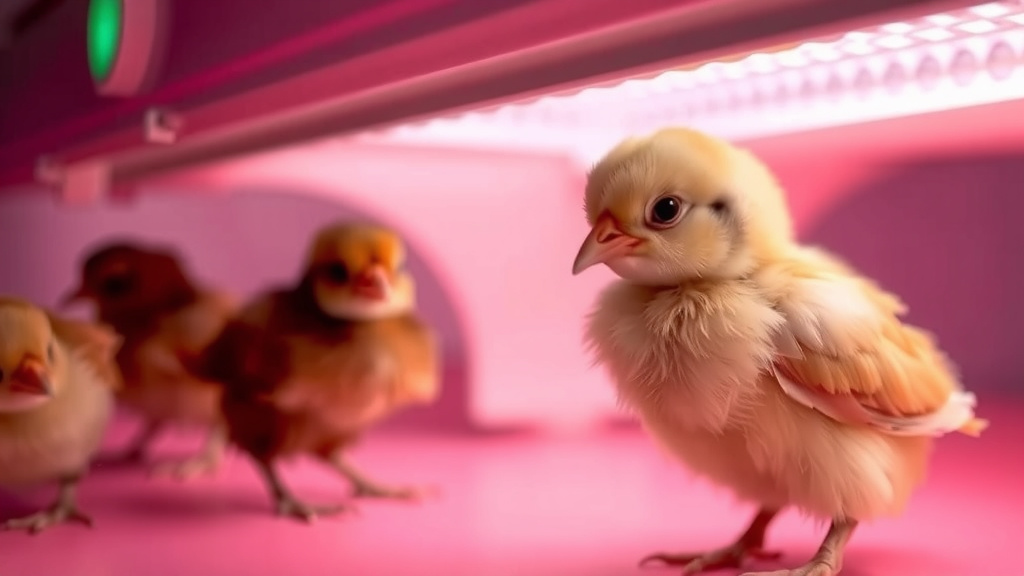
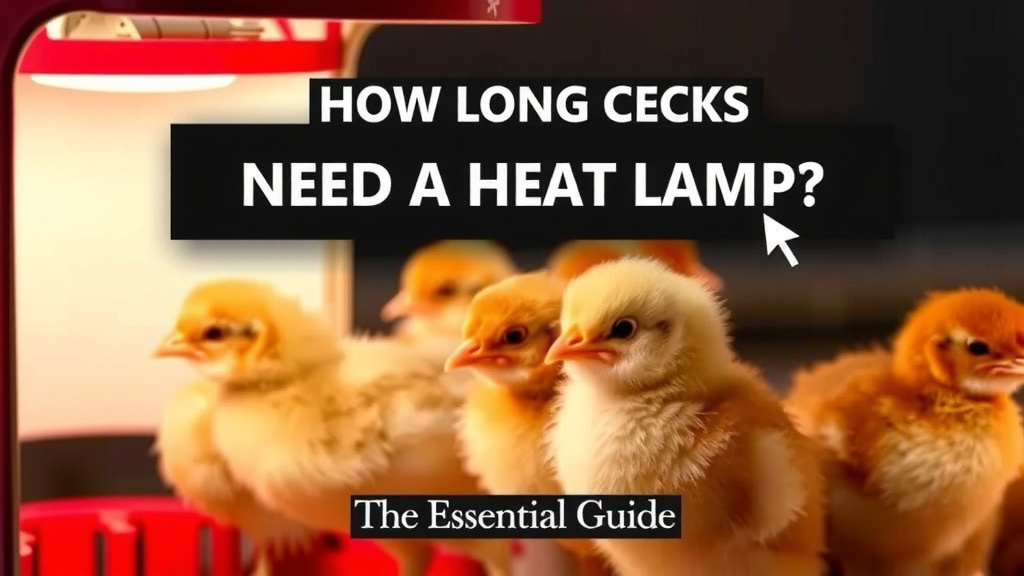
Chicks generally need to stay under a heat lamp for about 3 to 6 weeks, depending on the breed and your specific brooding setup. This period is essential for them to develop their own natural feathering and learn to regulate their body temperature. If you remove the heat too soon, your little fluffballs could get chilled.
We know you’re eager to see your chicks grow, but patience is key during these early days. Understanding the right timing helps ensure your baby birds stay healthy and warm. It’s a gradual process, and knowing when to start phasing out the heat lamp is crucial for their development and well-being.
- Chicks need heat for 3-6 weeks.
- This helps them grow their own feathers.
- It allows them to learn to control their body temp.
- Removing heat too soon can make them sick.
Below, we’ll walk you through exactly how to tell when your chicks are ready to say goodbye to the heat lamp for good!
How Long Do Chicks Need a Heat Lamp? The Gradual Transition
Chicks rely on a heat lamp for warmth during their first few weeks. This artificial heat source mimics the warmth of a mother hen. But when can they finally ditch the lamp? We found that most chicks need supplemental heat for around 3 to 6 weeks.
This timeline isn’t set in stone. It depends on several factors. Your chicks will let you know when they’re ready for less heat. Learning to read their behavior is key to their success. Getting this transition right helps them grow strong and healthy.
Understanding Chick Development and Heat Needs
Newly hatched chicks have fluffy down, not true feathers. This down doesn’t provide much insulation. They simply can’t regulate their body temperature well on their own. Think of them like tiny, adorable thermostats that aren’t quite calibrated yet.
A heat lamp provides a stable temperature. This is vital for their survival and growth. It helps prevent them from getting chilled. Chilling can weaken their immune system. This makes them more susceptible to illness (Purina Mills). It’s a critical stage for their development. We explore the pros and cons of using a heat lamp for chicks.
The First Week: Full Heat Support
During their first week of life, chicks need the most heat. Their temperature regulation systems are still very immature. You’ll want to set your heat lamp to provide a temperature of about 95°F (35°C) right under the lamp.
You can use a thermometer to check the temperature at chick level. Another good method is to observe your chicks. If they are huddled tightly together directly under the lamp, they are likely too cold. If they are all spread out and panting, the lamp might be too close or too hot.
Second Week: A Little Less Heat
By the second week, your chicks are growing a bit more. They start to develop a better sense of temperature control. You can begin to gradually decrease the heat. Lower the temperature by about 5°F (3°C) each week.
So, for week two, aim for around 90°F (32°C). Continue to watch their behavior closely. They should still be able to move away from the heat source if they get too warm. This is a sign that your temperature is just right.
Third Week: Further Adjustments
As they move into their third week, you can lower the temperature again. Another 5°F drop is usually appropriate. This means aiming for about 85°F (29°C).
At this stage, their down is starting to be supplemented by pin feathers. These are the beginnings of their adult feathers. They are becoming more adept at managing their own warmth. But they still need a helping hand.
Fourth Week and Beyond: Monitoring Readiness
By week four, you’re getting close to phasing out the heat lamp. The target temperature is now around 80°F (27°C). Many chicks can handle this temperature well.
However, some breeds might need heat a bit longer. It also depends on the ambient temperature of your brooder room. If your house is consistently warm, they might transition faster. Always err on the side of caution. It’s better to provide a little too much heat than not enough.
Signs Your Chicks Are Ready to Wean Off Heat
The best indicators that your chicks are ready to do without a heat lamp are their behaviors and physical development. Research indicates that strong, active chicks with good feather coverage are more resilient (University of Kentucky Extension).
Here are some key signs to look for:
- Feather Development: You’ll start to see actual feathers emerging, not just down. These feathers cover more of their body.
- Activity Level: They should be actively exploring their brooder. They aren’t constantly huddled together.
- Eating and Drinking: They are eating and drinking well. They seem alert and curious.
- No Huddling: Chicks are spread out comfortably. They can easily move away from the heat source.
- Temperature Tolerance: They don’t seem bothered by slightly cooler temperatures in the brooder.
The Gradual Reduction Method: A Smart Approach
Phasing out the heat lamp is a process, not an event. Instead of turning it off suddenly, it’s wise to reduce the heat gradually. This allows your chicks to adapt.
You can achieve this in a few ways. Raising the heat lamp higher is one method. This decreases the intensity of the heat reaching the chicks. You can also adjust your thermostat settings if you’re using a regulated heat source.
Monitoring Ambient Temperature and Drafts
It’s not just about the heat lamp itself. The overall temperature of the brooder environment matters. Ensure the room where the brooder is located is free from drafts. Drafts can chill chicks quickly, even with a heat lamp on.
A consistent ambient temperature helps them adjust more easily. Many sources suggest keeping the brooder room at least 70°F (21°C) as you begin to reduce heat (North Carolina State Extension). This provides a buffer.
What to Do if You’re Unsure: The Thermometer Test
When in doubt, use a thermometer. Place it at chick level. This gives you an objective measurement. Aim for the temperatures we’ve discussed: 95°F week one, then decreasing by 5°F each week.
Remember, these are guidelines. Your specific environment and chick breed might require slight adjustments. Observing your chicks is your most important tool. They will tell you if they are too hot or too cold.
Brooding Temperature Chart: A Quick Reference
Here’s a handy chart to help you track the temperature week by week:
| Week | Target Temperature Under Lamp | Chick Behavior to Watch For |
|---|---|---|
| Week 1 | 95°F (35°C) | Chicks are clustered directly under the lamp. They should be comfortable, not panting. |
| Week 2 | 90°F (32°C) | Chicks are spread out a bit more. They can move away from the heat if needed. |
| Week 3 | 85°F (29°C) | More active exploration. Some pin feathers appearing. They don’t seem to mind slightly cooler areas. |
| Week 4 | 80°F (27°C) | Good feather coverage. Active and independent. May not need heat during warmer parts of the day. |
| Week 5-6 | Room Temperature (70°F+ or 21°C+) | Fully feathered. Can tolerate room temperature well. Generally ready to be moved to a larger coop if weather permits. |
Common Mistakes to Avoid When Removing Heat
It’s easy to get excited about your growing chicks. But rushing the process can lead to problems. One common mistake is removing the heat lamp too abruptly. This can shock their system.
Another mistake is not accounting for external temperature changes. If you have a sudden cold snap, your chicks might need heat for a bit longer than planned. Always keep an eye on the weather and the room temperature.
The “Mother Hen” Test: A Natural Indicator
Imagine a mother hen. She will gradually lead her chicks away from her warmth as they grow. She doesn’t abandon them suddenly. She allows them to get used to the cooler air.
You are acting as that mother hen with your heat lamp. Gradually reducing the heat and eventually removing the lamp mimics this natural process. It’s about gentle progression.
What About Different Breeds?
Does breed make a difference in heat needs? Generally, breeds with more robust feathering might adapt slightly faster. However, the core principle remains the same: wait until they are well-feathered and can regulate their own temperature.
Some larger fowl breeds might also have slightly different timelines. Always research your specific breed if possible. But universal chick behavior is your best guide.
Your Checklist for Heat Lamp Success
Here’s a quick checklist to ensure you’re transitioning your chicks off heat smoothly:
- Observe your chicks daily for activity and huddling behavior.
- Gradually decrease the heat by about 5°F each week.
- Check the temperature under the lamp with a thermometer.
- Ensure the brooder area is free from drafts.
- Confirm chicks are well-feathered before final removal.
- Be prepared to provide heat again if a cold spell hits unexpectedly.
Conclusion
You’ve learned that chicks typically need a heat lamp for 3 to 6 weeks. This period is vital for their feather development and learning to regulate their own body temperature. Remember to watch your chicks’ behavior closely — they’ll signal if they’re too hot or too cold.
Gradually reducing the heat, not removing it suddenly, is key to their success. By following these steps, you’re setting your feathered friends up for a healthy transition to independent warmth. Your next step is to observe your chicks daily and adjust their heat source based on their cues and the temperature chart.
Frequently Asked Questions
How can I tell if my chicks are too cold?
If your chicks are huddled tightly together directly under the heat lamp and seem reluctant to move away, they are likely too cold. You might also hear them cheeping excessively. Ensure the temperature directly under the lamp is at the recommended level for their age.
What if my chicks are too hot?
Chicks that are too hot will often spread out as far away from the heat source as possible. You might observe them panting or trying to get away from the lamp. If this happens, you need to raise the heat lamp higher or reduce the temperature.
Can I remove the heat lamp all at once?
No, removing the heat lamp all at once is not recommended. Chicks need a gradual transition to acclimate to cooler temperatures. Slowly reducing the heat over a week or two helps prevent them from getting chilled and stressed.
What if there’s a sudden cold snap after I’ve removed the heat lamp?
If an unexpected cold snap occurs after you’ve phased out the heat lamp, don’t hesitate to bring it back. Your chicks’ well-being is the priority. You can reintroduce the heat lamp at a lower setting or for shorter periods until the weather warms up.
Do different chick breeds have different heat needs?
While the general timeline of 3 to 6 weeks applies to most breeds, some breeds with more robust feathering might adapt slightly faster. Always research your specific breed if possible, but observing your chicks’ behavior remains the most reliable indicator.