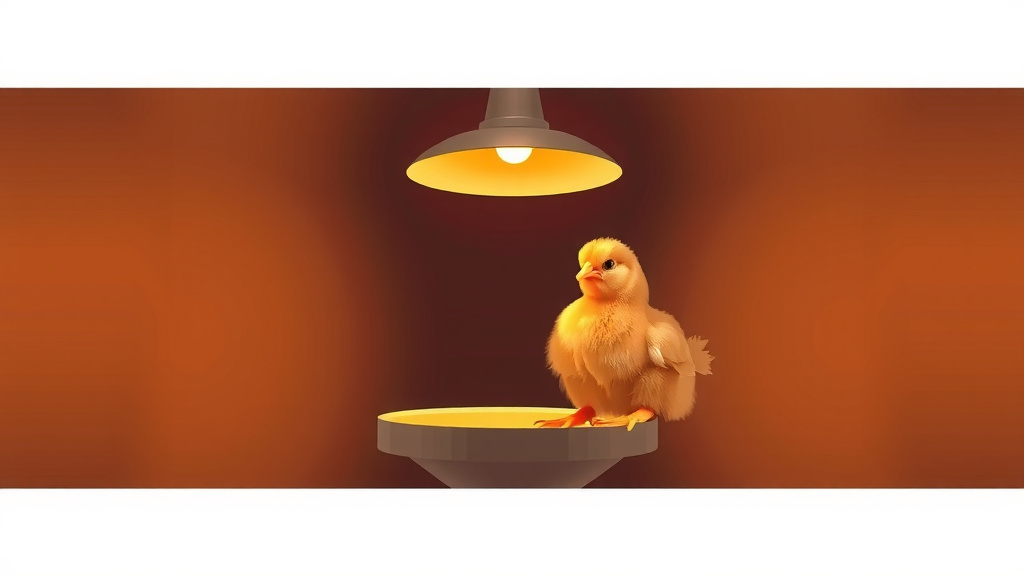
Chicks Need Heat: Finding the Right Lamp Height
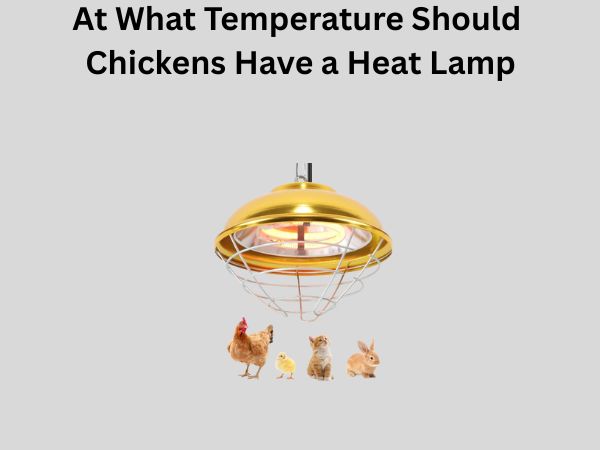
To keep your chicks warm and healthy, you’ll want to position your heat lamp 12 to 18 inches above their bedding. This distance is key for maintaining the ideal temperature zone. Too close, and you risk overheating them; too far, and they’ll get too cold. Getting this height just right is essential for their first few weeks.
Chicks need a consistent temperature as they can’t regulate their own body heat well. This means your heat lamp setup needs to be reliable. Research and expert recommendations suggest a temperature gradient is best, allowing chicks to move to cooler areas if they feel too warm. Ensuring proper ventilation is also important alongside the heat source.
- Start with the heat lamp 12-18 inches above the chicks.
- Adjust height based on chick behavior (huddled vs. spread out).
- Monitor temperature closely, especially in the first week.
- Aim for about 95°F (35°C) initially, decreasing weekly.
- Provide a draft-free brooder area.
Below, we’ll walk you through exactly how to set up your heat lamp and monitor your chicks to ensure they’re happy and thriving. Let’s get your little ones comfortable!
Determining the Right Heat Lamp Height for Chicks
Finding that sweet spot for your heat lamp height is absolutely vital for your chicks’ well-being. We want them to feel just right – not too hot, not too cold. The general consensus among poultry experts is to start your heat lamp 12 to 18 inches above the chicks.
Think of it like giving them their own personal thermostat. This initial height provides a good starting point. But remember, this is just the beginning of your journey to keep them cozy. You’ll be adjusting this height as they grow and as their needs change. We found that paying close attention to their behavior is your best guide.
Why the Correct Height Matters So Much
Chicks are born without the ability to regulate their own body temperature effectively. They rely entirely on an external heat source for warmth. If the heat lamp is too low, they can overheat, which is incredibly dangerous and can lead to dehydration or even death. You’ll see them panting and trying to get away from the heat source.
On the flip side, if the lamp is too high, your chicks will be too cold. This is where you’ll see them huddle together in large, dense groups directly under the lamp. While they might look cute snuggled up, this indicates they are struggling to stay warm. Constant chilling can lead to weakened immune systems and make them susceptible to illness.
The Magic of the Temperature Gradient
A key concept to understand is creating a temperature gradient. This means the area directly under the heat lamp should be the warmest, with temperatures decreasing as you move away from it. This allows your chicks to move freely within the brooder, seeking out the temperature that feels most comfortable for them at any given moment.
Research shows that this freedom of movement is crucial. It prevents them from being forced to endure temperatures that are too high or too low. A well-designed gradient mimics the warmth they’d receive from a mother hen, allowing them to forage, socialize, and rest comfortably. We found that this gradient is especially important in the first week or two.
Adjusting Heat Lamp Height Based on Chick Behavior
Your chicks are the best indicators of whether your heat lamp height is correct. You don’t need fancy thermometers all the time if you learn to read their subtle (and sometimes not-so-subtle) cues. It’s an ongoing process.
Signs Your Chicks Are Too Hot
Watch out for these signs:
- Chicks are spread out far from the heat lamp.
- They are panting heavily.
- They are holding their wings away from their bodies.
- They are actively trying to get to the edges of the brooder, away from the heat.
If you observe these behaviors, it’s time to raise your heat lamp. Increase the height by a few inches and observe them for a while longer. They should gradually spread out more comfortably within the brooder.
Signs Your Chicks Are Too Cold
Conversely, look for these:
- Chicks are all huddled tightly together directly under the heat lamp.
- They are chirping incessantly and seem restless.
- They are reluctant to move away from the heat source.
- Some chicks might even be trying to climb over each other to get closer to the warmth.
If you see this, it means you need to lower your heat lamp. Bring it down a few inches at a time. You want to see them spread out a bit more, not bunched up like a pile of fuzzy marbles.
The “Just Right” Zone
When your heat lamp is at the correct height, your chicks will be active and appear comfortable. They’ll be spread out evenly within the brooder, with some closer to the heat and others a bit further away. They will be peeping contentedly and moving around normally. This is the ideal state you’re aiming for.
Understanding Ideal Brooder Temperatures
While chick behavior is your primary guide, having a thermometer can offer reassurance. The ideal temperature directly under the heat lamp for the first week is around 95°F (35°C). This temperature needs to decrease gradually as your chicks grow.
Many guidelines suggest reducing the temperature by about 5°F (3°C) each week. So, in week two, aim for around 90°F (32°C), week three at 85°F (29.5°C), and so on. By the time they are 6-8 weeks old, they should be able to tolerate room temperature, provided there are no drafts.
Using a Thermometer Effectively
Place your thermometer on the bedding surface, near the edge of the warmest zone (but not directly under the lamp where it might melt or give a false high reading). This helps you gauge the ambient temperature the chicks are experiencing. We found that a simple analog or digital thermometer works well for this.
It’s also wise to have a thermometer at the cooler end of the brooder. This helps confirm that your temperature gradient is established and that there are indeed cooler areas for the chicks to retreat to. This dual-temperature check gives you a fuller picture of the environment you’ve created.
Factors Influencing Heat Lamp Placement
Several environmental factors can impact how you set your heat lamp height and temperature. It’s not just about the lamp itself.
Brooder Size and Materials
A larger brooder will naturally have more space for a temperature gradient. If your brooder is small, the heat might spread too quickly, making it hard to establish a cool zone. The materials of your brooder also play a role. Metal or plastic brooders might retain heat differently than wooden ones.
Drafts and Ventilation
This is a big one! Drafts are the enemy of young chicks. Ensure your brooder is in a location completely free from drafts. This means no open windows nearby, no direct fans blowing on them, and a solid enclosure. Proper ventilation is still necessary to prevent moisture buildup and ammonia fumes, but it needs to be gentle and indirect.
Research from agricultural extension offices consistently highlights the dangers of drafts for young poultry. A draft can chill chicks quickly, even if the heat lamp is at the right height. You want fresh air circulating, but not in a way that creates a cold current. We found that positioning the brooder away from main walkways or doors is a smart move.
Ambient Room Temperature
The temperature of the room where you house your chicks will affect how much heat your lamp needs to provide. If the room is already quite warm, you might be able to set your lamp a little higher. If the room is cooler, you might need to position it slightly lower or use a more powerful bulb.
Heat Lamp Setup Checklist
To ensure you’ve got everything covered, here’s a quick checklist:
- Proper Height: Start the lamp 12-18 inches above the chicks.
- Behavioral Check: Observe chicks for signs of being too hot or too cold.
- Adjustments: Be ready to raise or lower the lamp as needed.
- Temperature Reading: Use a thermometer for initial setup and regular checks.
- Draft-Free Zone: Ensure the brooder is in a warm, draft-free location.
- Gradient Establishment: Confirm there’s a comfortable temperature range within the brooder.
Common Heat Lamp Issues and Solutions
Even with the best intentions, you might run into a few snags. Don’t worry, most are easy to fix!
Bulb Burnout
Heat lamp bulbs can burn out, sometimes unexpectedly. Always have a spare bulb on hand, especially during the first few weeks when your chicks are most vulnerable. A sudden loss of heat can be disastrous.
Lamp Falling
This is a serious safety hazard. Ensure your heat lamp is securely fastened to its stand or the brooder. Many poultry keepers use specialized heat lamp stands or clamps designed for safety. Research and found that using sturdy, purpose-built equipment is best to prevent accidents.
Uneven Heat Distribution
If you notice one side of the brooder is much hotter or colder than the other, your lamp might not be centered properly or the brooder setup isn’t allowing for good air circulation. Reposition the lamp and check for any obstructions.
Remember, setting up your heat lamp is a dynamic process. It requires observation and small adjustments. By understanding your chicks’ needs and watching their behavior, you’ll quickly master the art of keeping them perfectly warm and happy!
Conclusion
You’ve learned that the 12-to-18-inch sweet spot for your heat lamp is your starting point for happy chicks. Remember, your chicks are your best guides! Watch their behavior closely – are they huddled or spread out? Adjusting the lamp height based on these cues is key to creating a comfortable temperature gradient.
By combining this visual monitoring with occasional thermometer checks, you ensure a safe and nurturing environment as they grow. Keep observing, keep adjusting, and you’ll soon master the art of chick keeping. Your chicks will thrive under your care!
Frequently Asked Questions
How often should I check the heat lamp height?
You should check your heat lamp height daily, especially during the first week. Chicks grow quickly, and their needs change. Observe their behavior regularly to make sure they aren’t too hot or too cold.
Can I use a regular light bulb for heat?
No, it’s best to use a specialized heat lamp bulb designed for poultry. Regular light bulbs don’t provide the consistent, deep heat chicks need and can pose a fire risk. They also lack the correct spectrum of heat.
What if my chicks are panting or trying to escape the heat?
This is a clear sign they are too hot. You need to raise your heat lamp immediately. Increase the distance by a few inches and continue to monitor their behavior to find the right balance.
Is it okay for chicks to huddle under the lamp all the time?
If your chicks are constantly huddled tightly together under the heat lamp, they are likely too cold. You should lower your heat lamp slightly to bring the warmth closer to them. Ensure there are no drafts making the brooder feel cooler.
How do I create a temperature gradient in the brooder?
To create a gradient, place the heat lamp at the recommended height over one side of the brooder. This makes the area directly underneath warmest, with temperatures decreasing further away. Your chicks can then move to the cooler spots if they get too warm.