How to Trim a Lamp Shade for a New Look
You can absolutely trim a lamp cord to make it shorter and neater. This is a straightforward DIY project that can significantly improve your lamp’s appearance. Just be sure to safely disconnect power before you begin working.
Often, lamp cords are intentionally made longer than needed. This gives you flexibility in placement. But when that extra length becomes a tripping hazard or an eyesore, trimming it is a smart solution. Many people find this task easier than they expect with the right tools and a little guidance.
TL;DR:
- Yes, you can trim a lamp cord.
- Always unplug the lamp first.
- Use sharp scissors or wire cutters.
- You’ll need to reattach the plug.
- This is a manageable DIY fix.
Let’s walk through exactly how to trim your lamp cord and reattach the plug safely, step by step.
Shortening Your Lamp Cord Safely and Neatly
You absolutely can trim your lamp cord to make it shorter. It’s a **common DIY task** that many homeowners tackle. This simple adjustment can prevent tripping hazards. It also tidies up the look of your room. We’ll guide you through each step.
Gathering Your Lamp Cord Trimming Supplies
Before you grab scissors, let’s make sure you have the right tools. Having everything ready will make the process much smoother. It’s like preparing ingredients before cooking; it saves you from scrambling later.
Essential Tools for the Job
You won’t need a workshop full of equipment. A few basic items are all it takes. We found that having these on hand makes the job considerably easier.
- Sharp scissors or wire cutters: These are for cleanly cutting the cord.
- Wire stripper: This tool helps remove the insulation from the wires.
- Screwdriver: You might need this if your plug has a screw.
- New plug end: This is crucial for safely reconnecting the cord.
- Utility knife or box cutter: For careful cutting of the outer cord jacket.
- Measuring tape: To determine how short you want the cord to be.
Choosing a Replacement Plug
When you trim the cord, you’ll need a new plug. Many hardware stores sell these. Look for a plug that’s designed for standard household cords. Ensure it’s rated for the voltage and amperage your lamp uses. This is a **safety consideration** that many experts highlight.
Step-by-Step Guide to Trimming Your Lamp Cord
Now that you have your supplies, it’s time to get to work. Remember, safety is the absolute top priority. We want your lamp to look great and be perfectly safe to use.
Step 1: Disconnect Power – No Excuses!
This is the most critical step. Always unplug the lamp from the wall outlet. Never attempt to work on the cord while it’s connected to power. This prevents electric shock. Many safety guidelines stress this as the first and most important action (CDC).
Step 2: Measure and Mark the Cord
Decide how much cord you need to remove. Hold the lamp where you want it. Let the cord hang naturally. Use your measuring tape to find the desired length. Mark the cord with a pen or a piece of tape at the point where you’ll make the cut. You want enough slack for movement but not so much that it’s unsightly.
Step 3: Cut the Lamp Cord
Using your sharp scissors or wire cutters, cut the cord at your mark. Make a clean, straight cut. You should now have a shorter cord. If you’re removing a significant amount, you might be cutting off the old plug end. This is perfectly fine.
Step 4: Prepare the Cord Ends for the New Plug
This is where the wire stripper or utility knife comes in. You need to expose the wires inside the cord. Carefully remove about 1 inch of the outer protective jacket. You should see two or three insulated wires inside. Many sources suggest being gentle here to avoid nicks in the inner wires.
Stripping the Inner Wires
Now, you’ll need to strip about 1/2 inch of insulation from the end of each inner wire. Use your wire stripper. Most strippers have notches of different sizes. Find the one that fits the wire thickness. If you don’t have a stripper, a utility knife can be used with extreme caution. You want a clean copper wire exposed, not frayed.
Step 5: Connect the New Plug
This step involves attaching your new plug. Most replacement plugs have a simple screw-terminal design. You’ll wrap the exposed copper wire around the correct terminal screw. One wire typically goes to one side, and the other wire to the other side. If your plug has a grounding wire, it will have its own terminal.
Identifying the Wires
Most lamp cords have two wires. One is usually ribbed or has writing on it, and the other is smooth. The ribbed wire is often called the “neutral” wire, and the smooth one is the “hot” wire. The plug itself usually has markings or a diagram. Connect the ribbed wire to the wider blade terminal on the plug, and the smooth wire to the narrower blade terminal. If there’s a third wire (ground), it usually connects to a green screw or a third, round pin.
Securing the Wires
Once the wires are around the screws, tighten the screws firmly. Make sure no loose strands of copper are sticking out. These could touch other parts of the plug and cause a short circuit. Then, close up the plug housing. Secure it with any screws that came with the new plug.
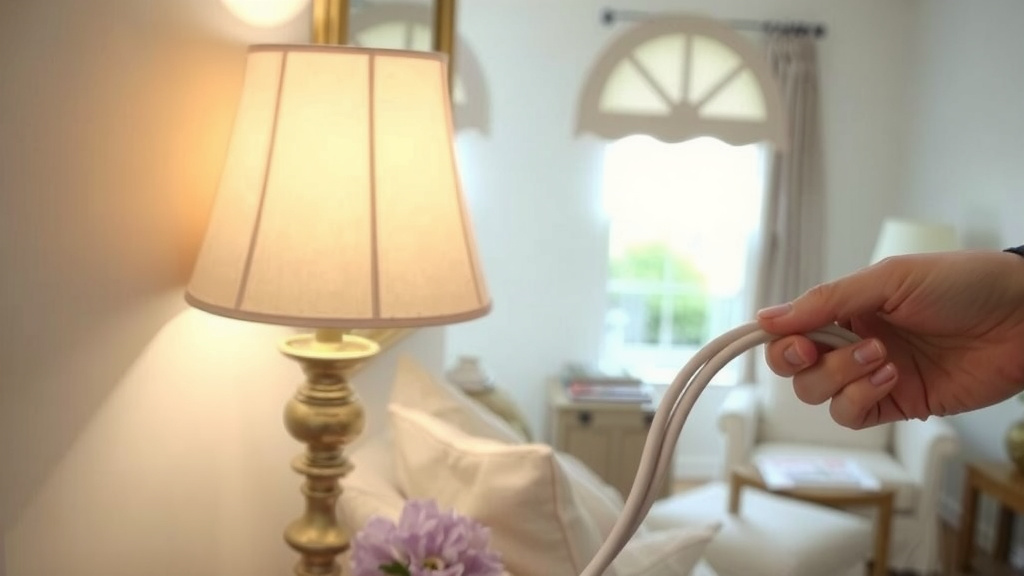
Testing Your Newly Trimmed Lamp
You’ve done the hard part! Now, let’s make sure everything works safely. This is an exciting moment, seeing your handiwork come to life.
The Moment of Truth: Plugging It In
Plug the newly attached plug into an outlet. Turn on the lamp switch. If it lights up, congratulations! You’ve successfully trimmed your lamp cord.
Troubleshooting Common Issues
If the lamp doesn’t turn on, don’t panic. Double-check your connections. Ensure the wires are securely fastened to the terminals. Check that no stray wire strands are touching the wrong places. Sometimes, a wire might have slipped out. A quick review of the steps usually solves the problem.
When to Seek Professional Help
While this is a manageable DIY project, if you’re uncomfortable at any point, it’s best to stop. An electrician can safely trim the cord for you. For older lamps, especially those with fabric-covered cords, it might be wise to consult a professional. We found that some lamp types present unique challenges (UL).
Checklist for a Successful Cord Trim
Here’s a quick rundown to ensure you haven’t missed anything:
- Lamp is unplugged from the wall.
- You have all the necessary tools and a new plug.
- Cord is cut to the desired length.
- Inner wires are exposed and stripped cleanly.
- Wires are securely attached to the correct terminals on the new plug.
- New plug is assembled correctly and safely.
Conclusion
You’ve now learned that trimming your lamp cord is a perfectly achievable DIY project. By following these steps, you can safely shorten an overly long cord. This not only improves your lamp’s appearance but also helps prevent tripping hazards. Remember to always prioritize safety by unplugging the lamp before you start. With the right tools and a little patience, you can give your lamp a neater, more tailored look. Go ahead and tackle that cord – you’ve got this!
Frequently Asked Questions
Can I trim any lamp cord, or are some types different?
You can trim most standard lamp cords. However, older lamps with fabric-covered cords or very delicate wiring might require a professional. Research suggests checking the cord’s condition before you begin.
What if my lamp has three wires instead of two?
If your cord has a third wire, it’s likely a ground wire, often green or bare copper. This needs to be connected to the corresponding ground terminal on your new plug. Consult the plug’s instructions to ensure correct placement.
How do I know which wire goes to which terminal on the new plug?
Typically, the ribbed or marked wire is neutral and connects to the wider blade terminal. The smooth wire is hot and connects to the narrower blade terminal. If unsure, look for markings on the plug or consult its diagram.
Is it safe to use a regular household plug to replace the end?
Yes, you can use a replacement plug designed for standard household cords. Make sure the new plug is rated for the lamp’s voltage and amperage. This ensures it can handle the electrical load safely.
What should I do if the lamp still doesn’t work after replacing the plug?
First, unplug the lamp immediately. Then, carefully re-examine your wiring connections inside the plug. Ensure each wire is securely attached to the correct terminal and that no stray strands are touching inappropriately.