How Long to Put Nails Under a UV Lamp for Perfect Results
Most nails need 60 to 120 seconds under a UV lamp for gel polish, though some gels require up to 2 minutes per coat. If you’re curing gel tips or builder gel, you might need closer to 60 seconds per layer. The exact time depends on your lamp’s wattage and the polish brand, so always check the bottle first.
Wondering why timing matters so much? Under-cured gel can stay sticky, peel off in days, or even irritate your skin. We researched guidance from nail brands and salon pros, and most agree that following the polish label is the safest bet. Many lamps also have built-in timers that take the guesswork out for you.
- Standard gel polish: usually 60 seconds per coat under a UV or LED lamp
- Base and top coats: often 30 to 60 seconds each
- Builder gel or gel tips: may need 2 minutes or more per layer
- LED lamps: typically cure faster than traditional UV lamps
- Golden rule: follow the timing printed on your polish bottle
Below, we break down everything you need to know about UV curing times, from lamp types to signs your gel is fully set. Let’s walk through it step by step so your next manicure lasts.
How Long Should Nails Stay Under a UV Lamp?
The short answer: most gel polish needs 60 seconds under an LED lamp or 2 minutes under a traditional UV lamp. Base coats and top coats often cure faster, while thicker products like builder gel take longer. Think of it like baking cookies—the outside might look done before the middle is actually set.
Here’s the catch. Not all lamps and polishes play nicely together. A 48-watt lamp cures much faster than a dinky 6-watt one. We found that most polish brands print exact times right on the bottle, so that label is your best friend.
| Product Type | LED Lamp | UV Lamp |
|---|---|---|
| Base coat | 30 seconds | 1 minute |
| Color coat | 60 seconds | 2 minutes |
| Second color coat | 60 seconds | 2 minutes |
| Top coat | 30–60 seconds | 2 minutes |
| Builder gel / gel tips | 60–120 seconds | 2–3 minutes |
What Happens If You Don’t Cure Long Enough?
Under-cured gel stays soft and tacky, smudges easily, and peels off within days. Worse, uncured gel can irritate your skin. Research published through the National Library of Medicine notes that unreacted gel ingredients like acrylates can cause allergic contact dermatitis with repeated exposure. That’s not something to shrug off.
Ever had a manicure that felt slightly sticky days later? That’s a classic sign the gel never fully cured. Many experts say proper curing time is the number one factor in making gel last two weeks or more.
Signs Your Gel Is Fully Cured
- The surface feels hard and smooth, not tacky or bendy
- Tapping it with another nail makes a firm, solid sound
- No dents appear when you press lightly with a thumbnail
- Your lamp timer finished without interruption
- The color looks even and glossy all over
Can You Over-Cure Gel Polish?
You can, but it’s rare. Leaving nails under the lamp for way too long can make gel brittle, yellowed, or harder to remove. It also bakes your skin a little longer, which nobody needs. Stick to the bottle’s recommended time and you’ll be fine.
Why Over-Curing Still Deserves Attention
We found that excessive curing mainly affects the top layer, where heat and light hit hardest. If your nails feel hot under the lamp—that tingly, burning sensation—many pros recommend pulling your hand out for a few seconds, then sliding it back in. That simple trick lets heat dissipate and keeps things comfortable.
Does Lamp Wattage Change Curing Time?
Absolutely. Wattage is basically the horsepower of your lamp. Higher-wattage LED lamps cure gel in 30 to 60 seconds, while older, lower-wattage models can take double that time. Traditional UV lamps—those with fluorescent bulbs—generally run slower across the board.
Think of it like microwaving leftovers. A powerful microwave heats your burrito in a minute; a weak one leaves you with frozen middles. Your gel works the same way, just with light instead of heat.
LED vs. UV Lamps: What’s the Difference?
Both lamp types cure gel, but they use different light wavelengths. LED lamps emit narrower wavelengths that match many modern gel formulas, so they work faster—usually 30 to 60 seconds. Standard UV lamps take closer to two minutes.
One important note: some old-school polishes only cure properly under traditional UV light. Check your bottle before buying a lamp, or you might end up with a very pretty paperweight. If you’re still choosing a lamp, our roundup of the best at-home UV gel lamps compares this year’s top picks.
Quick Bulb Maintenance Tips
- Replace UV bulbs every few months, even if they still light up
- Wipe the inside of your lamp regularly—dust blocks light
- Never put fingers or tools on the bulbs themselves
- If curing takes longer than it used to, weak bulbs are often the culprit
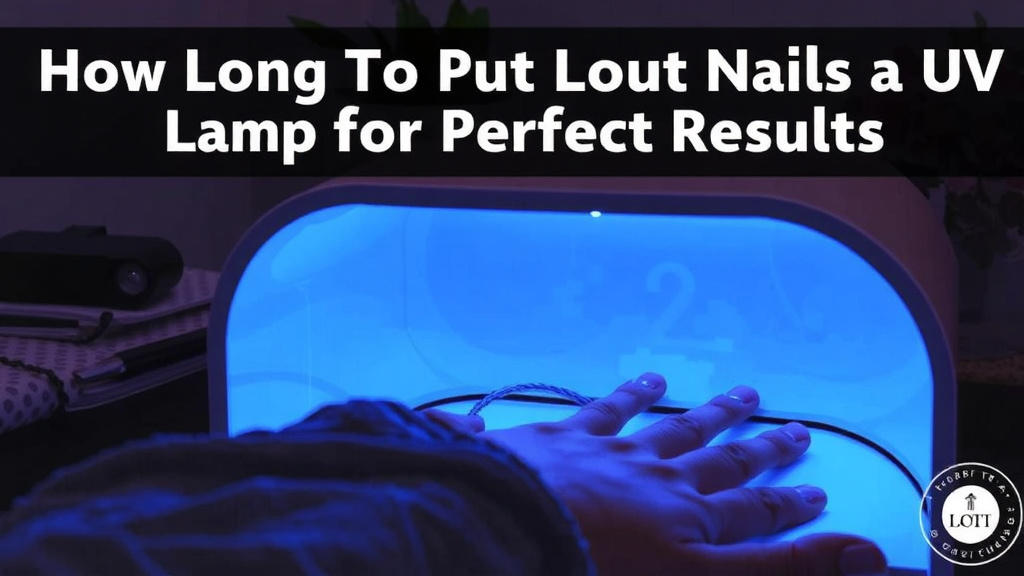
How Long to Cure Each Coat the Right Way
Each layer gets its own time under the lamp. Skipping or rushing layers is where most at-home manicures go wrong. Here’s the rhythm we recommend after looking at guidance from major gel brands:
- Prep and dehydrate the nail, then apply base coat and cure for 30 to 60 seconds
- Apply a thin first color coat and cure per the bottle—usually 60 seconds under LED
- Add a second thin color coat and cure again
- Finish with top coat and cure for 30 to 60 seconds
- Wipe away the inhibition layer with cleanser if your top coat calls for it
Thin coats are the secret handshake of gel manicures. Thick globs never cure all the way through, no matter how long they sit under the lamp. Two skinny layers beat one thick one every single time.
Curing Gel Extensions and Builder Gel
Gel tips and builder gel are the heavyweight division. Because these products go on thick, they need more time—often 60 to 120 seconds per layer under LED. Some structured gel systems ask for even longer on the final sculpt. Follow your product’s instructions closely here, because these thick layers are the ones most likely to hide soft spots underneath.
Timing Your Curing With a Checklist
- Read the curing time printed on your polish bottle before you start
- Confirm your lamp type matches your polish (LED vs. UV)
- Set your lamp timer or use the preset buttons—don’t eyeball it
- Cure each hand fully; don’t crowd five fingers in a four-finger slot
- Test one nail with a light tap before moving on to decoration
- Clean your lamp between uses so old gel film doesn’t block light
Safety Notes Worth Knowing Before You Cure
UV lamps expose your skin to small amounts of UVA light. The amount in a typical curing session is low—dermatology researchers have compared it to a few minutes of daylight—but repeated sessions add up. Many experts suggest applying broad-spectrum sunscreen to your hands about 20 minutes before your appointment (a practice supported by dermatologists cited by the Skin Cancer Foundation), or wearing fingerless UV-shielding gloves.
Also, if you ever notice burning pain, blistering, or skin reactions around your nails after gel manicures, pause and talk to a dermatologist. The Cleveland Clinic notes that allergic reactions to acrylates can become worse with repeated exposure. Your nails aren’t worth a lasting allergy.
And one last friendly nudge: resist picking or peeling cured gel off with your teeth or tools. That habit lifts thin layers of your natural nail along with the polish. Proper removal with acetone soaks keeps your nail plate happy for your next round under the lamp.
Conclusion
Getting your curing time right comes down to three things: the right lamp, thin coats, and following the timing on your polish bottle. Nail polish formulas vary, so a 60-second cure under LED might be perfect for one brand and too short for another. When in doubt, a few extra seconds beats a sticky, peeling manicure every time.
We found that the biggest at-home mistakes are rushing layers and using mismatched lamps—not lack of skill. So before your next manicure, grab your favorite gel polish and check its label first. Then set that timer, cure each thin coat patiently, and enjoy a glossy set that lasts well past two weeks.
Frequently Asked Questions
Can I cure my gel nails for too little time and just add more later?
Unfortunately, no. Gel polish cures as a single chemical reaction, so if it’s under-cured, tacking on extra lamp time afterward won’t fully fix the layers underneath. It’s better to cure each coat correctly the first time than try to patch it later.
Why do my nails feel hot or burn under the UV lamp?
That heat spike happens when the gel cures quickly and releases warmth on the nail surface. It’s common with certain base and builder gels. Pull your hand out for a few seconds until the sensation fades, then slide it back in to finish curing.
Do I really need to cure between every single coat?
Yes, you do. Each layer of gel needs its own time under the lamp to harden properly. Applying a new coat over uncured gel traps soft product underneath, which leads to bubbling, lifting, and premature chips.
Can I use any UV lamp with any gel polish brand?
Not always. Some polishes are formulated to work best with specific lamps or wavelength ranges, and mixing brands can lead to incomplete curing. If you want to mix and match, check that the polish label lists compatibility with your lamp type.
How do I know when it’s time to replace my lamp or its bulbs?
Watch for the warning signs: curing takes noticeably longer, gels stay tacky, or your UV bulbs look dim or discolored. Most UV bulbs lose strength months before they burn out completely. If your routine hasn’t changed but results have, your lamp is usually the reason.