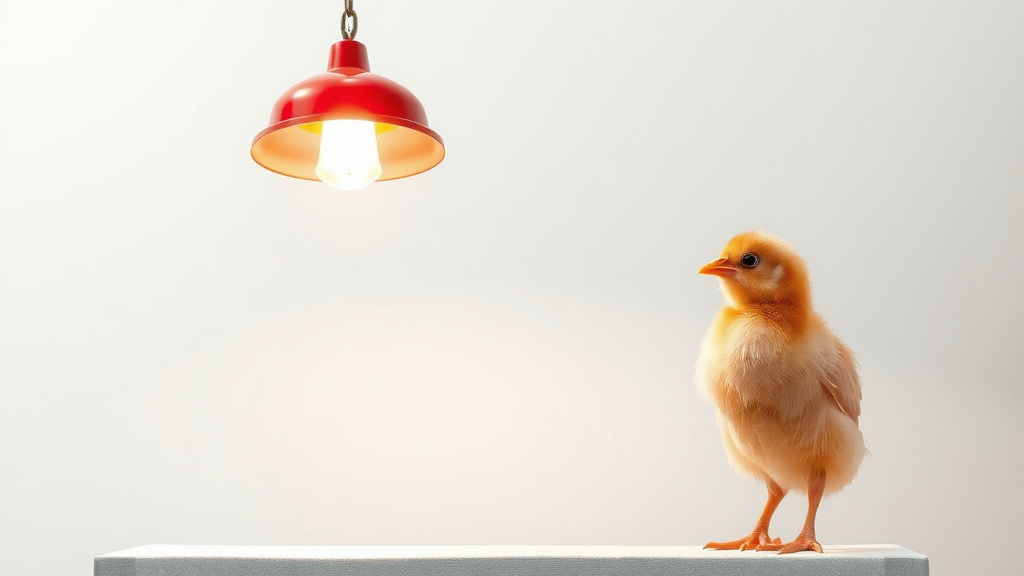
How Far to Hang Heat Lamps for Chicks
The correct distance for a heat lamp for chicks is generally between 12 and 18 inches above them. This distance helps create a warm zone without overheating your young flock. You’ll want to adjust this height based on your chicks’ behavior to ensure they are comfortable and getting the right amount of warmth.
Finding that sweet spot is key to happy, healthy chicks. Too close, and they might get stressed or dehydrated. Too far, and they’ll be cold, huddled, and potentially unhealthy. We found that observing your chicks is the best indicator for fine-tuning the lamp’s height and ensuring a proper temperature gradient.
- Chicks need a temperature of about 95°F during their first week.
- Gradually lower the heat lamp or thermostat by 5°F each week.
- Watch chick behavior for signs of being too hot or too cold.
- Adjust the lamp height daily if needed until you find the perfect spot.
Let’s walk through exactly how to set up your heat lamp to keep your little ones perfectly cozy and growing strong! Our guide to the best brooder lamps can help you properly set up your heat lamp to keep your little ones perfectly cozy and growing strong!
Setting the Right Heat Lamp Height for Your Chicks
Figuring out the perfect distance for your chick’s heat lamp is key. You want to create a cozy space without making it too hot or too cold. We found that an initial distance of about 12 to 18 inches above your chicks is a good starting point.
This height allows for a gentle warmth to spread around their brooder area. It’s not so close that it feels like a direct blast of heat. We also found that this range helps create a temperature gradient. That means chicks can move away if they get too warm.
Understanding Chick Temperature Needs
Baby chicks are like tiny, fluffy thermostats. They can’t regulate their own body temperature well when they’re very young. They rely on an external heat source to stay comfortable and healthy. This is where your heat lamp comes into play.
Research shows that chicks need a brooder temperature of around 95°F (35°C) during their first week of life. This might seem quite warm, but remember they are covered in downy fluff and have no adult feathers to keep them insulated yet. Think of it like a baby bird snuggling up to its mom or siblings.
The Importance of Gradual Temperature Changes
As your chicks grow, their ability to handle cooler temperatures improves. We found that you should aim to lower the heat by about 5°F (2.8°C) each week. This gradual adjustment helps them develop their own thermoregulation skills. It’s like slowly getting them used to the outside world.
This means that by the time they are 4-5 weeks old, they might not need the heat lamp at all. Always watch their behavior, though. Sometimes weather changes or drafts can require you to adjust the heat up or down slightly.
Reading Your Chicks’ Behavior: The Best Thermometer
Your chicks are the best indicators of whether your heat lamp is set correctly. Their actions speak volumes about their comfort level. You’ll quickly learn to read their subtle cues. We found that observing them is far more reliable than just a thermometer alone.
Signs Your Chicks Are Too Cold
When chicks are too cold, they will instinctively huddle together. You’ll see them all piled up directly under the heat lamp, often chirping loudly and constantly. This is their way of trying to share body heat. This behavior can lead to some chicks getting accidentally crushed in the pile.
If they are shivering or seem lethargic and reluctant to move around, that’s another clear sign they’re feeling the chill. You might also notice them peeping incessantly. This isn’t just a little noise; it’s a distressed sound. In extreme cases, cold chicks can become weak and susceptible to illness.
Signs Your Chicks Are Too Hot
On the flip side, if the heat lamp is too close, your chicks will show it. They will move as far away from the heat source as possible. You’ll see them spread out to the edges of the brooder, panting with their beaks open. Their wings might be held slightly away from their bodies.
They might also seem listless and reluctant to eat or drink. This is because they are trying to conserve energy and cool down. Overheating can lead to dehydration and stress, which is definitely not good for their development. We found that panting is a very clear signal they need more space or less heat.
Signs Your Chicks Are Just Right
When your chicks are at the perfect temperature, you’ll see them spread out comfortably in the brooder. Some might be near the heat lamp, but not all piled up. Others will be exploring or eating and drinking calmly at a distance. They will be active, curious, and quiet.
You’ll hear a gentle, contented chirping. They should be moving around freely and interacting with each other. This happy medium means your heat lamp is positioned well, providing a warm zone they can choose to stay in or move away from.
Adjusting the Heat Lamp: Daily Fine-Tuning
Setting up the heat lamp isn’t a one-and-done task. You’ll likely need to make adjustments, especially during the first week. We found that checking on your chicks multiple times a day is very beneficial.
Using a Thermometer for Guidance
While chick behavior is your best guide, a thermometer can help confirm your settings. Place a thermometer at chick level in the brooder. Check the temperature in different areas. You want the warmest spot under the lamp to be around 95°F (35°C) initially.
The temperature should gradually decrease as you move away from the lamp. This creates that essential temperature gradient. Many experienced keepers place a thermometer near the edge of the brooder to monitor the cooler zone. This confirms they have ample space to escape the heat.
Adjusting the Lamp Height
If your chicks are too cold (huddled, loud peeping), lower the heat lamp slightly. Lower it about 1-2 inches at a time. Wait about 15-30 minutes and observe their behavior again. If they are too hot (panting, spread out far away), raise the lamp 1-2 inches.
It’s a simple process of trial and error. Remember, you’re aiming for that happy medium we talked about. Consistency is key. Making these small, frequent adjustments ensures they stay comfortable as they grow.
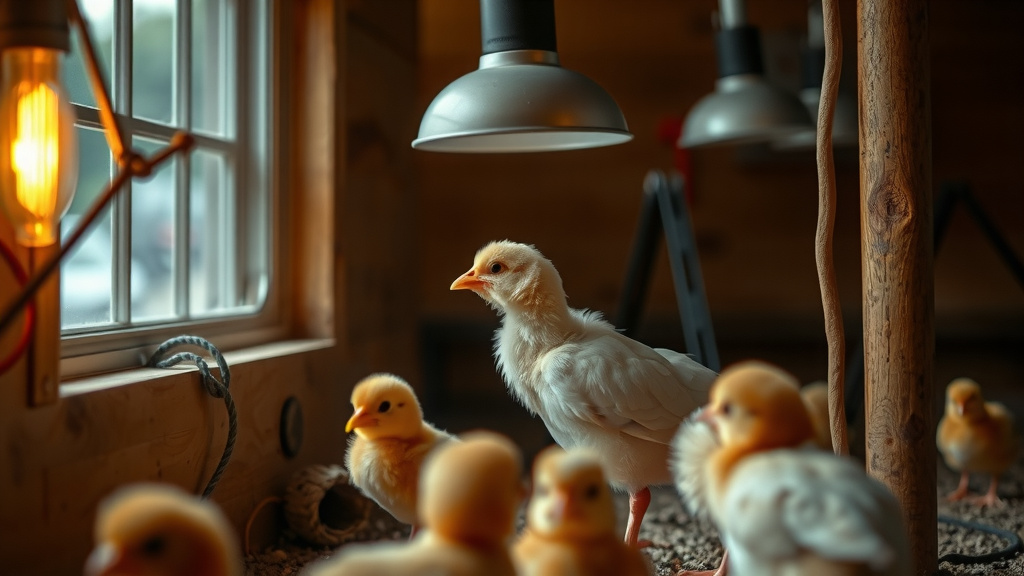
Troubleshooting Common Heat Lamp Issues
Sometimes things don’t go exactly as planned. Don’t worry, these are common hurdles. We found that most heat lamp issues can be resolved with a little observation and adjustment.
Drafts and Ventilation
Chicks need fresh air, but they can’t handle drafts. Ensure their brooder is in a location free from direct drafts from windows or doors. However, completely sealing the brooder can lead to poor air quality. This can cause respiratory issues.
We found that a good balance is essential. You want enough air circulation to prevent ammonia buildup but not so much that it chills the chicks. Sometimes adding a solid panel to one side of the brooder can block a draft while allowing air in elsewhere.
Uneven Heating
Make sure your heat lamp is positioned directly above the main area where chicks gather. If the lamp is angled, it can create hot spots or cold spots. Ensure the bulb is centered over the brooder floor.
We found that using a dome-style lamp helps distribute the heat more evenly. If you’re using a flat panel heater, ensure it covers a sufficient area of the brooder floor. Chick behavior will tell you if the heating is uneven. They’ll cluster in one area and avoid another.
Your Chick Heat Lamp Checklist
Here’s a quick checklist to help you set up your heat lamp for success:
- Place heat lamp 12-18 inches above chicks to start.
- Ensure the warmest spot is about 95°F for week-old chicks.
- Watch chick behavior for signs of being too hot or cold.
- Lower the heat by 5°F each week as they grow.
- Adjust lamp height daily if needed based on chick behavior.
- Check for drafts and ensure proper ventilation in the brooder.
Conclusion
You’ve learned that setting the right heat lamp distance for your chicks is a blend of science and observation. Remember to start with that 12-18 inch range and always, always watch your chicks’ behavior. They are your best guides to know if they’re too hot or too cold.
Gradually decreasing the heat each week prepares them for independence. By fine-tuning the lamp’s height daily, you ensure a comfortable environment for healthy growth. Now, go put your knowledge into practice and enjoy your happy, thriving flock!
Frequently Asked Questions
How often should I check on my chicks and adjust the heat lamp?
We found that checking on your chicks multiple times a day, especially during the first week, is very beneficial. You’ll want to be ready to make small adjustments to the lamp’s height as needed based on their behavior. This daily fine-tuning helps maintain their comfort.
Can I use a regular light bulb instead of a heat lamp?
No, a regular light bulb won’t provide adequate warmth. Chicks need a consistent temperature of around 95°F during their first week, and standard bulbs don’t generate enough heat. You need a specialized heat lamp designed for livestock to meet their specific temperature needs.
What if my brooder has chicks spread out evenly, but some seem reluctant to move towards the heat?
If chicks are spread out but some are avoiding the warmest area, they might be getting too much heat overall. Try raising the lamp slightly. You want them to have the option to move closer if they feel a chill, not be forced to stay away from intense heat.
Is it okay to use a thermostat with a heat lamp?
Yes, using a thermostat can be very helpful, especially as chicks get older. It allows you to set a target temperature for the brooder and helps maintain it automatically. This can reduce the need for constant manual adjustments of the lamp height.
What if my heat lamp bulb breaks?
If a heat lamp bulb breaks, you’ll need to replace it immediately with the correct wattage and type. Have a spare bulb on hand to prevent any disruption in your chicks’ warmth. Your chicks’ well-being depends on a consistent heat source.

![10 Best Design Desk Lamp [2026]](https://bestdesklamp.com/wp-content/uploads/2026/09/10-best-design-desk-lamp-2026-featured-768x432.jpg)
![10 Best At Home Uv Led Nail Lamp [2026]](https://bestdesklamp.com/wp-content/uploads/2026/08/10-best-at-home-uv-led-nail-lamp-2026-featured-768x432.jpg)
![10 Best Ceiling Lamps For Living Room [2026]](https://bestdesklamp.com/wp-content/uploads/2026/08/10-best-ceiling-lamps-for-living-room-2026-featured-768x432.jpg)