How to Properly Insert an Oil Lamp Wick
Putting a wick in an oil lamp is a straightforward process. You’ll want to carefully thread the wick through the burner assembly until it sits snugly. Make sure the wick material extends just enough to reach the bottom of the oil reservoir for Our guide on how old oil lamps work explains the basic principles of their operation.proper fuel absorption.
Getting this right is key to a steady flame and a safe burning experience. An improperly placed wick can lead to flickering, uneven burning, or even potential fire hazards. It’s all about ensuring good contact with the lamp’s oil.
TL;DR:
- Feed the wick through the burner.
- Ensure it reaches the oil.
- Trim excess wick if needed.
- Proper placement prevents flickering.
Ready to get that lamp lit? Let’s walk through exactly how to put a wick in your oil lamp, step by step.
Getting Your Oil Lamp Wick Just Right
Putting a new wick in your oil lamp is an important step. It helps ensure your lamp burns safely and effectively. We’ll guide you through this simple process. You’ll have your lamp ready to light in no time. It’s really about a few key placements.
Gathering Your Supplies
Before you start, make sure you have everything you need. This will make the process smoother. You won’t have to stop and search for things halfway through. Think of it like preparing your ingredients before cooking.
- A clean oil lamp
- A new wick (cotton or fiberglass)
- A pair of scissors
- Possibly a pair of tweezers or pliers
- Lamp oil (if you’re refilling)
Understanding Your Lamp’s Burner
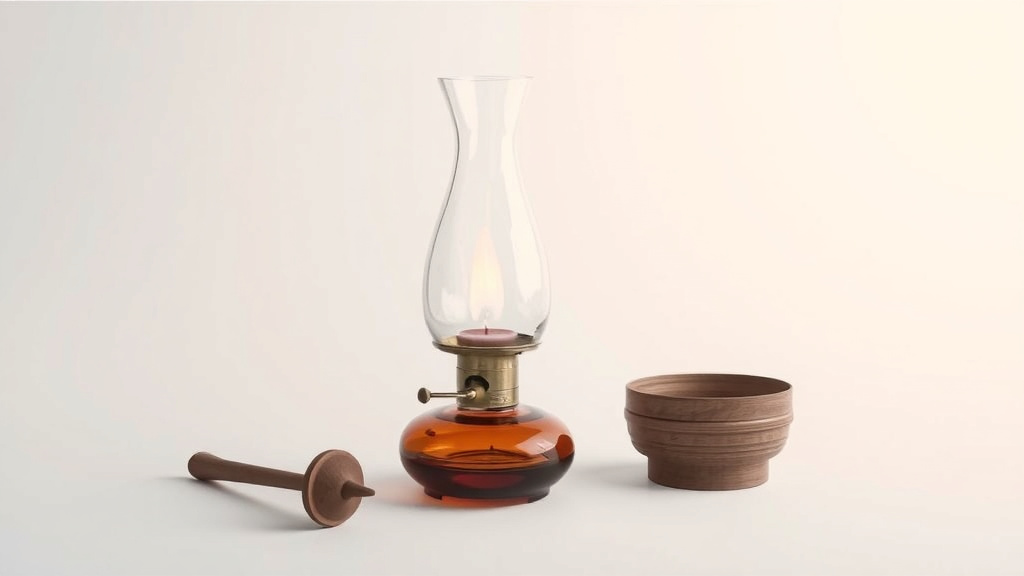
Most oil lamps have a similar burner assembly. It’s the part that screws onto the top of the lamp. This is where the wick goes. It usually has a hole or slot for the wick. There’s often a small knob to adjust the flame height. Knowing this basic structure helps.
Different Burner Types
Some burners are simple, with just one hole for the wick. Others have a more complex design. They might have a metal collar that holds the wick in place. Researching your specific lamp model can be helpful. But the basic principle remains the same: guide the wick through.
Step-by-Step Wick Installation
Now, let’s get that wick into the lamp. We’ll go step-by-step. Don’t worry if you’ve never done this before. It’s quite forgiving. You just need a little patience.
Preparing the New Wick
First, inspect your new wick. Make sure it’s the right size for your lamp. If it’s too wide, it might not fit through the burner. If it’s too thin, it might not provide a good flame. Some wicks come pre-cut. Others you might need to trim to length later.
Cutting the Wick (If Necessary)
If your wick isn’t pre-cut, you’ll need to cut it. The general rule is to let it hang about an inch below the burner. This ensures it reaches the bottom of the oil reservoir. You can always trim it more after it’s in place. Use sharp scissors for a clean cut. A frayed edge can cause problems.
Threading the Wick Through the Burner
This is the core of the process. Take one end of your wick. Gently push it through the opening in the burner assembly. You might need to push a good portion through. Work slowly and steadily. If the wick is stiff, it might go through easier.
Using Tools for Assistance
Sometimes, the opening is tight. Or the wick might be a bit floppy. This is where tweezers or small pliers can be a lifesaver. You can use them to grip the end of the wick. Then, carefully pull it through the burner. Just be gentle. You don’t want to damage the wick or the burner.
Positioning the Wick in the Reservoir
Once the wick is through the burner, you need to make sure it reaches the bottom of your oil tank. The wick acts like a straw. It draws the lamp oil up to the flame. If the wick doesn’t reach the oil, the lamp won’t burn. Or it will burn very poorly.
Checking Wick Length
Let the wick hang down into the lamp. It should dangle freely. Make sure it extends past the bottom of the burner. Ideally, it should rest on the bottom of the oil reservoir. If it’s too short, you might need to pull more wick through the burner. If it’s much too long, it could coil up. This might prevent oil absorption.
Trimming the Wick for Optimal Burning
Now that the wick is in place, it’s time to trim it. You want the top of the wick to be slightly above the burner. Usually, about a quarter-inch is a good starting point. This exposed part is what catches fire.
| Wick Exposure | Result |
|---|---|
| Too High | Sooty flame, excessive smoke. Might even char the burner. |
| Just Right (approx. 1/4 inch) | Steady, clean flame. Good light output. |
| Too Low | Flickering flame, weak light. Wick may not light well. |
Ensuring a Clean Cut
Again, use sharp scissors. A clean, even cut is best. A jagged edge can lead to an uneven flame. This might cause the wick to burn down faster. We want a controlled burn, not a wild fire! Many experts recommend trimming it just before you light the lamp.
Checking for Proper Fit and Contact
Give the wick a gentle tug. Does it feel secure in the burner? It shouldn’t be loose. It also shouldn’t be so tight that it’s difficult to adjust. Ensure the wick is centered. It should be able to move up and down easily with the adjustment knob.
The Importance of Contact
Good contact between the wick and the burner is essential. It helps regulate the fuel flow. A secure wick prevents it from sinking too low. This ensures a consistent flame height. We found that a snug fit is key to preventing flame creep up the wick itself.
Final Check Before Lighting
Before you add oil or light your lamp, do one last check. Is the wick threaded correctly? Does it reach the bottom? Is it trimmed to the right height? Have you removed any stray fibers?
- Wick threaded through burner?
- Wick reaches bottom of reservoir?
- Wick trimmed to about 1/4 inch above burner?
- No loose fibers or debris around the wick?
- Burner assembly is clean and secure?
If all these look good, you’re ready for the next step: adding oil and lighting your lamp. You’ve done a great job installing your wick!

Conclusion
You’ve successfully navigated the process of putting a new wick in your oil lamp! Remember, proper wick placement and trimming are key. They ensure a steady flame and a safe, enjoyable experience. A wick that’s correctly positioned will draw fuel efficiently. This leads to a cleaner burn and a brighter light. Don’t rush the final checks; they prevent common issues like flickering or excessive smoke. Now that your lamp is prepped, take a moment to admire your work. Your next step is simple: add your lamp oil and light it up!
Frequently Asked Questions
How do I know if my wick is the right size?
The wick should fit snugly into the burner assembly without being too tight to adjust. If it’s too wide, it won’t fit. If it’s too narrow, it may not provide enough fuel for a good flame. Many lamp stores offer wicks in standard sizes, so measure your burner opening if you’re unsure.
What kind of wick material is best?
Cotton and fiberglass are the most common materials for oil lamp wicks. Cotton wicks are affordable and widely available but may need more frequent trimming and replacement as they tend to burn down. Fiberglass wicks are more durable and won’t burn away, offering a consistent flame height for longer periods.
Do I need to pre-burn the wick?
Some people like to pre-burn a cotton wick for a minute or two before installing it. This can help remove sizing agents and make the wick slightly stiffer for easier threading. However, it’s not strictly necessary, and many fiberglass wicks don’t require any pre-treatment.
What happens if the wick is too long in the oil reservoir?
If the wick is excessively long and coils at the bottom of the reservoir, it can hinder oil absorption. This can lead to a weak or flickering flame. It might also cause the oil to become cloudy over time. Ensure the wick hangs straight down and reaches the bottom without bunching up.
Can I reuse an old wick?
Generally, it’s best to replace your wick when it shows signs of wear, such as being heavily charred, frayed, or difficult to trim cleanly. Reusing a worn-out wick can lead to poor burning performance, soot, and an uneven flame. A new wick is inexpensive and ensures the best results.
![10 Best Bulb For Outdoor Lamp Post [2026]](https://bestdesklamp.com/wp-content/uploads/2026/08/10-best-bulb-for-outdoor-lamp-post-2026-featured-768x432.jpg)