How to Set Up Your Lava Lamp for the Best Flow
Setting up a lava lamp is surprisingly simple! You’ll need to find a stable, flat surface away from direct sunlight and drafts. Then, simply plug in your lava lamp and let it warm up; it typically takes 1-2 hours for the lava to start flowing. Patience is key here!
While it might seem straightforward, there are a few things to keep in mind to ensure your lava lamp functions correctly and safely. We found that avoiding excessive movement while the lamp is on is important for the best visual experience. Proper placement also helps prevent any potential accidents and ensures your lava lamp is the star of the show.
- Find a stable, flat spot.
- Keep it away from sunlight and drafts.
- Plug it in and wait 1-2 hours for it to heat up.
- Avoid moving it while it’s on.
Ready to get your groovy blob going? Let’s walk through exactly how to set up your lava lamp step by step.
“`htmlGetting Your Lava Lamp Ready to Flow
So, you’ve got a brand new lava lamp, and you’re excited to see those groovy blobs dance! Setting one up is pretty straightforward, but a little preparation goes a long way. You’ll want to make sure you have a good spot picked out and understand how to properly get it started. We found that patience is truly a virtue when it comes to lava lamps.
Choosing the Perfect Spot
Where you place your lava lamp matters more than you might think. It affects how well it heats up and how safe it is to use. Think of it like giving your lava lamp its own cozy little home.
Stable and Flat is Key
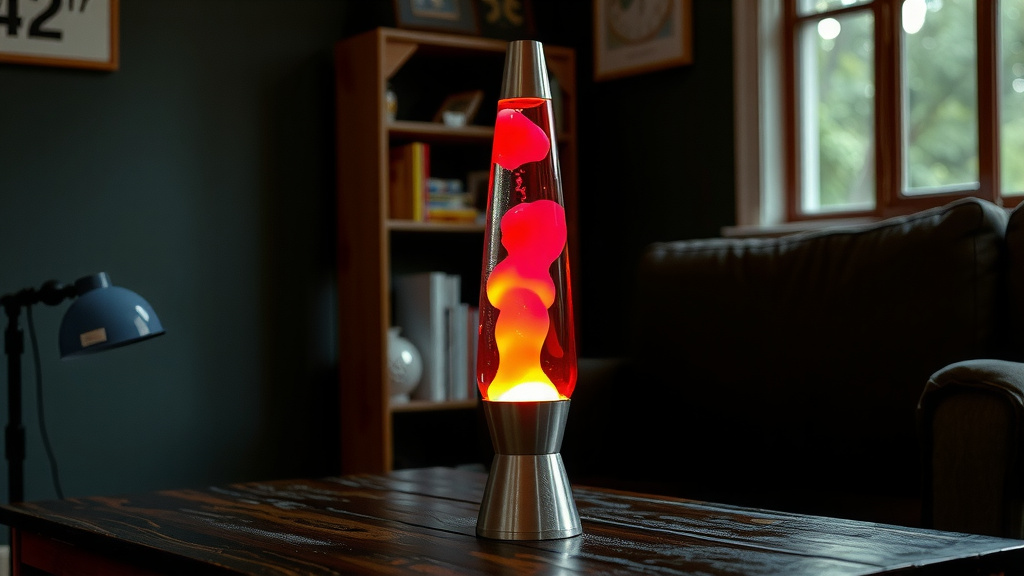
First things first: your lava lamp needs a stable and flat surface. This prevents it from tipping over, which could be a messy disaster. You don’t want any unexpected spills or potential hazards. A sturdy table or a solid shelf works perfectly.
Mind the Heat and Light
Now, let’s talk about its surroundings. Lava lamps don’t like direct sunlight. The sun’s rays can heat the lamp unevenly, affecting the lava’s movement. We found that keeping it away from windows helps maintain consistent performance. Also, avoid placing it near drafts from open windows or air conditioning vents. Sudden temperature changes can disrupt the delicate balance needed for the lava to flow smoothly.
Consider the Viewing Angle
Think about where you’ll be sitting or standing when you want to admire your lava lamp. You’ll want a spot where you can get a clear, unobstructed view of the mesmerizing show. Make sure it’s not hidden behind furniture or other decorations.
The Initial Setup Process
Once you’ve found the ideal location, it’s time for the actual setup. This part is all about getting the lamp ready for its first big performance.
Unpacking and Inspection
Carefully remove your lava lamp from its packaging. Take a moment to inspect it for any damage that might have occurred during shipping. Check the glass globe, the base, and the bulb. If anything looks amiss, contact the manufacturer.
Plugging It In (The Right Way!)
Connect the power cord to the lamp and then plug it into a working electrical outlet. It’s generally recommended to plug it directly into a wall socket rather than a power strip, especially for the first use. This ensures a consistent power supply. Many experts suggest avoiding surge protectors initially until you’re sure the lamp is functioning correctly (Good Housekeeping).
The Warm-Up Period: Patience is a Virtue
This is where your patience will be rewarded. Lava lamps don’t magically start flowing the moment you plug them in. They need time to heat up properly.
Understanding the Heating Process
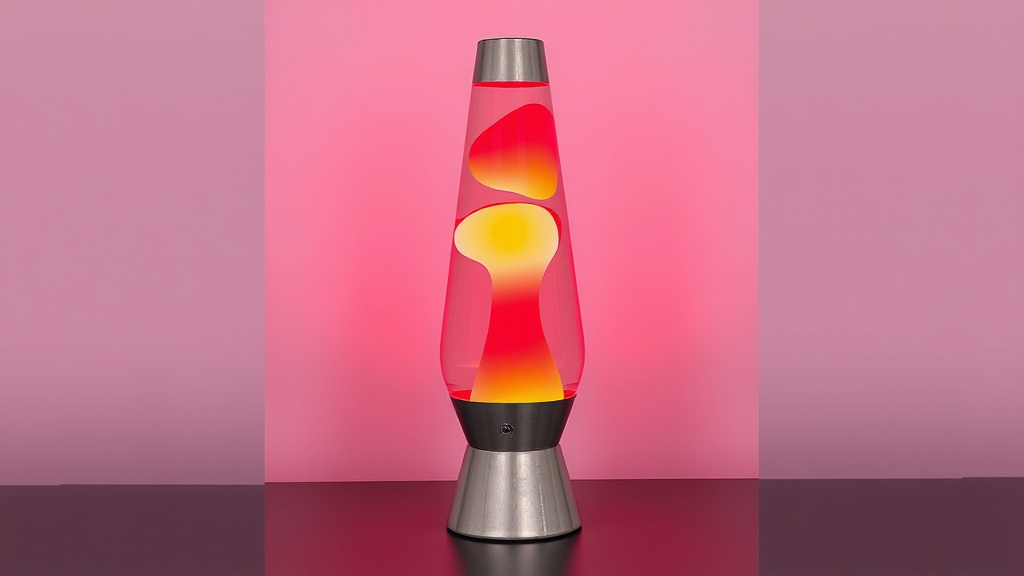
Inside your lava lamp is a special liquid and wax mixture. The bulb at the base provides the heat needed to warm this mixture. As the wax heats up, it becomes less dense than the surrounding liquid. This causes it to rise in blobs. When the blobs reach the cooler top of the lamp, they lose heat, become denser, and sink back down.
How Long Does It Take?
We found that most lava lamps take anywhere from one to two hours to reach their full operating temperature. During this time, you might see small bubbles or changes in the wax, but the classic lava blobs won’t appear immediately. Don’t be tempted to shake or move the lamp during this crucial warm-up phase!
What to Expect During Warm-Up
At first, the wax might look cloudy or clumped together at the bottom. You might see small, quick-moving bubbles. This is all perfectly normal. Just let the lamp do its thing. Resist the urge to fiddle with it; this can actually hinder the heating process and create less-than-ideal blobs.
First Flow and Beyond: Tips for Optimal Performance
Once the warm-up is complete, you’ll start to see the magic happen. Here are a few pointers to ensure you get the best experience.
The First Flow Might Be Different
Your lava lamp’s very first flow might be a little slow or uneven. This is common. As the lamp cycles through a few heating and cooling periods, the wax will become more accustomed to its environment. We found that subsequent uses often result in smoother, more predictable lava movement.
Avoid Moving When Hot
Once your lava lamp is on and the wax is flowing, avoid moving it. Shaking or tilting a hot lava lamp can cause the wax to break into tiny, permanent droplets. This is often called “cloudy” or “broken” lava. It’s best to let it cool down completely before you move it to a new location.
Cooling Down Safely
When you’re ready to turn off your lava lamp, simply unplug it. Do not try to speed up the cooling process by immersing it in water or spraying it with liquid. Let it cool down naturally. This typically takes a couple of hours, similar to the warm-up time.
Lava Lamp Care Checklist
To make sure your lava lamp setup goes smoothly, keep this simple checklist in mind:
- Confirm your lava lamp is undamaged.
- Choose a stable, flat surface.
- Place away from direct sunlight and drafts.
- Plug into a wall outlet.
- Allow 1-2 hours for the initial warm-up.
- Avoid moving the lamp while it’s on or hot.
Conclusion
You’ve now got all the information you need to set up your lava lamp for a perfect flow! Remember, finding the right spot is key – think stable, flat, and away from direct sun or drafts. Patience during the 1-2 hour warm-up is essential for those mesmerizing blobs to appear. Avoid moving your lamp once it’s hot to keep your lava smooth and unbroken. With these simple steps, you’re ready to enjoy the unique ambiance a lava lamp provides.
Now, go ahead and plug it in, find your favorite viewing spot, and get ready to relax!
Frequently Asked Questions
How long does it take for a lava lamp to warm up the first time?
The very first warm-up can take the longest, usually between one and two hours. During this initial period, the wax needs time to reach the correct temperature to start flowing properly. Just let it do its thing without disturbance.
Can I put my lava lamp on a power strip?
While you can use a power strip, many experts suggest plugging your lava lamp directly into a wall outlet, especially for its first few uses. This ensures a consistent and reliable power supply, which is important for the initial heating process.
What should I do if the lava breaks into tiny balls?
If your lava breaks into small, tiny droplets (often called “broken lava”), it usually means the lamp was moved or shaken while it was hot. The best solution is to let the lamp cool down completely, then try turning it on again. Avoid moving it once it’s warmed up.
Is it okay if my lava lamp looks cloudy at first?
Yes, a bit of cloudiness or clumping at the bottom is perfectly normal during the warm-up phase. You might also see small, fast-moving bubbles. This is all part of the heating process before the larger, slower lava blobs form.
How often should I turn my lava lamp on and off?
There’s no strict rule on how often you should use your lava lamp. However, it’s generally best to avoid turning it on and off repeatedly in short periods. Allowing it to complete a full heating and cooling cycle each time is ideal for its longevity.

![10 Best Desk Lamp For College Dorm [2026]](https://bestdesklamp.com/wp-content/uploads/2026/09/10-best-desk-lamp-for-college-dorm-2026-featured-768x432.jpg)