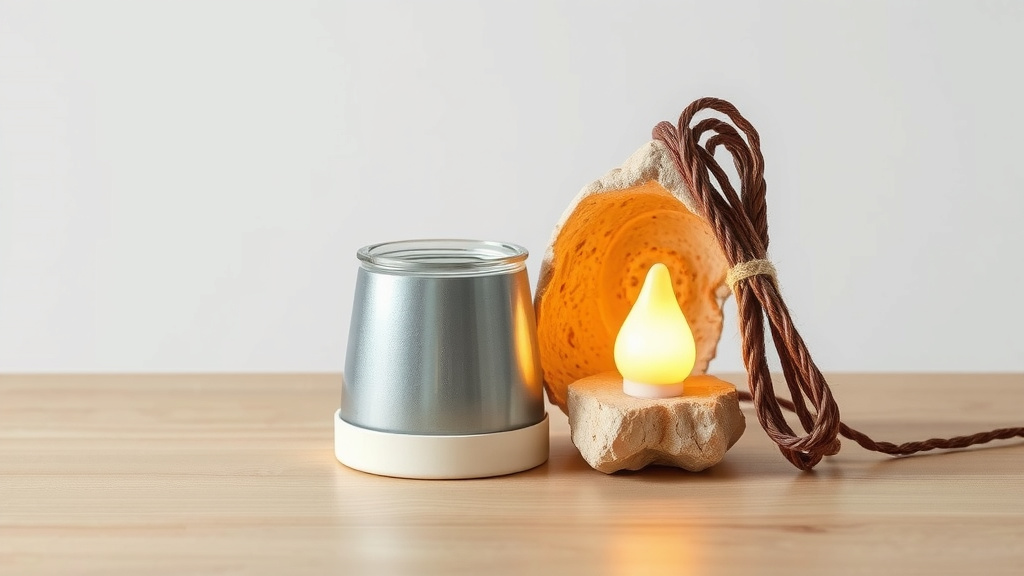
How to Make Your Own Salt Rock Lamp
Making your own salt rock lamp is a surprisingly simple DIY project. You’ll need a natural Himalayan salt rock, a light bulb socket, a cord with a plug, and a small light bulb. Carefully drilling a hole and assembling the electrical components will create a beautiful, ambient light source for your home.
These lamps are often sought after for their unique aesthetic and potential calming properties. Beyond just a DIY craft, they can add a warm, soft glow to any room. Many people find the gentle light soothing, making it a popular choice for bedrooms or living spaces.
- Gather your materials: salt rock, light socket, cord, bulb.
- Drill a hole carefully into the salt rock.
- Assemble the light fixture components securely.
- Connect the wiring to the socket and plug.
- Test your beautiful new salt lamp!
Let’s walk through exactly how to assemble your very own salt rock lamp, step by step.
Crafting Your Own Himalayan Salt Lamp: A Step-by-Step Guide
You’ve seen those beautiful, warm lamps and wondered if you could make one yourself. The great news is, you absolutely can! Making your own salt rock lamp is a wonderfully rewarding DIY project. It allows you to create a unique piece of decor that brings a special kind of ambiance into your home. We’ll guide you through each step, making it straightforward and fun. Get ready to build something truly special.
Gathering Your Essential Supplies
Before you start drilling or wiring, let’s make sure you have everything you need. Having all your components ready will make the assembly process much smoother. Think of it like preparing all your ingredients before you bake a cake.
The Star of the Show: Your Salt Rock
You’ll need a natural Himalayan salt rock. These come in various shapes and sizes. Look for one that has a relatively flat base or one where you can easily create a stable surface. Many craft stores or online retailers sell these specifically for lamp making. Some even come pre-drilled, which can be a great option if you’re a bit nervous about drilling into salt.
The Electrical Components
These are the heart of your lamp’s functionality. You’ll need a light bulb socket, often called a lamp holder. A common type is a phenolic or ceramic socket. You’ll also need an electrical cord with a plug attached. Make sure the cord is a suitable length for where you plan to place your lamp. Finally, you’ll need a small light bulb. A 15-watt or 25-watt incandescent bulb is usually recommended because they generate enough heat to slightly warm the salt, enhancing its glow, without being too hot. LED bulbs can also work, but they don’t produce as much warmth. For the best results, consider a small light bulb designed for Himalayan salt lamps.
Tools You’ll Need
For assembly, you’ll want a few basic tools. A drill with a masonry bit (or a bit specifically designed for stone) is essential for creating the hole. You’ll also need a screwdriver, possibly some pliers, and maybe some sandpaper to smooth any rough edges on your salt rock.
Preparing Your Salt Rock for Illumination
This is perhaps the most crucial step where you’ll be interacting directly with the salt. Precision here means a stable and beautiful finished product. Take your time and be gentle.
Creating the Hole for the Cord and Socket
You need a hole going from the bottom of the salt rock up to a point where the light socket can sit securely inside. Many experts suggest starting with a small pilot hole. This helps guide the larger bit. Use your drill with a masonry bit that’s about the diameter of your electrical cord. Drill slowly and steadily. It’s a good idea to drill into a stable surface. You might want to place a piece of scrap wood underneath for support. If your salt rock isn’t flat on the bottom, you may need to drill a slightly larger, shallower cavity on the base to create a stable platform for the lamp to sit on. This cavity will house the socket.
Be patient. Salt can be brittle. If it starts to crumble, ease up on the pressure. The goal is a clean hole. Once the main hole is drilled, you might need to widen the opening at the bottom slightly if your light socket doesn’t quite fit. You can use a chisel very gently, or a larger drill bit spun by hand. Many people find using a dremel tool with a grinding attachment works well for this. Always wear safety glasses when drilling stone, even salt!
Smoothing and Cleaning
Once your hole is ready, you might have some rough edges. Gently sand these down with sandpaper. A rough grit followed by a finer grit will give you a smoother finish. After sanding, wipe away all the salt dust with a dry cloth. A clean surface is key for a professional look.
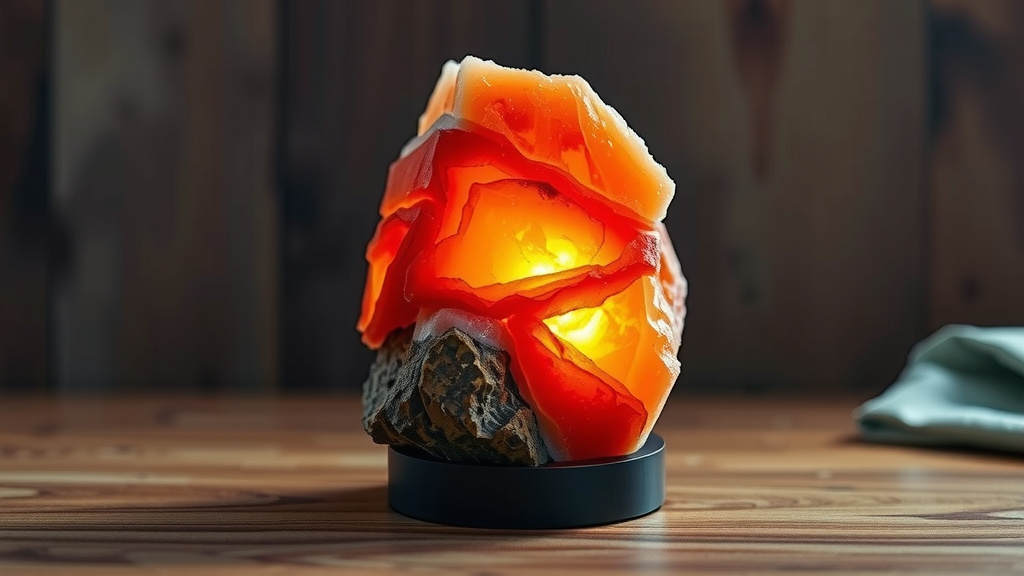
Assembling the Electrical Components
Now comes the part where your lamp starts to come alive. This step involves connecting the electrical parts. If you’re not comfortable with basic electrical wiring, it’s always best to ask a friend who is, or consider purchasing a pre-assembled cord and socket set. Safety is paramount here.
Connecting the Cord to the Socket
Your light socket will have terminals where the wires from the cord connect. Typically, there are two wires: a hot wire and a neutral wire. You’ll need to strip a small amount of insulation from the ends of these wires. Then, secure them to the corresponding terminals on the socket. Many sockets have screw terminals. Make sure the connections are tight and secure. Researching how to properly wire a lamp socket is highly recommended before you begin. Websites like the Occupational Safety and Health Administration (OSHA) provide general safety guidelines for working with electricity, which are good to review.
Securing the Socket Inside the Rock
Gently place the light socket into the cavity you created at the bottom of the salt rock. It should fit snugly. If it feels loose, you might need to use a bit of epoxy or a strong adhesive to secure it in place. Ensure the socket is positioned so the bulb will point straight up into the hole. The cord should feed out from the bottom of the rock cleanly.
Finalizing and Testing Your Lamp
You’re almost there! This is where all your hard work comes together.
Attaching the Bulb
Screw your chosen light bulb into the socket. Make sure it’s screwed in all the way, but don’t overtighten it. This is the final component before you plug it in.
The Moment of Truth: Testing Your Lamp
Find a safe, stable spot for your newly assembled lamp. Plug the cord into a wall outlet. If everything is connected correctly, your salt rock lamp should begin to glow with that signature warm, inviting light. It’s a truly magical moment when your DIY project lights up!
A Quick Checklist for Success
Let’s recap the key steps to ensure you’ve covered everything:
- Salt Rock Prepared: Is your salt rock clean with a stable base?
- Hole Drilled Properly: Does the electrical cord fit through the hole from the bottom?
- Socket Secured: Is the light socket firmly attached inside the rock’s base?
- Wiring Connected: Are the cord wires securely connected to the socket terminals?
- Bulb Screwed In: Is the light bulb properly seated in the socket?
- Test Run Complete: Did you plug it in and watch it glow?
Conclusion
You’ve successfully learned how to transform a simple salt rock into a beautiful, ambient lamp. From gathering your materials to carefully drilling and wiring, you’ve created a unique piece of decor. This project is more than just a craft; it’s your very own source of warm, calming light. Now that you have your gorgeous handmade lamp, take a moment to appreciate your accomplishment. Consider placing it in your favorite reading nook or bedside table to enjoy its soothing glow every day.
Frequently Asked Questions
How do I choose the right size salt rock for a lamp?
Consider where you want to place your lamp. Smaller rocks are great for accent lighting or smaller spaces. Larger rocks make a statement piece. Ensure the rock has a base that can be stabilized or that you can create one for it.
Is it safe to drill into a salt rock?
Yes, it is generally safe, but you must take precautions. Always wear safety glasses to protect your eyes from salt dust. Drill slowly and steadily, as salt can be brittle and crumble if you apply too much pressure.
What kind of light bulb should I use in my salt rock lamp?
A lower wattage incandescent bulb, like 15-25 watts, is often recommended. These generate a gentle warmth that enhances the salt’s natural glow. While LED bulbs work, they produce less heat and may not create the same ambiance.
What if my salt rock is uneven on the bottom?
This is common. You can create a small, shallow cavity on the base of the rock where the light socket can sit securely. This ensures your lamp is stable and doesn’t wobble when placed on a surface.
Can I use an LED bulb instead of an incandescent one?
You can use an LED bulb, but it’s important to understand they don’t produce much heat. The gentle warmth from an incandescent bulb is what many people feel enhances the salt lamp’s properties and glow. If you use an LED, opt for one that emits a warm white light.


![10 Best Bug Lamp [2026]](https://bestdesklamp.com/wp-content/uploads/2026/08/10-best-bug-lamp-2026-featured-768x432.jpg)

![10 Best Acrylic Nail Lamp [2026]](https://bestdesklamp.com/wp-content/uploads/2026/09/10-best-acrylic-nail-lamp-2026-featured-768x432.jpg)