How to Make a Lava Lamp in a Bottle: Easy DIY Guide
You can absolutely make a DIY lava lamp in a bottle using simple household items! It’s a fun science experiment that creates a mesmerizing, bubbly effect. All you need are water, oil, food coloring, and an effervescent tablet like Alka-Seltzer to get your homemade lava lamp flowing.
This classic science demonstration shows principles of density and chemical reactions in a visually engaging way. Many parents and teachers love this activity because it’s easy to set up and provides a great learning opportunity. You’ll see how different liquids interact and create cool, moving patterns right before your eyes.
- Gather your materials: a clear bottle, water, vegetable oil, food coloring, and an effervescent tablet.
- Fill the bottle partly with water and then add oil.
- Add a few drops of food coloring.
- Break an effervescent tablet into pieces and drop them in.
- Watch the bubbly magic happen!
Ready to create your own groovy lava lamp? Let’s walk through exactly how to make this exciting science project step by step!
Crafting Your Own Bubbly Bottle: A DIY Lava Lamp Project
You’re about to create a fantastic DIY lava lamp right in your own home! This isn’t just a cool science experiment; it’s a visual demonstration of how liquids behave differently. Get ready to be amazed by the colorful, rising bubbles.
Understanding the Science Behind the Glow
Ever wondered why some things float and others sink? Your lava lamp will show you! It all comes down to a principle called density. Density is basically how much “stuff” is packed into a certain space. Water and oil don’t mix because they have different densities.
Oil is less dense than water. This means that for the same amount of space, oil has less mass than water. Because of this, the oil will naturally sit on top of the water. Think of it like a layer cake; the lighter frosting stays on top of the denser cake.
Gathering Your Essential Supplies
Before we start building, let’s make sure you have everything you need. You’ll want a clear bottle. A clean, empty plastic water bottle or a glass soda bottle works perfectly. The clearer the bottle, the better you’ll see your groovy display!
You’ll also need:
- Water: Just regular tap water will do the job.
- Vegetable Oil: Any common cooking oil, like canola or vegetable oil, is great.
- Food Coloring: Pick your favorite vibrant color! Red, blue, or green are always popular choices.
- Effervescent Tablets: Alka-Seltzer tablets are the go-to for this project.
Step-by-Step Construction of Your Lava Lamp
Let’s get this project started! We’ll break it down into easy steps so you can follow along smoothly.
Step 1: Prepare Your Bottle and Water Base
First, take your clean, empty bottle. You’re going to fill it about one-quarter full with water. This water will be the foundation for our bubbling lava.
Step 2: Add the Oil Layer
Next, carefully pour your vegetable oil into the bottle. You want to fill it up to about three-quarters of the way full. Don’t worry if a little bit of water comes up into the oil layer; it will settle. You’ll see the oil and water separate quite distinctly, with the oil floating on top. This is your first visual cue of density in action!
Step 3: Introduce the Color
Now for the fun part – adding color! Put about 8 to 10 drops of food coloring into the bottle. You might notice that the food coloring doesn’t mix with the oil. Instead, it will pass through the oil and start to color the water layer below. This is because food coloring is water-based, and oil and water don’t mix.
Watch as the colored drops sink through the oil. They will eventually reach the water and begin to disperse, tinting your water base. You can gently swirl the bottle once to help distribute the color, but don’t shake it vigorously!
Step 4: Activate the Bubbles!
This is where the magic happens. Take one effervescent tablet, like Alka-Seltzer, and break it into a few smaller pieces. Drop one piece into the bottle. What do you think will happen?
The tablet will sink to the bottom and start to dissolve in the water. As it dissolves, it releases carbon dioxide gas. This gas forms bubbles. These bubbles attach themselves to the colored water. Because the gas makes the colored water less dense, it rises through the oil layer. When the bubbles reach the top, the gas escapes, and the denser colored water sinks back down. It’s a continuous cycle!
Step 5: Keep the Show Going
To keep your lava lamp bubbling, simply add more pieces of the effervescent tablet as the bubbling slows down. You’ll be able to enjoy your homemade lava lamp for a good while. Remember, this is a temporary effect that relies on the chemical reaction of the tablet. When the tablets are all used up, the bubbling will stop.
Troubleshooting Your Lava Lamp Project
Sometimes, science projects don’t go exactly as planned on the first try. If your lava lamp isn’t bubbling as expected, here are a few things to check.
Common Issues and Solutions
Not Enough Bubbles: Make sure you’re using an effervescent tablet that is still fresh and hasn’t been exposed to moisture. If the tablet is old, it might not produce enough gas. Try a new tablet.
Color Not Coloring the Water: Ensure the food coloring is getting all the way through the oil to the water layer. If it seems stuck in the oil, try adding just a tiny bit more water to the bottle, being careful not to overfill.
No Separation Between Oil and Water: This is unlikely to happen if you’ve poured the liquids in layers. However, if you find they are mixing too much, it might be due to excessive shaking. Let the bottle sit for a while to allow the layers to re-separate.
A Checklist for Lava Lamp Success
Here’s a quick rundown to ensure you have a fantastic lava lamp experience:
- Clear bottle ready
- Water measured correctly
- Oil poured evenly
- Food coloring added
- Effervescent tablet prepared
- Ready for bubbles!
Understanding the Chemistry and Physics
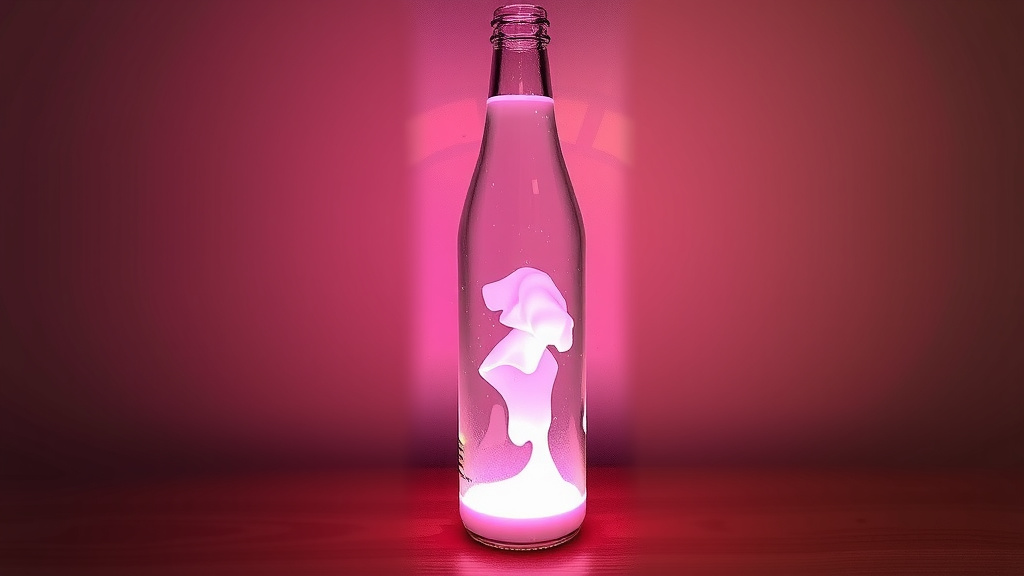
This fun activity beautifully illustrates two key scientific concepts: density and chemical reactions. As we mentioned, oil is less dense than water, which is why it floats. When the effervescent tablet dissolves in the water, it creates carbon dioxide gas. This gas is lighter than both water and oil. The gas bubbles latch onto blobs of colored water and carry them upwards through the oil. Once the gas escapes at the surface, the denser colored water sinks back down, creating that mesmerizing lava lamp effect.
Many educational resources highlight this experiment as a great way to teach kids about the properties of liquids and gases. For instance, the American Chemical Society has published numerous articles on simple home science experiments that demonstrate chemical principles (American Chemical Society).
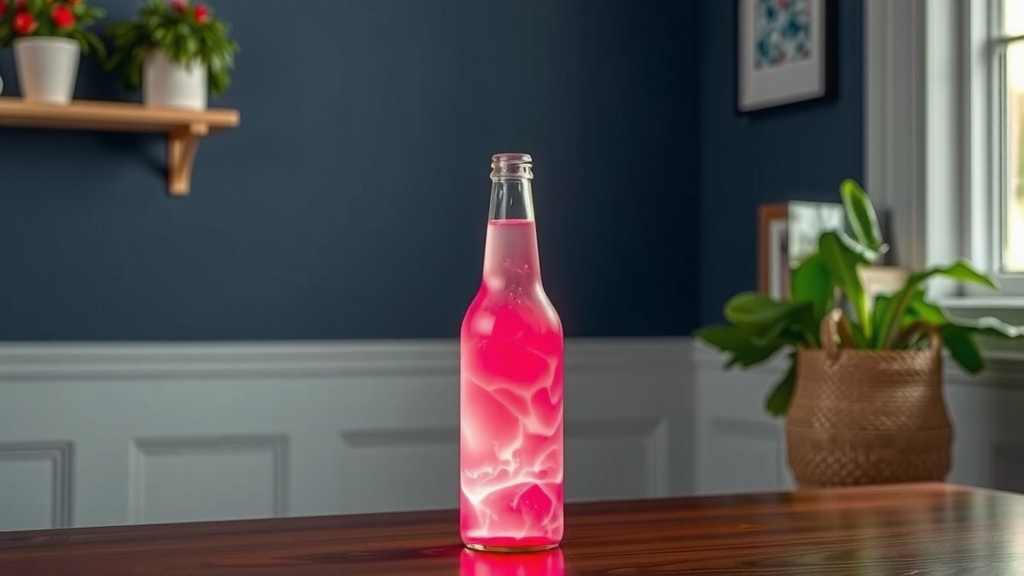
The continuous rising and falling of the colored water blobs are a direct result of this ongoing chemical reaction and the resulting changes in density. It’s a mini-ecosystem of buoyancy and gas production happening right before your eyes!
Making it a Colorful Creation
The choice of food coloring is entirely up to you! Consider using more than one color, though you’ll need separate bottles for each if you want distinct colors. You can also experiment with different types of oils. Some research suggests that the viscosity of the oil can affect the speed at which the bubbles rise, but for this basic experiment, standard vegetable oil is perfect.
You can also try using different containers. A tall, narrow vase can make for an interesting display, as long as it’s sturdy enough. Just remember that the principles of density and chemical reactions will remain the same, no matter the container shape.
Conclusion
You’ve now seen how simple it is to create your very own bubbly lava lamp right at home! You’ve learned that this fun project isn’t just about cool visuals; it’s a fantastic way to understand density and chemical reactions. By combining water, oil, food coloring, and an effervescent tablet, you get a mesmerizing display of science in action. So, don’t just read about it – grab those supplies and give this easy, exciting experiment a try!
Frequently Asked Questions
How long does a homemade lava lamp last?
Your homemade lava lamp’s bubbling effect is temporary. It lasts as long as the effervescent tablet is actively reacting in the water. Once the tablet has fully dissolved, the bubbling will stop. You can restart the show by adding more tablet pieces.
Can I use rubbing alcohol instead of water?
While you could technically use rubbing alcohol, it’s not recommended for this project. Rubbing alcohol has different density properties and might not create the desired separation or reaction with the oil and food coloring like water does. Water is best for demonstrating the classic lava lamp effect.
Why does the food coloring go through the oil?
Food coloring is water-based. Since oil and water don’t mix, the food coloring drops will pass through the oil layer until they reach the water. They can then mix with and color the water, making your lava lamp visually appealing.
Can I make the bubbles bigger or smaller?
You can influence the bubble size slightly by how you break the effervescent tablet. Smaller pieces tend to create more numerous, smaller bubbles. Larger pieces might result in fewer, but potentially larger, blobs of colored water rising.
What happens if I shake the bottle?
Shaking the bottle vigorously will cause the oil and water layers to mix temporarily. It will disrupt the separation and the distinct lava lamp effect. For the best results, avoid shaking and allow the layers to settle before adding the tablet.