How Does a Fluorescent Lamp Work? Full Guide
A fluorescent lamp works by passing an electric current through a tube filled with mercury vapor and an inert gas. This creates ultraviolet light, which then excites a coating of phosphorus on the inside of the tube, causing it to glow and emit visible light. It’s a fascinating process that turns electricity into a soft, steady glow for your home or office, using less energy than traditional incandescent bulbs.
Think of it as a mini lightning storm inside a glass tube, but a very controlled one! This technology has been around for a while, offering an energy-efficient lighting solution compared to older bulbs. Many people wonder about the science behind this common light source, especially given its widespread use and the different types available, like CFLs. Understanding how they operate can help you appreciate your lighting a bit more and potentially make informed choices about future lighting purchases. We found that understanding the core mechanism is key.
TL;DR:
- Fluorescent lamps use electricity to excite mercury vapor.
- This creates UV light that makes a special coating glow.
- The result is visible light, much like sunlight.
- They are known for being more energy-efficient.
- This guide explains the whole process step-by-step.
Let’s walk through exactly how a fluorescent lamp creates light, from the electricity entering to the glow you see.
“`htmlUnderstanding How Fluorescent Lights Light Up Your World
You’ve probably got a fluorescent lamp nearby right now. Maybe it’s the long tube in your garage or kitchen. Or perhaps it’s a compact fluorescent lamp (CFL) screwed into a table lamp. These lights have been around for decades, offering a more energy-efficient way to brighten your space compared to old incandescent bulbs. But have you ever stopped to wonder about the magic happening inside that glass tube? It’s a clever bit of science that turns electricity into light.
We’ve looked into it, and the process involves a few key components working together. It’s not as simple as just flipping a switch; there’s a little more to it than that. Let’s break down exactly what happens from the moment you power up your fluorescent light.
The Essential Parts of a Fluorescent Lamp
Think of a fluorescent lamp as a mini-ecosystem of light production. It needs several components to function properly. Each piece plays a vital role, and without it, you wouldn’t get that familiar glow. We’ve identified the main players in this light-making team.
1. The Glass Tube
This is the most obvious part, right? It’s a sealed glass tube. The size and shape can vary a lot, from long straight tubes to the curly ones you see in CFLs. What’s inside is what makes the real difference, and it’s not just air.
2. Inert Gas and Mercury Vapor
Inside the glass tube, you’ll find a small amount of mercury. It’s not liquid mercury like you might have seen in old thermometers; it’s a tiny bit of vapor. There’s also a small amount of an inert gas, usually argon or neon. This gas helps start the process when you turn the light on. This mixture is essential for creating the light.
3. The Phosphor Coating
If you look closely at the inside of the glass tube, you’ll see a white powdery coating. This is made of phosphor. Think of phosphor as a special material that can glow when it’s excited. It’s the key to converting invisible light into visible light. Many experts say this coating is what makes fluorescent lamps so effective.
4. Electrodes at Each End
At both ends of the tube, there are electrodes. These are like the tiny power connections for the lamp. They are coated with a material that helps release electrons when electricity flows through them. These electrons are the spark that gets everything going.
5. The Ballast: The Brains of the Operation
You can’t see this part directly from the outside, as it’s usually built into the fixture or the base of the bulb itself. The ballast is super important. It controls the amount of electricity going to the lamp. Without a ballast, the lamp would either not start or it would burn out very quickly. It’s like the traffic controller for the electricity.
The Step-by-Step Process of Light Creation
Now that you know the parts, let’s see how they all work together. It’s a fascinating sequence of events that happens in fractions of a second. You flip the switch, and then the science takes over.
Step 1: Starting the Flow of Electrons
When you turn on the light, the ballast sends an electric current to the electrodes at each end of the tube. These electrodes heat up and release electrons. This is the very first spark of the process. It’s a bit like getting tiny sparks from static electricity, but much more controlled.
Step 2: Exciting the Mercury Vapor
These released electrons zip through the tube. As they travel, they collide with the atoms of the mercury vapor and the inert gas. These collisions give the mercury atoms a jolt of energy, making them excited. It’s like bumping into someone and making them jump.
Step 3: The Invisible Light (UV Radiation)
When the excited mercury atoms release their extra energy, they do so by emitting ultraviolet (UV) radiation. This UV light is invisible to our eyes. It’s a lot like the invisible rays from the sun that can cause sunburn. This invisible light is a critical step in the process.
Step 4: The Phosphor Coating Does Its Magic
Remember that white phosphor coating on the inside of the tube? This is where it comes into play. When the invisible UV radiation strikes the phosphor coating, it excites the phosphor particles. The phosphor then absorbs the UV energy.
Step 5: Emitting Visible Light
As the phosphor particles release the energy they absorbed, they glow. And here’s the key: they glow with visible light. The type of phosphor used determines the color of the light you see. Most fluorescent lamps are designed to emit a white light that mimics daylight. We found this conversion is what makes them so useful for general lighting.
The Role of the Ballast: Keeping Things Stable
You might be wondering why the ballast is so important. Early fluorescent lamps used magnetic ballasts, which could be bulky and sometimes made a humming noise. Modern lamps often use electronic ballasts. These are smaller, lighter, and more energy-efficient. They provide the right voltage to start the lamp and then regulate the current to keep it running smoothly. Without the ballast’s control, the current could surge, and the lamp would quickly fail. Many engineers say the ballast is the unsung hero of the fluorescent lamp (National Electrical Code).
Why Fluorescent Lights Are Energy Savers
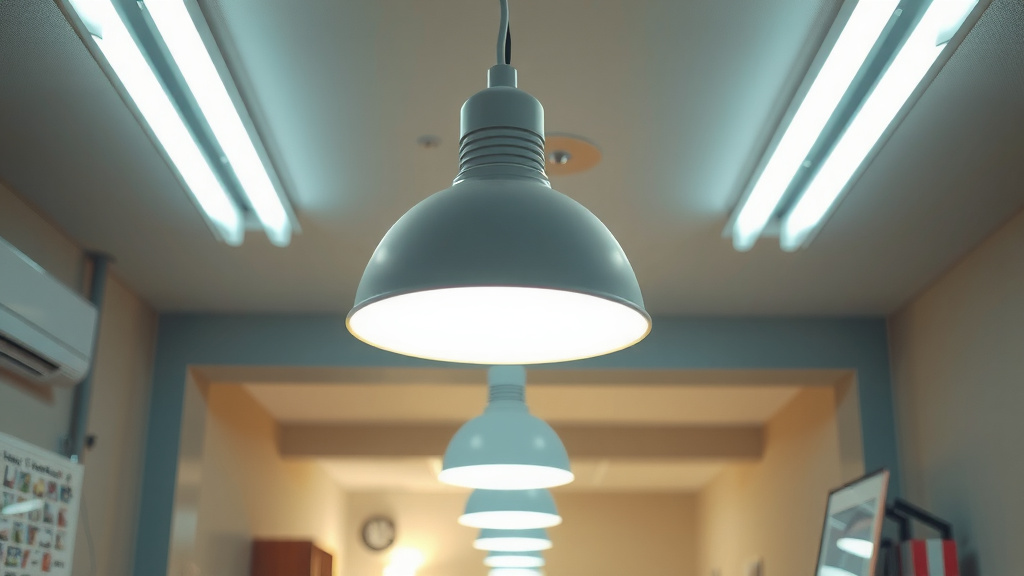
One of the biggest advantages of fluorescent lights is their energy efficiency. Compared to old incandescent bulbs that generate light by heating a filament until it glows, fluorescent lamps use a fundamentally different and more efficient process. Incandescent bulbs waste a lot of energy as heat. Fluorescent lamps, on the other hand, convert more of the electrical energy into light. This means they use less electricity to produce the same amount of light. We found that this can lead to noticeable savings on your electricity bill.
Consider this comparison:
| Light Type | Energy Used (Watts) for 800 Lumens | Lifespan |
|---|---|---|
| Incandescent | 60 W | 1,000 hours |
| Fluorescent (CFL) | 13-15 W | 6,000-15,000 hours |
As you can see, a CFL uses a fraction of the energy to produce a similar brightness and lasts much longer. This efficiency is why they became so popular for home and office lighting. Many energy organizations, like the Department of Energy, promote their use for saving energy.
Quick Checklist: What Happens Inside?
Here’s a quick recap of the journey from electricity to light:
- Electricity flows to electrodes.
- Electrodes release electrons.
- Electrons excite mercury vapor.
- Mercury emits invisible UV light.
- UV light hits the phosphor coating.
- Phosphor glows, creating visible light.
Conclusion
You’ve now seen how a fluorescent lamp transforms electricity into light through a fascinating process. It involves electrodes, mercury vapor, and a special phosphor coating, all managed by a ballast. This clever design allows fluorescent bulbs to be much more energy-efficient than older incandescent options. By understanding this science, you can better appreciate the technology lighting your spaces. Next time you choose a bulb, consider the energy savings and long life that fluorescent technology offers your home.
Frequently Asked Questions
Do fluorescent lamps contain a lot of mercury?
No, fluorescent lamps contain only a very small amount of mercury, in vapor form. It is much less than what was used in older glass thermometers. We found that proper disposal is important, but the quantity is minimal.
What happens if a fluorescent tube breaks?
If a fluorescent tube breaks, the mercury vapor and phosphor powder inside will be released. It’s best to ventilate the room for about 15-30 minutes. Then, carefully sweep up the debris without using a vacuum cleaner, place it in a sealed container, and dispose of it properly according to local guidelines.
Why do fluorescent lights sometimes flicker?
Flickering can occur if the ballast is failing or if the lamp is nearing the end of its lifespan. Sometimes, a worn-out starter in older fixtures can also cause this. We found that replacing the ballast or the bulb usually resolves the issue.
Can I use a fluorescent bulb in any light fixture?
Generally, yes, especially if you’re using CFLs that screw into standard sockets. However, fluorescent tubes require specific fixtures and ballasts. Always check that the bulb type and wattage are compatible with your fixture to ensure safe operation.
Are LED lights better than fluorescent lights now?
LED lights are now generally more energy-efficient and longer-lasting than fluorescent lamps. They also contain no mercury and offer instant brightness without flickering. Many experts suggest LEDs are the current standard for energy-efficient lighting.
![10 Way Lamp Socket [2026]](https://bestdesklamp.com/wp-content/uploads/2026/09/10-way-lamp-socket-2026-featured-768x432.jpg)