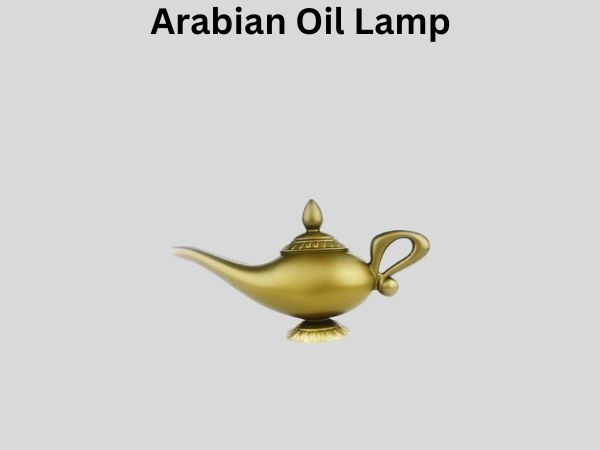
How Do Ancient Oil Lamps Work? Full Explanation
Ancient oil lamps worked by using a simple but effective principle: capillary action. A reservoir held oil, and a wick, made from absorbent material, drew the oil up to the flame. As the oil reached the flame, it burned, providing light for hours. These lamps were a fundamental technology for thousands of years.
The design was surprisingly effective for its time. Materials like clay, pottery, and even metal were used for the lamp’s body. The wick could be made from flax, hemp, or other plant fibers. Researchers have found that even basic designs could provide reliable illumination for homes and public spaces, a real game-changer before electricity.
- Ancient oil lamps provided light using oil and a wick.
- Capillary action drew oil up to the flame.
- Wicks were typically made from natural fibers.
- Lamp bodies were often crafted from clay or pottery.
- They were a vital light source for millennia.
Let’s walk through exactly how these ingenious devices lit up the ancient world, step by step.
Understanding How Ancient Oil Lamps Provided Light
Ancient oil lamps were remarkably clever devices. They used basic physics to create a steady flame. This provided much-needed light in a world without electricity. You might be surprised by how simple and effective their design was.
The core principle is called capillary action. This is the same force that allows water to move up a thin tube. It’s also how plants draw water from their roots to their leaves. In an oil lamp, it allows the fuel to reach the flame.
The Anatomy of an Ancient Oil Lamp
Most ancient oil lamps shared a few key components. These parts worked together to create light. Even simple lamps had these essential elements.
The Reservoir: Holding the Fuel
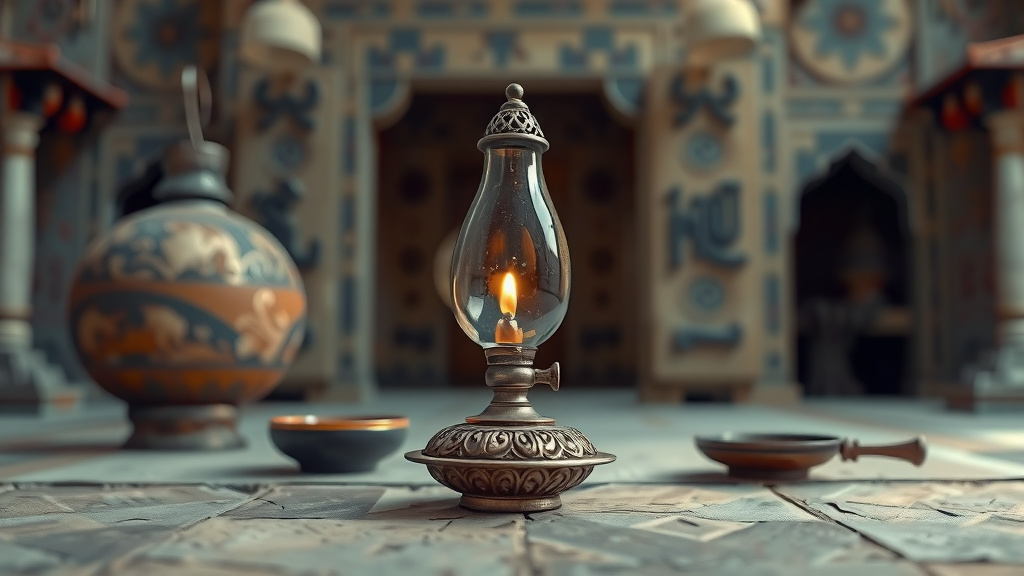
First, there was the reservoir. This was the main body of the lamp. It held the oil that would burn. The size of the reservoir determined how long the lamp could burn. Larger reservoirs meant longer-lasting light.
The Spout: Guiding the Wick
Next, a spout extended from the reservoir. This was a nozzle-like opening. It directed the wick outwards. This placement helped protect the flame from wind. It also kept the flame steady and focused.
The Wick: The Fuel’s Pathway
The wick was perhaps the most critical part. It was made from absorbent material. Common materials included flax, hemp, or rush. Sometimes, they even used twisted wool. The wick’s job was to soak up the oil.
The Magic of Capillary Action in Action
Now, let’s talk about that scientific magic: capillary action. Imagine a very thin straw. If you dip it into a liquid, the liquid climbs up inside the straw. This happens because of the attraction between the liquid molecules and the straw’s surface. It also involves the liquid molecules sticking to each other.
In an oil lamp, the wick acts like that straw. The absorbent fibers of the wick have tiny spaces between them. These spaces create the capillary effect. When one end of the wick is in the oil reservoir and the other end is exposed, the oil starts to climb. It travels up the wick, defying gravity.
Fueling the Flame
The oil travels all the way up the wick to the spout. Here, the tip of the wick sticks out. This exposed part becomes saturated with oil. When you light this oily tip, the flame begins to burn. The burning process consumes the oil. But as the oil burns, more oil is drawn up the wick. This creates a continuous cycle of light.
The Fuel: What Did They Burn?
The type of oil used greatly affected the lamp’s performance. Different oils produced different amounts of light and smoke. The quality of the oil also influenced how often the wick needed trimming.
Common Lamp Oils
Many different types of oil were used. Animal fats were common, especially in earlier times. Rendered fat from animals like sheep or cows was a readily available fuel. Olive oil was also very popular, particularly in Mediterranean regions. Other plant-based oils included sesame oil and castor oil. Researchers have found that the viscosity of the oil played a big role in how well it traveled up the wick (Journal of Archaeological Science).
The Importance of Purity
The purity of the oil mattered. Refined oils burned cleaner. They produced a brighter, steadier flame. Impure oils often led to a smoky, flickering light. This could make rooms unpleasant. It also caused soot to build up on the lamp and surrounding surfaces.
Materials and Craftsmanship of Ancient Lamps
The materials used to make the lamps themselves varied by region and time. The craftsmanship also evolved over centuries.
Clay and Pottery Lamps
Clay and pottery were among the most common materials. They were cheap, readily available, and easy to mold. Potters could create simple, functional lamps in large quantities. Many archaeological sites have yielded thousands of these lamps. They offer us a direct connection to the past.
Metal and Stone Lamps
More elaborate lamps were made from metal, such as bronze or brass. These were often more durable and could be decorated. Stone was also used, especially for more permanent installations or decorative pieces. These materials suggest a higher status for the owner.
Here’s a quick look at how different lamp materials performed:
| Material | Pros | Cons |
|---|---|---|
| Clay/Pottery | Abundant, easy to shape, inexpensive | Brittle, can break easily |
| Bronze/Brass | Durable, can be ornate, long-lasting | More expensive, can corrode |
| Stone | Very durable, can be aesthetically pleasing | Difficult to work with, heavy |
Ensuring a Steady Burn
Getting a good, consistent light wasn’t always automatic. A few adjustments helped. These simple tricks made the lamps more practical for daily life.
Wick Trimming and Adjustments
The length of the wick sticking out was important. Too much wick would cause excessive smoke. Too little would result in a weak flame. People learned to trim the wick regularly. This ensured an optimal burn. They also learned to adjust the wick’s position within the spout.
The Role of the Filling Hole
Many lamps had a separate filling hole. This allowed you to add more oil without disturbing the wick. It prevented spills and made refueling much easier. Some lamps had lids for this hole to prevent oil evaporation.
To keep your ancient oil lamp knowledge burning bright, remember these points:
- Check the oil level regularly.
- Make sure your wick is fully saturated.
- Trim the wick for a steady flame.
- Use the cleanest oil you can find.
- Protect the flame from drafts.
- Enjoy the historical glow!
Conclusion
You’ve now seen how ancient oil lamps brought light to the world. They relied on the simple physics of capillary action. A wick drew oil from a reservoir to a flame. The materials used, from clay to different oils, all played a role. Craftsmanship and simple adjustments ensured a steady glow. These lamps were more than just tools; they were essential for daily life and cultural development. To truly appreciate them, try to imagine a world lit only by these flickering flames. Your next step is to look for examples in museums or historical sites.
Frequently Asked Questions
Did ancient oil lamps produce a lot of smoke?
The amount of smoke depended on the type of oil and the wick. Cleaner, purer oils and properly trimmed wicks produced less smoke. Impure oils and wicks that were too long or not adjusted correctly would cause more smoke and soot.
Were ancient oil lamps difficult to maintain?
Maintenance was generally straightforward for their time. You had to refill the oil reservoir and trim the wick regularly. Keeping the oil pure and the wick adjusted helped ensure a better burn and less upkeep.
What kind of light did ancient oil lamps provide?
Ancient oil lamps provided a warm, flickering light. The brightness and steadiness varied based on the oil quality, wick type, and lamp design. They were sufficient for tasks like reading, working, and navigating at night.
Could one ancient oil lamp stay lit all night?
Many could, depending on the size of the oil reservoir. Larger lamps could hold more oil and thus burn for many hours. Smaller lamps might have needed refilling. Researchers have found evidence of lamps designed for extended use.
How did archaeologists date ancient oil lamps?
Archaeologists date oil lamps based on their style, decoration, and manufacturing techniques. They also use the stratigraphy of the site where the lamp was found. Comparing these features to known dated examples helps establish an approximate age.
![10 Best Book Reading Lamp [2026]](https://bestdesklamp.com/wp-content/uploads/2026/08/10-best-book-reading-lamp-2026-featured-768x432.jpg)

![10 Best Design Lamps [2026]](https://bestdesklamp.com/wp-content/uploads/2026/09/10-best-design-lamps-2026-featured-768x432.jpg)