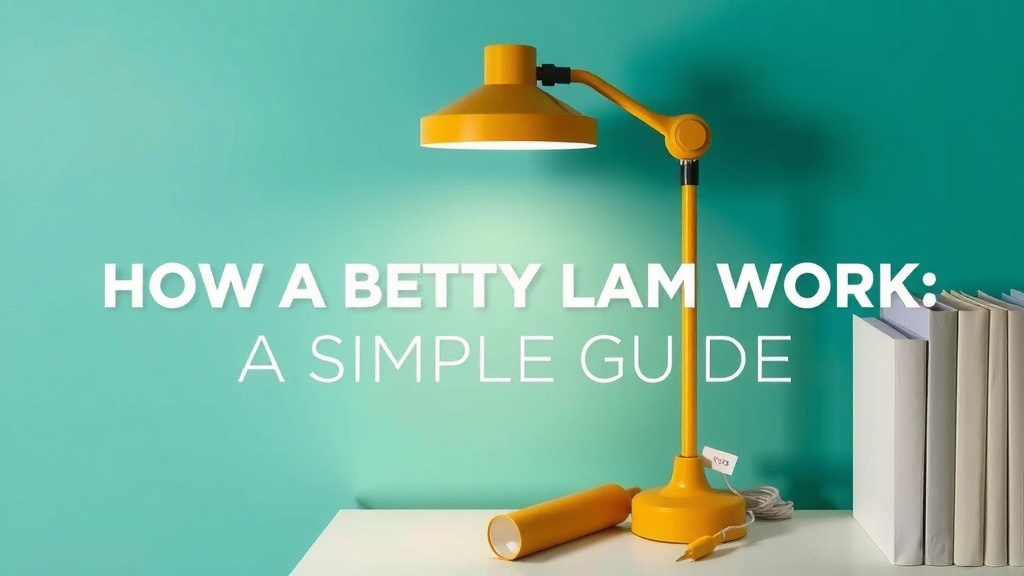
How a Betty Lamp Works: A Simple Guide
A betty lamp works by holding a fuel source, usually animal fat or oil, in a reservoir. A wick dips into this fuel, drawing it up to the flame. This simple yet effective design provided light for centuries before electricity became common. It’s a brilliant example of early engineering.
Think of it as a very basic oil lamp. It was a staple in homes for a long time. The design is quite clever for its time, using readily available materials to create needed light. Many historical accounts mention their widespread use in early American homes.
- A betty lamp holds liquid fuel.
- A wick soaks up the fuel for the flame.
- It was a primary light source before electricity.
- These lamps were common in homes for ages.
Ready to see how this humble invention lit up the past? Let’s walk through exactly how a betty lamp functions, step by step.
Understanding How a Betty Lamp Works
The betty lamp is a marvel of simple engineering. It’s designed to provide light using a readily available fuel source. Think of it as the predecessor to modern lamps. Its operation relies on a few key components working together. We’ll break down each part and how it contributes to the light.
The Core Components of a Betty Lamp
At its heart, a betty lamp is a vessel for fuel and a way to get that fuel to a flame. It’s remarkably straightforward. You’ll typically find a small, enclosed container. This is where the magic happens.
The Fuel Reservoir: Holding the Light
The main body of the betty lamp serves as the fuel reservoir. This container holds the liquid. Historically, this was often animal fat or lard. Later, whale oil or vegetable oils became common. The key is that it’s a combustible liquid. The reservoir is usually a metal pot or a carved stone. It’s designed to be relatively enclosed. This helps prevent spills and evaporation. You would fill this reservoir with your chosen fuel. Don’t overfill it; you need room for the wick.
The Wick: Drawing Up the Fuel
Attached to the reservoir is a spout or a lip. This is where the wick sits. The wick is a crucial element. It’s typically made of absorbent material, like braided cotton or rush. The wick’s job is to act like a straw. It soaks up the liquid fuel from the reservoir. One end of the wick rests in the fuel. The other end extends out of the spout. This extended end is where the flame will burn. The wick’s absorbency is key. It needs to draw fuel up consistently to the flame. Too little absorption, and the flame dies. Too much, and it might smoke excessively.
The Spout: Directing the Flame
The spout, or nozzle, is a vital part of the design. It’s where the wick emerges from the fuel reservoir. This spout helps to direct the flame outward. It also helps to keep the fuel reservoir covered, reducing fuel loss. Some betty lamps have a hinged lid. This lid could be closed when the lamp was not in use. It protected the wick and the fuel. It also helped to control the airflow to the flame. This was a clever feature for its time.
The Handle and Hanger: Portability and Placement
Most betty lamps have a handle. This makes them easy to carry from room to room. It also allows you to adjust the lamp’s position. Many also feature a hook or a ring. This is for hanging the lamp. You could hang it from a hook on a wall or a beam. This kept the lamp safely out of the way. It also allowed the light to be positioned where it was most needed. Imagine moving your light source around your home. This was a huge improvement over stationary torches.
The Simple Science of Burning Fuel
The operation of a betty lamp relies on a basic scientific principle: capillary action and combustion. It’s not complicated, but it’s very effective. Once you understand this, the lamp makes perfect sense.
Capillary Action: Fuel on the Move
This is where the wick does its work. Capillary action is the ability of a liquid to flow in narrow spaces. It goes against gravity. Think about water moving up a thin tube. The forces between the liquid molecules and the surface they touch are at play. The wick’s fibers create these narrow spaces. The fuel is drawn up these spaces. It travels from the reservoir to the tip of the wick. This process happens continuously as long as there’s fuel. It’s a passive system; no pumps are needed.
Combustion: Creating the Light
Once the fuel reaches the tip of the wick, it’s exposed to air. When you introduce a spark or a flame, the fuel ignites. This is combustion. The heat from the flame vaporizes more fuel. This vapor then burns. The process sustains itself. The flame consumes the fuel-soaked wick. It releases heat and light. The amount of light produced depends on the fuel. It also depends on the wick’s exposure. A larger flame produces more light. But it also uses fuel faster.
Setting Up and Using Your Betty Lamp
Using a betty lamp is a hands-on experience. It requires a little preparation. But it’s quite satisfying once you get the hang of it. Let’s walk through the steps.
Filling the Reservoir
First, you need to fill the lamp. Carefully pour your chosen fuel into the reservoir. Don’t fill it to the brim. Leave about an inch of space. This prevents spills. Using a funnel can make this process cleaner. Many historical sources mention using rendered animal fat. However, modern options like vegetable oil or lamp oil work well. Just be sure it’s a type suitable for this kind of lamp.
Preparing and Inserting the Wick
Next, prepare your wick. If it’s a new wick, you might need to trim it. Ensure it’s the right length. It needs to reach the bottom of the reservoir. It also needs to extend slightly from the spout. Dip the end of the wick that will be in the flame into the fuel. Let it soak for a few minutes. Then, carefully insert the wick into the spout. Make sure it’s snug but not too tight. You want good fuel flow.
Lighting the Lamp
Now for the moment of truth! Use a match or a taper to light the tip of the wick. Hold the flame to the wick until it catches. Once lit, the flame should burn steadily. If it sputters or goes out, check the wick. It might not be drawing enough fuel. Or it might be too long or too short. You may need to adjust it. Trim the wick if necessary. A small, consistent flame is ideal. It produces good light without excessive smoke.
Maintenance and Safety
Betty lamps require attention. Check the fuel level regularly. Refill as needed. Trim the wick to keep the flame clean. When not in use, extinguish the flame completely. Close the lid if your lamp has one. Store the lamp in a safe place. Never leave a burning lamp unattended. This is important for fire safety. Always place it on a stable, heat-resistant surface. Consider the materials it’s made from; metal can get hot.
A Checklist for Betty Lamp Operation
To ensure your betty lamp works well and safely, keep these points in mind:
- Fuel Check: Always ensure the reservoir has enough liquid fuel.
- Wick Saturation: Make sure the wick is fully soaked before lighting.
- Wick Length: Trim the wick to the optimal length for a steady flame.
- Stable Placement: Position the lamp on a flat, secure surface.
- Unattended Warning: Never leave a lit lamp alone.
- Cool Down: Let the lamp cool before refilling or moving.
Conclusion
You’ve now seen how the humble betty lamp works. It uses simple physics like capillary action. This draws fuel up a wick to create a steady flame. It was a vital source of light for centuries. Understanding its design shows clever ingenuity. You can even try using one yourself! Gather your fuel and wick. Then, follow the steps to light your own piece of history. Enjoy the warm glow it provides.
Frequently Asked Questions
What kind of fuel is best for a betty lamp?
Historically, rendered animal fat or lard was common. Today, you can use vegetable oils or specific lamp oils. Just ensure the fuel is a combustible liquid. Always research what’s safe and effective for your specific lamp.
How do I know if the wick is the right length?
The wick should reach the bottom of the fuel reservoir. It also needs to extend just a bit from the spout. Too long a wick can cause smoking. Too short might not draw enough fuel. A steady, clean flame is your best indicator.
Why does my betty lamp flame flicker or go out?
This usually means the wick isn’t drawing enough fuel. Check that the wick is fully saturated. Ensure it’s making good contact with the fuel. You might also need to trim the wick slightly. Airflow can also affect the flame; ensure it’s not in a strong draft.
Can betty lamps be dangerous to use?
Like any open flame, betty lamps require caution. Always place yours on a stable, heat-resistant surface. Never leave a burning lamp unattended. Ensure the fuel reservoir is not overfilled to prevent spills. Keep them away from flammable materials.
How often do I need to refill the fuel?
This depends on how much fuel your lamp holds and how long you burn it. You’ll need to refill it when the fuel level gets low. It’s best to let the lamp cool down completely before refilling. This prevents accidental ignition of spilled fuel.
![10 Best Bulb For Outdoor Lamp Post [2026]](https://bestdesklamp.com/wp-content/uploads/2026/08/10-best-bulb-for-outdoor-lamp-post-2026-featured-768x432.jpg)
![10 Best Arc Lamp [2026]](https://bestdesklamp.com/wp-content/uploads/2026/09/10-best-arc-lamp-2026-featured-768x432.jpg)