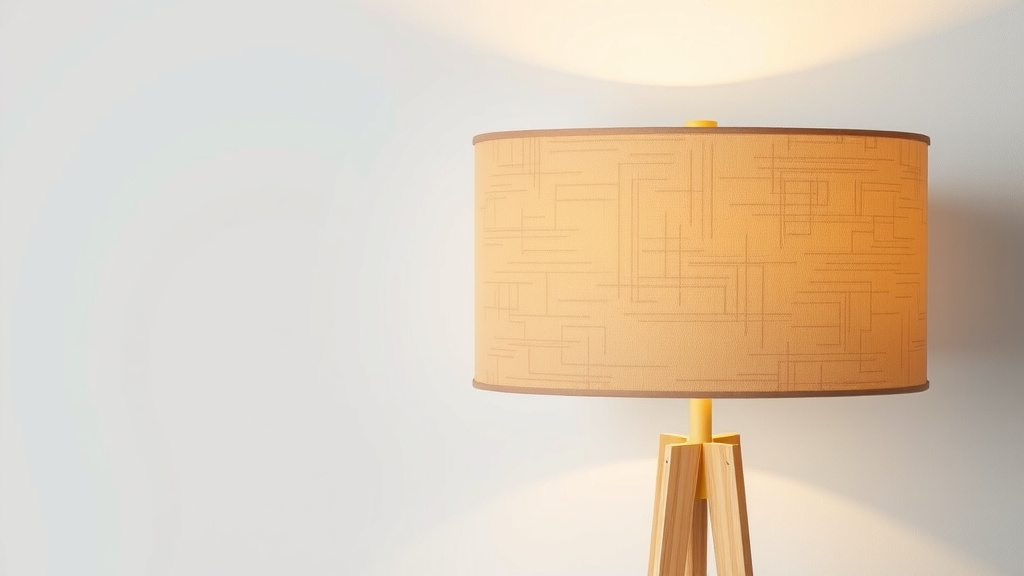
DIY Lamp Shade: A Simple Step-by-Step Guide
Making your own lampshade is a rewarding DIY project. You can create a custom look for any room. It’s easier than you might think, even for beginners. We’ll show you the basic steps to get started on your unique lampshade.
Customizing lampshades lets you match your decor perfectly. You can choose unique fabrics or even repurpose materials. This is a great way to save money and add a personal touch to your home. Many people find it a fun way to express their style.
- Choose your desired lampshade shape and size.
- Select fabric or material that fits your style.
- Gather necessary tools like adhesive, scissors, and a frame.
- Follow simple steps to attach your material to the frame.
- Enjoy your new, custom-made lampshade!
Ready to bring your lighting vision to life? Let’s walk through exactly how to make a lampshade step by step.
Creating Your Own Lampshade: A Step-by-Step Guide
Making a custom lampshade is a fantastic way to personalize your home decor. You get to pick the exact style and fabric you love. This project is quite approachable, even if you’re new to DIY. We’ll guide you through the process so you can craft a lampshade that truly reflects your taste.
Choosing Your Lampshade Style and Materials
The first step is deciding on the look and feel of your lampshade. Think about the room it will go in. What kind of atmosphere do you want to create? A soft, diffused light for a bedroom? A bolder statement for a living room? Your choices here will influence the materials you gather next.
Selecting the Right Shape and Size
Lampshades come in many shapes: drum, empire, square, and cone are common. The shape needs to fit the lamp base. A tall, slender base might look best with a drum shade. A wider base could pair well with an empire shade. Measure your lamp base and the harp (the part that holds the shade) to ensure a good fit. The height of the shade should generally be about two-thirds the height of the lamp base. Many sources suggest the shade’s diameter at the bottom should be roughly twice the width of the base (Lighting Education Foundation).
Fabric and Material Options
This is where your creativity shines! You can use almost any fabric. Cotton, linen, silk, or even burlap can work well. Consider how the fabric will look when light shines through it. Translucent fabrics will give a softer glow. Opaque fabrics will direct light more upwards and downwards. You might also consider using something unexpected, like decorative paper, old maps, or even thin wood veneer. Just ensure your material can be adhered securely and safely.
| Shape | Description | Best For |
|---|---|---|
| Drum | Straight sides, same diameter top and bottom. | Modern lamps, provides even light distribution. |
| Empire | Tapered sides, wider at the bottom than the top. | Traditional lamps, classic look. |
| Square | Straight or tapered sides with a square shape. | Can work with various lamp styles, offers a geometric look. |
| Cone | Tapered sides, with a distinct cone shape. | Often used for smaller accent lamps. |
Gathering Your Tools and Supplies
Once you have a vision, it’s time to get everything you need. Having all your supplies ready makes the process much smoother. Think of it like a chef preparing their ingredients before cooking.
Essential Tools for Lampshade Making
You’ll need a few key items:
- Lampshade frame: You can buy these new or repurpose an old one.
- Fabric or material: Your chosen decorative covering.
- Adhesive: Fabric glue or spray adhesive works well. Some kits use special tape.
- Scissors: Sharp scissors are a must for clean cuts.
- Measuring tape or ruler: For accurate measurements.
- Utility knife or craft knife: For precise trimming.
- Optional: Pins, seam ripper (if salvaging a frame), iron, ironing board.
Preparing Your Fabric
Before you start attaching your fabric, it’s a good idea to prepare it. If you’re using a new fabric, wash and iron it. This pre-shrinks the material and removes any folds or creases. For vintage or repurposed fabrics, inspect them carefully for damage. Gently mend any small tears if needed. This ensures your finished lampshade looks polished and professional.
The Lampshade Assembly Process
Now for the fun part – bringing your lampshade to life! Most DIY lampshade methods involve covering a frame. We’ll focus on a common method using a fabric panel and adhesive.
Cutting Your Fabric to Size
Carefully measure your lampshade frame. You’ll need to cut a piece of fabric that wraps around the frame with some overlap for securing. For a drum shade, this would be a rectangle. For other shapes, you might need to trace the frame’s panels. Add about an inch for overlap. Double-check your measurements before cutting. Accuracy here prevents frustration later.
Applying the Adhesive
Lay your fabric flat, wrong side up. If using spray adhesive, work in a well-ventilated area. Apply an even coat to the fabric or directly to the frame, depending on the adhesive type. Make sure you cover the area where the fabric will attach. Follow the product’s instructions for drying or tackiness time. Some glues need to set for a minute or two before pressing the fabric on.
Attaching the Fabric to the Frame
Begin at one edge of your fabric panel and carefully align it with the frame. Smooth the fabric down, working your way around. Press firmly to ensure good adhesion. If you have an overlap section, apply extra adhesive there and secure it. Take your time to avoid wrinkles or bubbles. A smooth finish is key to a professional look.
Finishing Touches and Trimming
Once the fabric is securely attached, trim any excess fabric around the top and bottom edges. Use your craft knife for a clean cut. Some people like to add trim, like fringe or ribbon, around the edges. This is a great way to cover any raw edges and add extra flair. Let the adhesive cure completely before handling the lampshade too much.
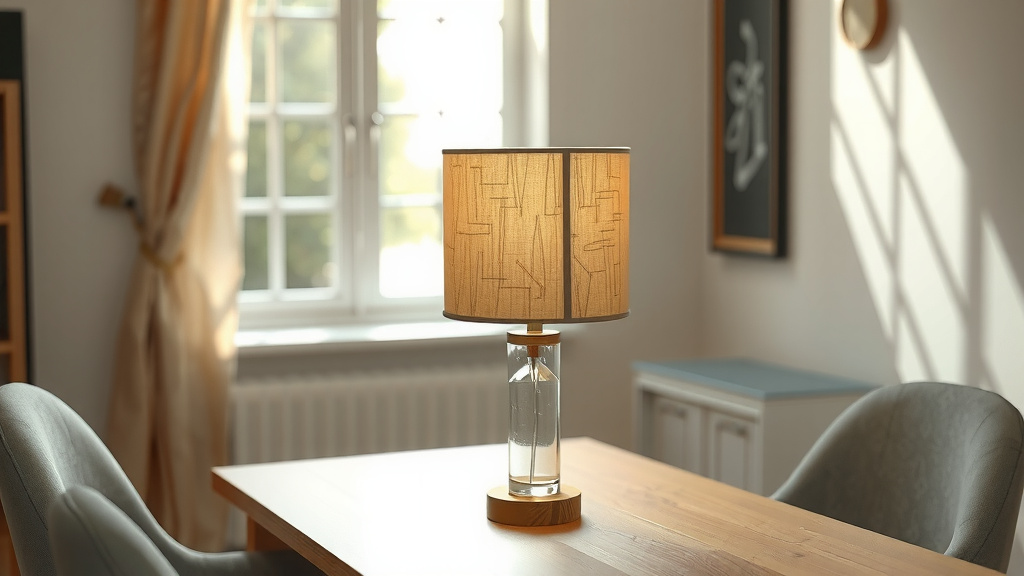
Tips for a Professional-Looking Finish
A few simple tricks can make your homemade lampshade look like it came from a high-end store. It’s all about attention to detail.
Working with Patterns and Stripes
If you’re using a patterned fabric, pay close attention to how the pattern aligns. Try to make the design continuous around the shade, especially where the fabric overlaps. This might mean cutting your fabric piece slightly larger and carefully matching the pattern before cutting to the final size. It takes a little extra effort, but the result is much more impressive.
Dealing with Wrinkles and Bubbles
Wrinkles and bubbles are the bane of DIY lampshade makers. If you spot a small bubble, you might be able to gently lift the fabric and re-smooth it. For larger issues, you might need to peel back the fabric and reapply the adhesive. Using a clean, flat surface to work on can minimize these problems. Some people use a ruler or a credit card to smooth the fabric as they go.
Ensuring Stability and Durability
Make sure your adhesive is strong enough for the fabric type and weight. Fabric glues designed for upholstery or crafts are usually a good bet. Let the glue cure fully according to the package directions. This ensures your hard work will last. A well-made lampshade should withstand regular use without peeling or sagging (Consumer Product Safety Commission).
Your Custom Lampshade Checklist
Ready to get started? Here’s a quick checklist to keep you on track:
- Choose your lampshade shape and size.
- Select your fabric or material carefully.
- Buy or gather all necessary tools and adhesive.
- Prepare your fabric by washing and ironing.
- Measure and cut your fabric accurately.
- Apply adhesive evenly and attach fabric smoothly.
Conclusion
You’ve now seen how surprisingly accessible making your own lampshade can be! From selecting the perfect shape and fabric to carefully applying adhesive and adding those finishing touches, you have the knowledge to craft a unique piece. This DIY project is a fantastic way to inject personality into your home decor. Don’t be afraid to experiment with different materials. Your next step is to gather your supplies and start bringing your vision to life!
Frequently Asked Questions
Can I use any fabric for a lampshade?
Most fabrics can work, but some are better than others. You’ll want to consider how the fabric diffuses light. Translucent materials like cotton or linen offer a softer glow. Opaque fabrics will direct light more upward and downward. Always check that your chosen fabric is safe for use around a light bulb and can be adhered securely.
What’s the best way to avoid wrinkles when covering the frame?
Working on a clean, flat surface is key. Smooth the fabric down carefully as you go, using your hands or a ruler. If you notice small bubbles, try gently lifting and re-smoothing the fabric. For larger issues, you may need to peel back and reapply adhesive. Patience is your best friend here!
How do I ensure my fabric pattern lines up correctly?
For patterned fabrics, pay extra attention to matching the design, especially at the seam where the fabric overlaps. You might need to cut your fabric slightly larger than initially measured to allow for careful pattern alignment before cutting to the final size. This extra step makes a big difference in the final look.
Can I reuse an old lampshade frame?
Absolutely! Reusing an old lampshade frame is a great way to save money and be eco-friendly. You’ll typically need to carefully remove the old fabric, perhaps using a seam ripper, and then clean up the frame before covering it with your new material. Just ensure the frame is still sturdy and in good condition.
How much overlap do I need for the fabric?
Generally, you’ll want to add about an inch of overlap to your fabric measurement. This extra fabric provides enough surface area for secure adhesion. Make sure to apply your adhesive generously in this overlap area to ensure the fabric stays attached firmly.


![10 Best Curing Lamp [2026]](https://bestdesklamp.com/wp-content/uploads/2026/09/10-best-curing-lamp-2026-featured-768x432.jpg)