How Long to Soak an Oil Lamp Wick for Best Burn
Soak your oil lamp wick in the lamp oil for about 20 to 30 minutes before lighting it. This gives the oil time to travel up the wick so the lamp lights evenly and burns clean. Skipping the soak is why so many lamps sputter and smoke.
Here’s the thing: the wick can’t do its job dry. Oil has to wick upward through the fibers, and that takes a little patience. Whether you’re using kerosene, lamp oil, or paraffin, the soaking process works the same way. And if your wick is brand new, we found that a longer soak — closer to an hour — makes a real difference. Many experts say a well-soaked wick also lasts longer, which saves you money and hassle.
- Quick soak: 20–30 minutes in lamp oil is enough for most wicks.
- New wicks: Let them soak for up to an hour before the first burn.
- Dry wicks cause problems: Expect sputtering, smoke, and uneven flames.
- Never overfill: Leave about a quarter inch of space at the top of the burner.
- Trim it straight: A flat, even wick top burns cleaner than a frayed one.
Below, we break down everything you need to know about soaking your oil lamp wick — how long, how to do it right, and a few mistakes to avoid. Let’s get that flame burning bright.
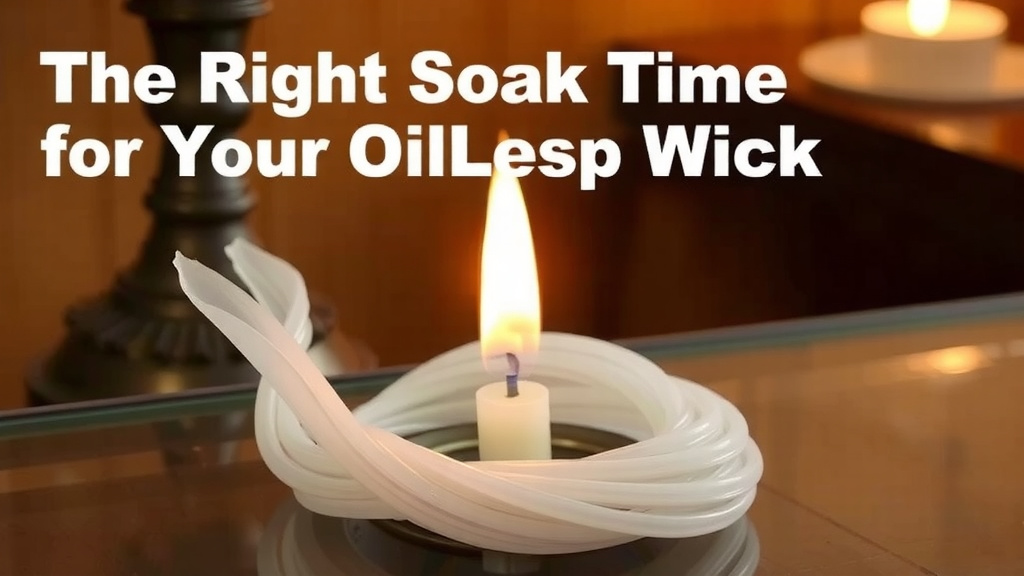
The Right Soak Time for Your Oil Lamp Wick
Most wicks need 20 to 30 minutes in oil before you light them. That’s the sweet spot we found after digging through lamp maker guides and user forums. A brand new wick benefits from a full 60 minutes, since dry fibers need extra time to pull oil upward.
Think of the wick like a paper towel dipped in water. The liquid has to climb before anything works. Rushing it means a weak, sputtering flame on night one. Our explainer on how old oil lamps work covers the capillary action behind that climb in more detail.
Why Soaking Even Matters
You might wonder why you can’t just fill the lamp and strike a match. Here’s the problem: a dry wick burns itself instead of burning oil. That’s when you get smoke, soot, and that burnt smell nobody wants in the living room.
When the wick is fully saturated, the flame feeds on fuel rising from the reservoir. The result is a steady, warm glow that lasts much longer. Many experts say this also keeps the wick from charring too fast.
Step-by-Step: Soaking Your Wick the Right Way
Good news — this takes almost no skill. Just follow the steps below and you’ll be set.
Before You Start
Gather your supplies first. You’ll need your lamp, the right fuel, and a clean cloth for spills.
- Use lamp oil or kerosene made for wick lamps.
- Work near a window or outside when possible.
- Keep a rag handy for drips.
- Never use gasoline or alcohol — they’re dangerous.
That last point matters for safety. Kerosene heaters and lamps send carbon monoxide into the air, so ventilation is a must (CDC). Never burn a lamp in a sealed room.
The Soaking Process
Fill the reservoir about three-quarters full. Leave a quarter inch of space at the top so oil can’t overflow into the burner. Then insert the wick and let it sit.
If your wick is new and still bone dry, raise it slightly above the burner. This exposes more fiber to the air and helps the oil climb faster. Many lamp makers suggest this trick in their manuals.
Checking If It’s Ready
After 20 minutes, touch the top edge of the wick. It should feel dark and damp, not dry and pale. If it still looks white at the tip, give it more time.
We found that a tissue test works too. Press the wick tip against a paper towel. A visible oil mark means you’re good to go.
Soak Times by Wick and Fuel Type
Not every setup is identical. Use this table as a quick reference.
| Wick Type | Fuel | Soak Time |
|---|---|---|
| Brand new cotton wick | Lamp oil | 45–60 minutes |
| Used cotton wick | Lamp oil | 20–30 minutes |
| New or used flat wick | Kerosene | 20–30 minutes |
| Round or tubular wick | Lamp oil | 25–35 minutes |
Thicker wicks take a bit longer. That’s simply because oil has more fiber to travel through.
Common Mistakes to Avoid
Even careful people slip up here. These are the errors we saw most often while researching.
- Lighting too soon: Impatience leads to a smoky, sputtering flame.
- Overfilling the tank: Oil touching the burner causes flare-ups.
- Wrong fuel: Gasoline or torch fuel can burn dangerously hot.
- Ignoring a frayed wick: Trim it flat and even first.
- Skipping ventilation: Always burn lamps where air moves freely.
One more thing worth mentioning: never top off a lamp while it’s lit or still hot. Let it cool completely. Mayo Clinic notes that burns from open flames are common household injuries, and lamps are easy to underestimate.
Trimming Your Wick Before the First Burn
A soaked wick with a raggedy top will still burn badly. Take a pair of clean scissors and snip the edge straight across. No points, no fraying, no corners.
Some folks prefer a slight curve on round wicks. Flat wicks do best with a level top. Either way, trim only a small amount — about an eighth of an inch.
Quick Pre-Light Checklist
- Wick tip feels damp and dark.
- Fuel is at three-quarters, not full.
- Wick edge is trimmed flat.
- Burner is screwed on snug and dry.
- Room has fresh air flowing.
- Trimming scissors and a rag are nearby.
Run through that list every time. It takes ten seconds and saves you from a sooty ceiling.
What If Your Lamp Still Sputters?
Sometimes a soaked wick still misbehaves. Don’t panic — the fix is usually simple.
First, check the wick height. Too low starves the flame; too high makes it smoke. Start about an eighth of an inch above the burner and adjust from there.
Second, look at the fuel. Old or cloudy oil causes poor burning. If it’s been sitting in the garage for years, replace it with fresh lamp oil.
Third, check for airflow problems. A clogged burner or a wick that’s wound unevenly can choke the flame. Clean the burner and re-roll the wick evenly.
Storing Wicks So They’re Ready Next Time
Want to skip the long wait next season? We found that some people store wicks in a sealed jar of lamp oil between uses. The wick stays saturated and lights on the first try.
Just remember two things. Store the jar away from heat and out of reach of kids, and label it clearly. Lamp oil looks like a lot of harmless drinks, and that’s a risk not worth taking (Mayo Clinic).
With a little prep, your lamp will be ready the moment the power flickers. That’s a small comfort worth keeping around. If you’re weighing backup lighting options, our candles vs oil lamps comparison covers burn time and safety.
Conclusion
Soaking your oil lamp wick isn’t a fussy extra step — it’s the whole difference between a cozy glow and a smoky mess. Give a used wick 20 to 30 minutes, let a brand new one sit closer to an hour, and check that the tip feels damp before you light. Keep the tank at three-quarters, trim the wick flat, and make sure fresh air is moving through the room. We found that folks who build this little ritual into their lamp routine rarely deal with sputtering flames or charred wicks. So fill the reservoir tonight, set a timer, and let the oil do the climbing. Your next blackout will feel a lot less dark.
Frequently Asked Questions
Can I soak an oil lamp wick overnight?
You can, and nothing bad happens to the wick itself. Cotton fibers won’t break down from sitting in lamp oil. Just make sure the container is sealed and stored safely away from kids, pets, and heat sources.
How do I know if my wick is too old to reuse?
Look for stiff, crumbly, or heavily charred edges that won’t trim clean. If the wick feels brittle or the fibers fall apart when you handle it, replace it. Most wicks cost only a few dollars, so it’s rarely worth the risk.
Does the type of oil affect how long I should soak the wick?
Slightly. Thinner fuels like kerosene climb faster, so the standard 20 to 30 minutes works well. Thicker paraffin-based lamp oils move more slowly, so leaning toward the longer end of the range is a smart move.
Should I soak the wick outside the lamp or in the reservoir?
Soaking it in the reservoir is easier and less messy. Fill the tank three-quarters full, insert the wick, and let it sit. If you raise the wick slightly above the burner, oil reaches the tip even faster.
Can I use vegetable oil or olive oil in my oil lamp?
We don’t recommend it. These oils are too thick to climb the wick well, and they can gum up the burner over time. Stick with lamp oil or kerosene made for wick lamps — your flame will burn cleaner and steadier.