How Long Should an Oil Lamp Wick Be? Ideal Wick Height
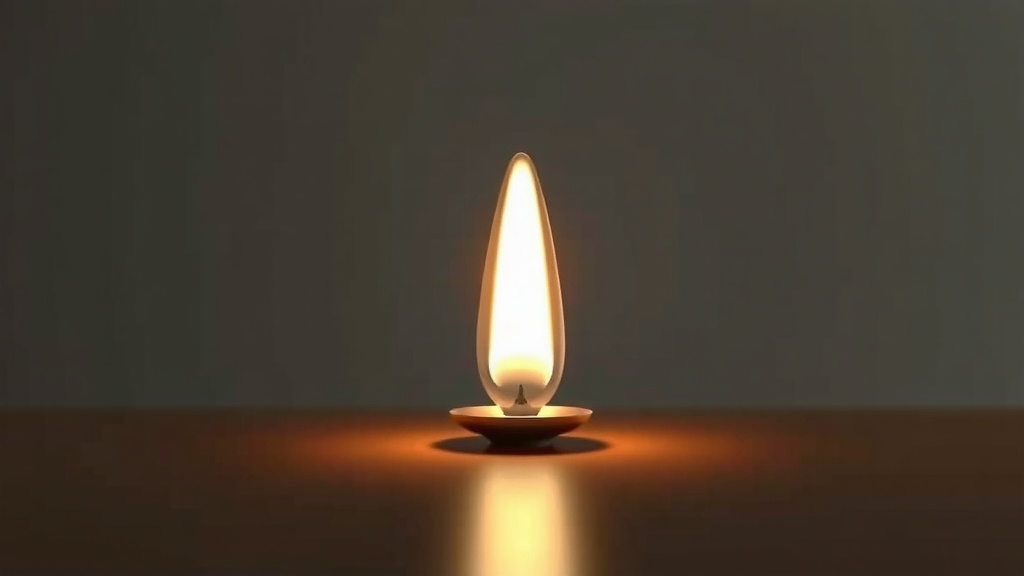
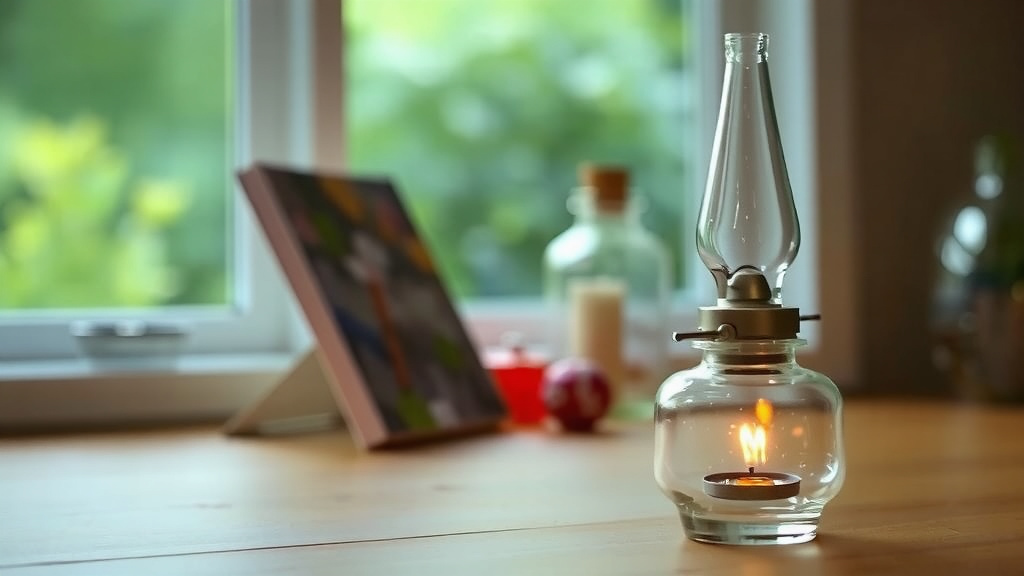
Your oil lamp wick should extend about half an inch to one inch above the burner. That is the sweet spot for how long an oil lamp wick should be. Too short, and your flame sputters and dies. Too long, and you get a tall, smoky flame that coats your lamp in soot.
Here is the thing: wick length changes how your lamp burns, how bright it glows, and even how safe it is. When we researched common wick problems, we found that most issues come down to trimming and height, not the lamp itself. A properly sized wick gives you a steady, clean-burning flame that lights a room without the fuss.
- The ideal wick height is roughly half an inch above the burner, up to one inch max.
- Trim your wick flat and even to avoid smoky, uneven flames.
- A brand-new wick needs time to soak up oil before you light it.
- Charred or stiff wicks should be trimmed or replaced for the best burn.
- Adjust the height in small steps until the flame is steady and bright.
Below, we break down everything you need to know about wick length, trimming, and adjustments, so your lamp burns bright every single time. Ready to get that flame just right? Let’s dive in. If you’re still weighing flame options, our breakdown of candles vs oil lamps compares brightness, burn time, and safety.
Getting the Right Wick Height for Your Oil Lamp
Start with the wick sitting about half an inch above the burner cone, then adjust from there. That gives your flame room to breathe without running wild. Think of it like a gas stove: you wouldn’t crank every burner to full blast just to boil water.
Why Wick Height Changes Everything
The wick is basically a fuel pump. Capillary action pulls oil up from the bowl, and the flame only burns what the exposed wick feeds it. Raise the wick, and you feed the flame more fuel. Lower it, and you starve it.
Many lamp guides compare the wick to a candle wick with a dimmer switch. You control brightness, heat, and fuel use with one small knob. Once you grasp that, every adjustment starts to make sense. For another classic flame light, our guide to how a carbide lamp works explains its very different fuel system.
What Happens When the Wick Sits Too Tall
A tall flame looks impressive for about thirty seconds. Then the soot arrives. When the flame rises above the burner’s airflow, it can’t pull in enough oxygen to burn cleanly, so it starts shedding black carbon onto your chimney and ceiling.
We found that most “my lamp smells bad” complaints trace back to this one issue. An oversize flame also burns through oil faster and runs hotter than the lamp was built for.
Signs Your Flame Is Running Too High
- Black smoke curling off the top of the flame.
- A flickering, ragged flame that dances with every draft.
- Soot building up inside the glass chimney after one evening.
- A flame taller than your little finger’s first knuckle.
Safety experts, including the CDC, warn that soot and indoor smoke irritate your lungs and worsen asthma. If your lamp is smoking, the wick height is the first thing to check.
What Happens When the Wick Sits Too Short
Too short, and the flame shrinks to a sad blue nub. It gives off weak light, little heat, and plenty of frustration. In some cases, the flame drops so low it falls below the burner and snuffs itself out.
A shy flame can also leave unburned oil vapor hanging around. That smell of raw kerosene in the room? Often a sign the wick is sitting too low to burn fuel completely (NIH indoor air guidance notes incomplete combustion as a common source of kerosene odors).
Trimming Your Wick the Right Way
Height is only half the story. A ragged or charred wick edge burns unevenly no matter where you set it. Trimming gives the flame a level surface to rise from, like mowing a lawn before a backyard party.
Flat Cut vs. Rounded Cut
Here is a friendly debate among lamp lovers. Old-school users often round the corners of a flat wick, claiming it softens the flame’s edge. Many modern lamp makers say a flat, even cut works best because it burns edge to edge with no dark spots.
Our take? Start flat. If the flame flickers at the corners after trimming, try a gentle curve next time and compare. Your lamp, your rules.
How to Trim a Wick Step by Step
Use sharp scissors and trim only when the wick is dry or fully soaked. A damp, oil-soaked wick crushes instead of cuts, and frayed edges burn badly.
- Lower the wick fully below the burner so only the top shows.
- Cut straight across, removing no more than a quarter inch.
- Check the edge against a bright light for frays or dips.
- Wipe away loose fibers before you light anything.
Never trim a wick while the lamp is burning or still hot. That seems obvious, but plenty of singed eyebrows would disagree.
Prepping a Brand-New Wick
A fresh wick out of the package is bone dry. Light it now, and you’ll get a scorched, sputtering mess instead of a flame. The fix is simple: let it soak.
Fill the bowl with lamp oil, raise the wick, and wait 20 to 30 minutes. The wick darkens as oil climbs up through it. Many experts say waiting a full hour gives the most even first burn, especially with thicker wicks.
For the first lighting, keep the flame low. New wicks have loose fibers that burn off in the first few minutes. Let that happen, then adjust upward in small steps.
Quick Wick Adjustment Checklist
Before every burn, run through this fast list. It takes two minutes and saves you an evening of smoky regret.
- Wick height is set to about half an inch above the burner.
- Trimmed edge looks flat, even, and free of char.
- Wick has soaked long enough to darken from top to bottom.
- Oil level sits high enough that the wick never runs dry.
- Chimney is clean and seated properly before lighting.
- Flame is adjusted up or down in small steps after lighting.
Wick Types and Ideal Heights Compared
Not all wicks behave the same. Width and shape change how much oil they feed the flame, so the ideal height shifts a bit by type. Here’s a quick comparison.
| Wick Type | Typical Width | Best Starting Height | Common Use |
|---|---|---|---|
| Flat wick | 1/2″ to 1″ | 1/2 inch above burner | Classic tabletop lamps |
| Round wick | 3/4″ to 1-1/2″ | 1/2 to 3/4 inch | Larger lamps and lanterns |
| Circular (hollow) wick | 1″ to 3″ | About 1/2 inch | Center-draft lamps |
| Thin flat wick | Under 1/2″ | 1/4 to 1/2 inch | Small chamber lamps |
Matching the Wick to Your Burner
Burners are built around specific wick widths. Slide in a wick that’s too narrow, and oil sneaks around the edges. Too wide, and the wick jams in the mechanism. Check your lamp’s manual, or measure the old wick before buying a replacement.
When in doubt, bring the old wick to the store. Hardware staff see this all the time, and a correct match beats guesswork every time.
Safety Notes Worth Remembering
A well-set wick is a safety feature, not just a comfort one. Flames that jump too high can overheat chimneys and crack glass. Consumer safety guidance from CPSC recommends keeping open-flame lamps away from fabrics, kids, and pets, and never leaving one burning unattended.
Trim your wick, mind its height, and give a new wick time to soak. Do those three things, and your lamp rewards you with a warm, steady glow that never keeps you up at night, unless you want it to.
Conclusion
Getting your wick length right comes down to a few simple habits. Keep it about half an inch above the burner, trim the edge flat and clean, and let a new wick soak before you strike a match. When we researched the most common lamp complaints, we found nearly all of them trace back to skipping one of those steps. Do them, and you get a steady, clean flame that lights your room without smoke or smell. Your lamp basically takes care of itself from there. So grab your scissors, check your wick height tonight, and enjoy that warm glow you’ve been missing.
Frequently Asked Questions
Can I fix a burnt or charred wick, or do I need a new one?
You can usually fix it. Trim off the charred section with sharp scissors, cutting just above the blackened part. If the wick is stiff, brittle, or shorter than an inch total, replacement is the better call.
How long does an oil lamp wick last before replacement?
With regular trimming and clean-burning oil, a wick often lasts a full season of frequent use. Replace it when the flame stays uneven after trimming or the wick can’t be raised high enough to burn properly.
Should I trim my wick after every use?
Not necessarily. Check the edge before each lighting and trim only when you see char or frays. Most users find they need a small trim every three to five burns, depending on how high they run the flame.
Why does my lamp flame burn fine for a while, then shrink?
This usually means your oil level has dropped below the wick’s reach, or the wick is clogged with old, gummy oil residue. Top off the bowl first. If the problem continues, swap in a fresh wick and fresh oil.
Can I use a candle wick in an oil lamp instead?
We don’t recommend it. Oil lamp wicks are woven to handle liquid fuel and fit the burner mechanism properly. Candle wicks lack the right weave, so they starve the flame, drip oil, or jam your adjuster knob.